Happy September everyone! It’s been a long long long time since I’ve made my way back to blogging. Instagram seems to have taken over my main social media port, but I know I need to up my blogging presence. I’m challenging myself to keep this site current and stay in the game. Because that is what it’s all about!
So many crazy things have happened in our world in the past months. We enjoyed our yearly vacation to Nuevo Vallarta in February/March 2020 and returned home to full blown Covid 19 quarantine for 2 weeks. The kids moved back home and everyone has been cohabitating for 5 months. The dynamics have changed us from empty nesters to a full blown full house family. More cooking and baking, laundry, and a driveway full of vehicles.
Nuevo Vallarta ☀️
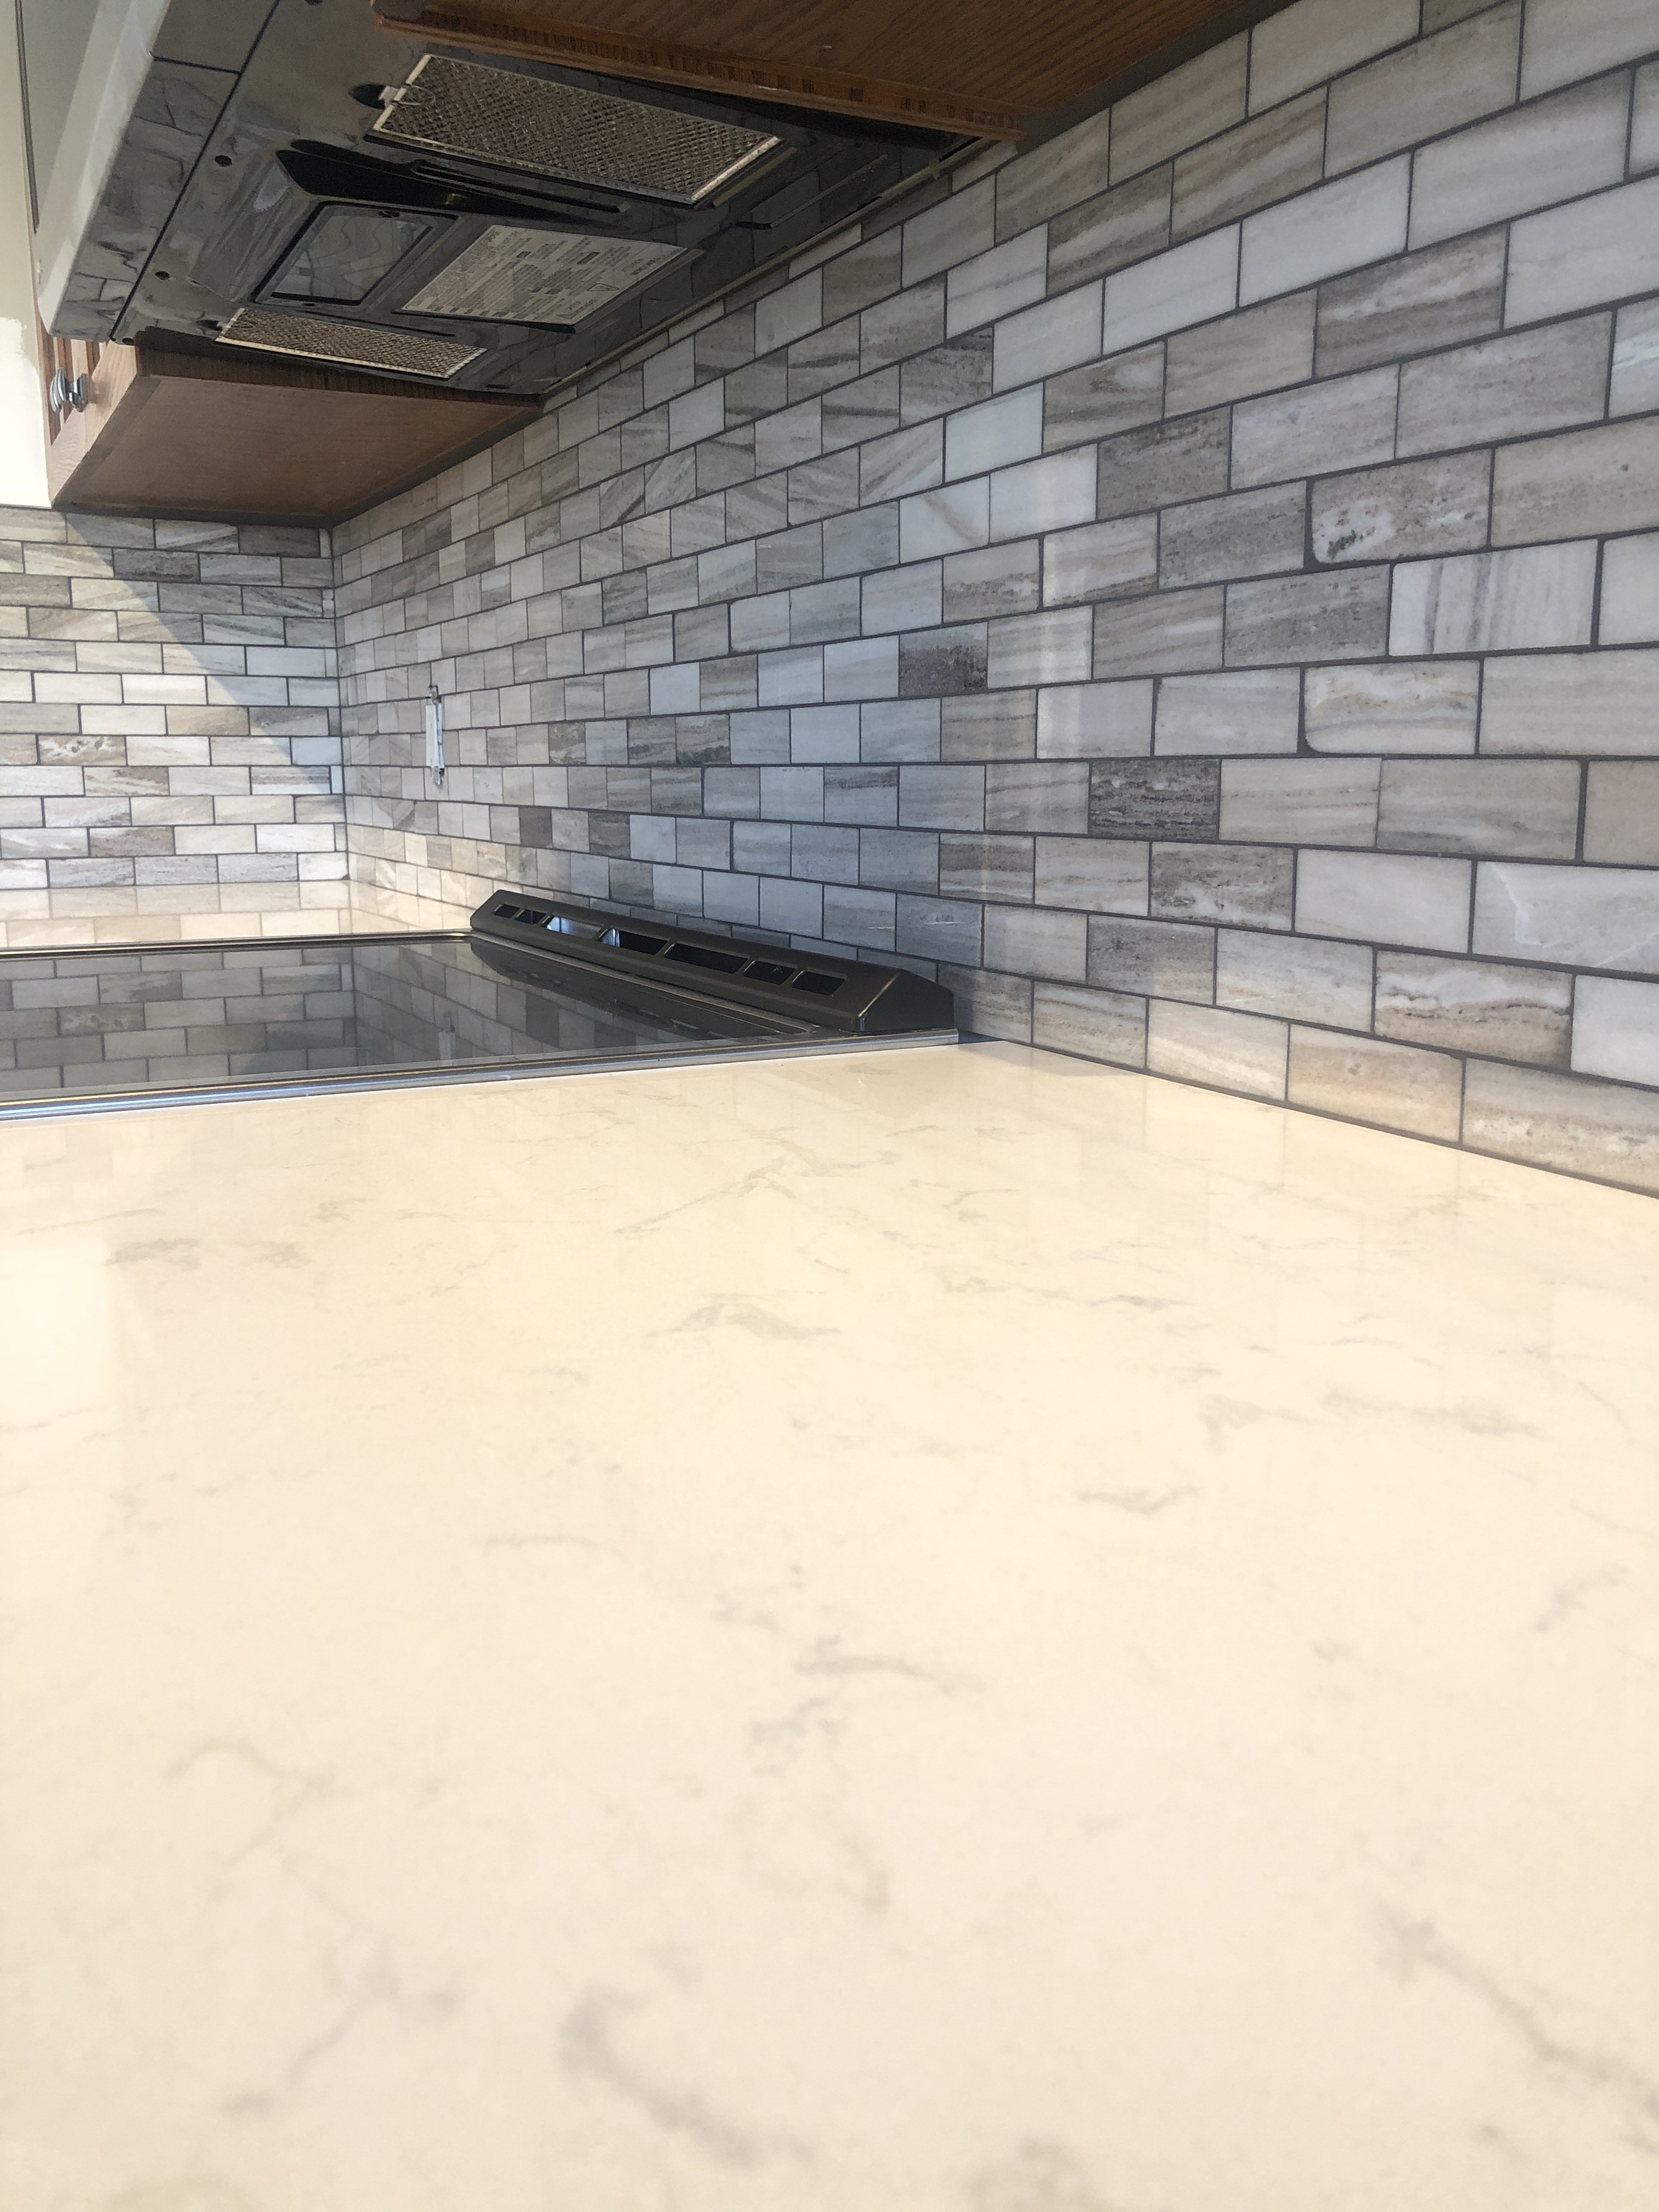
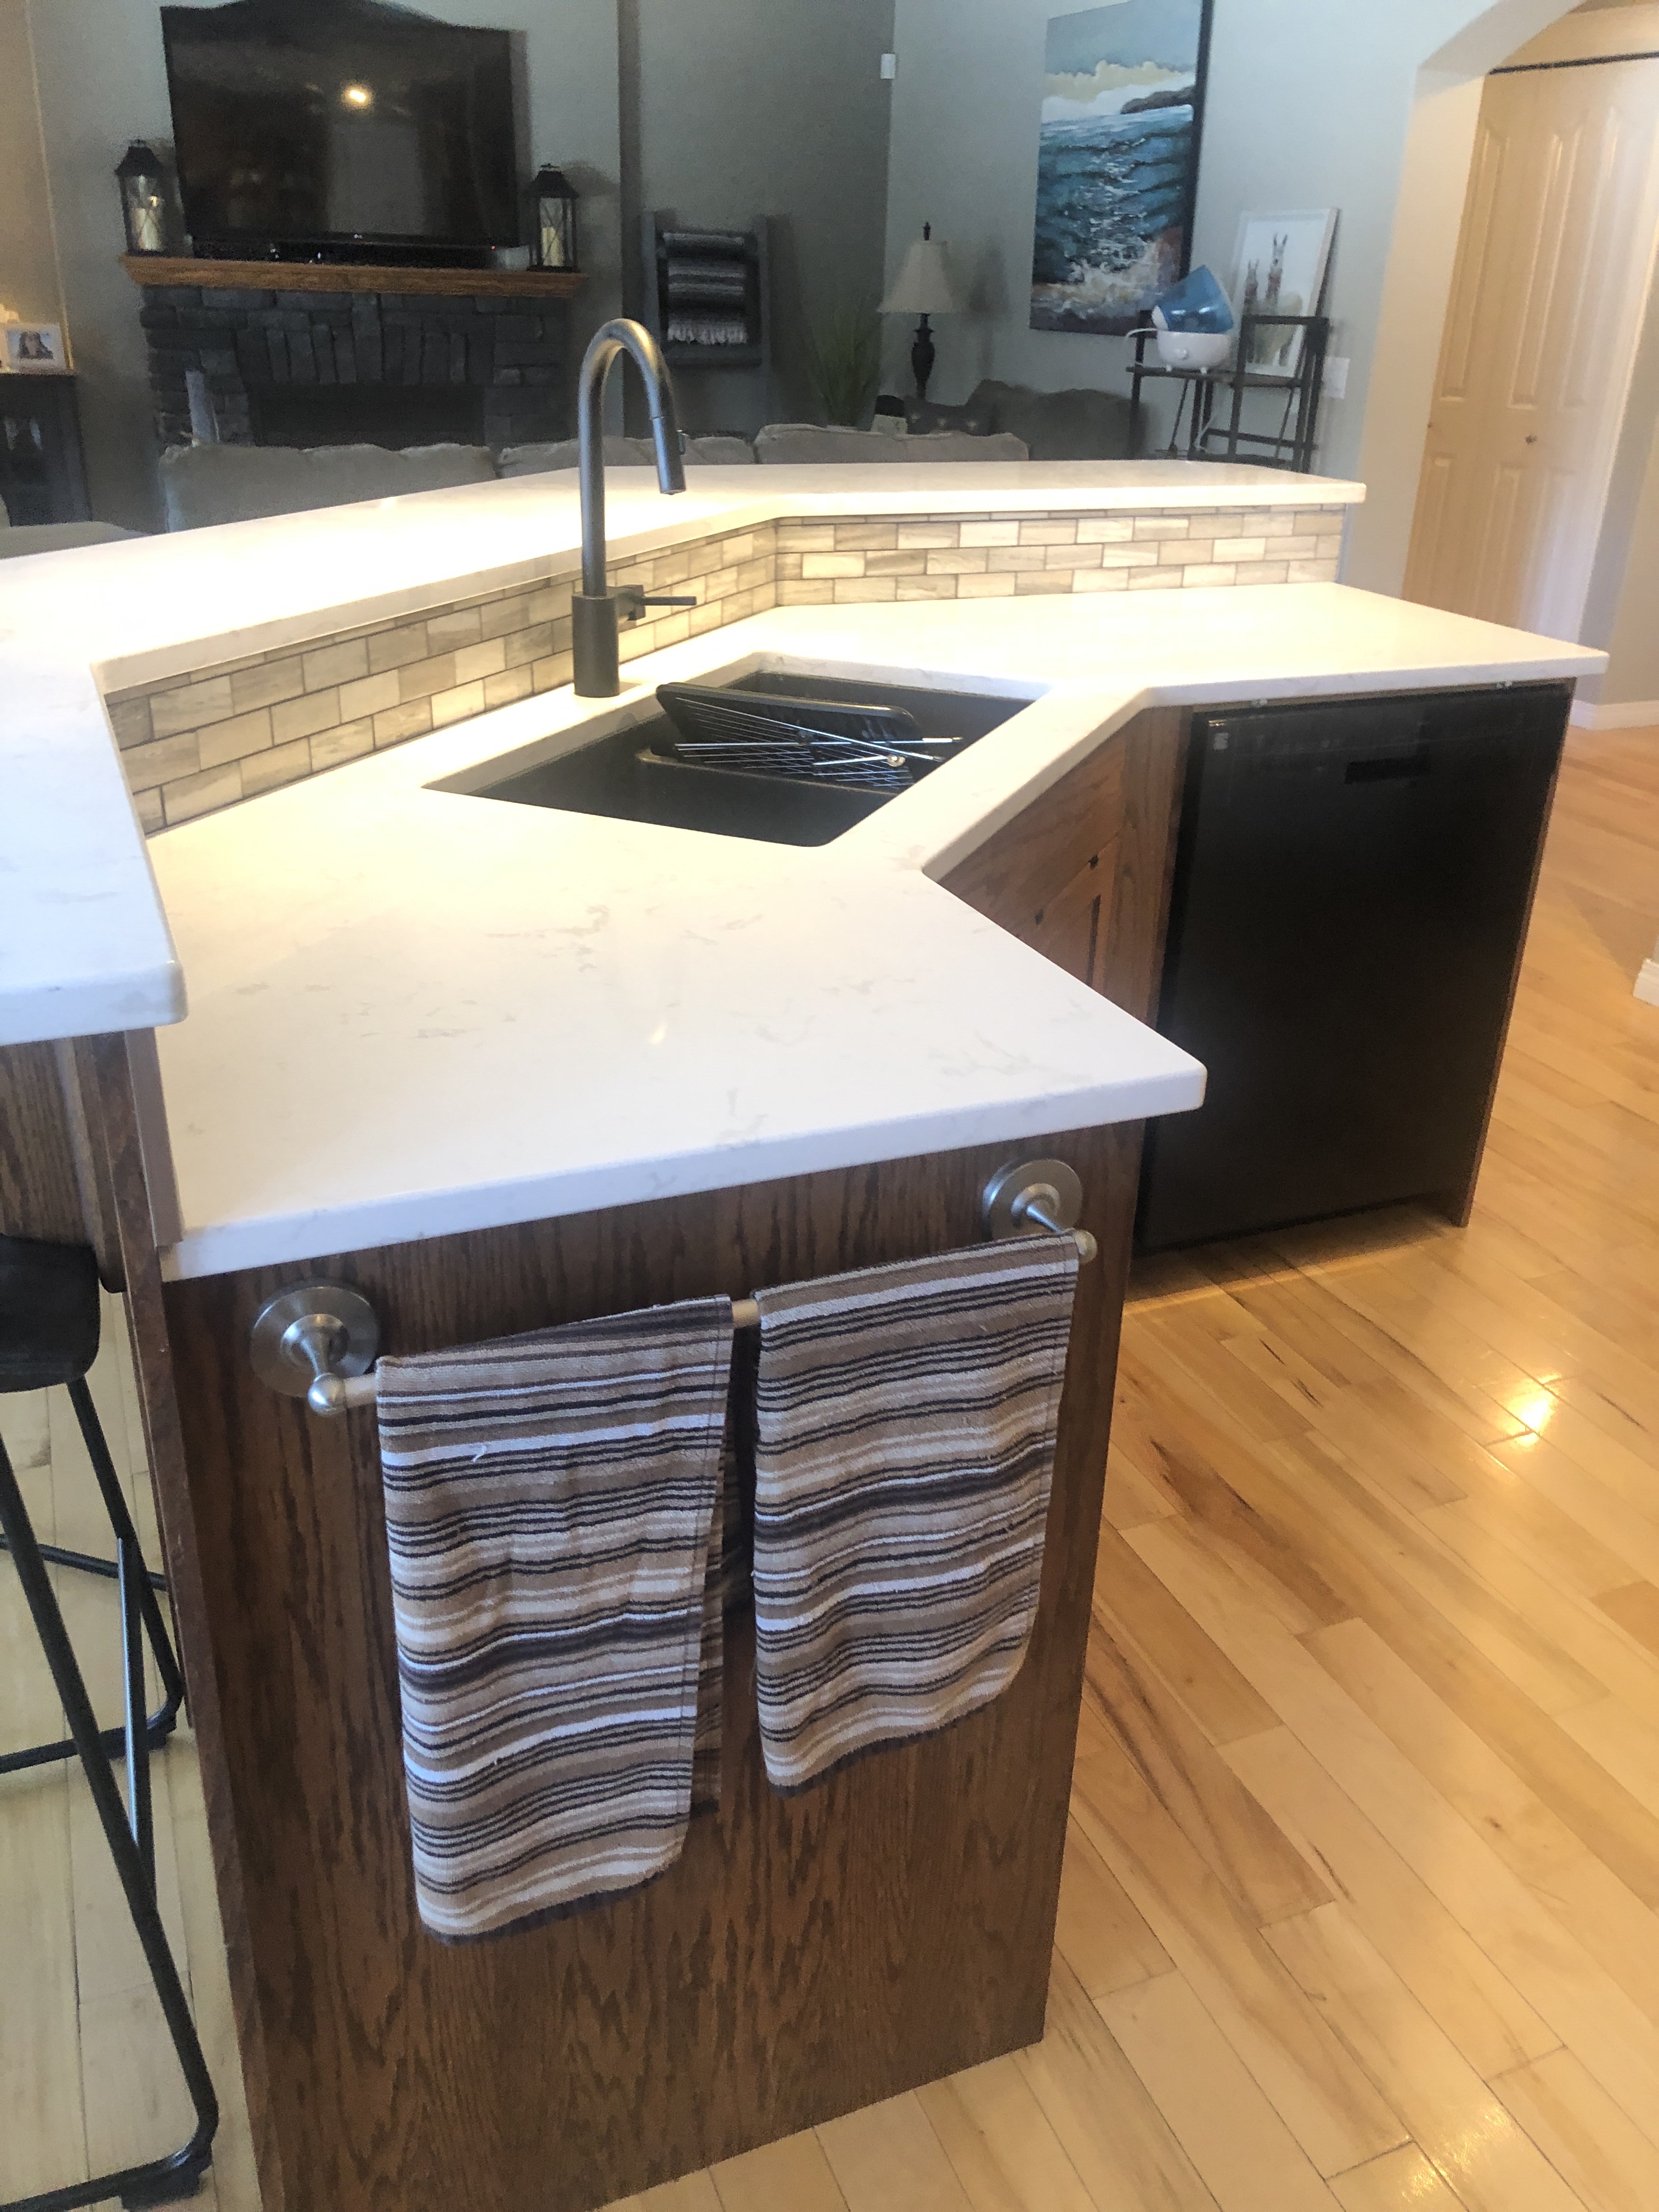
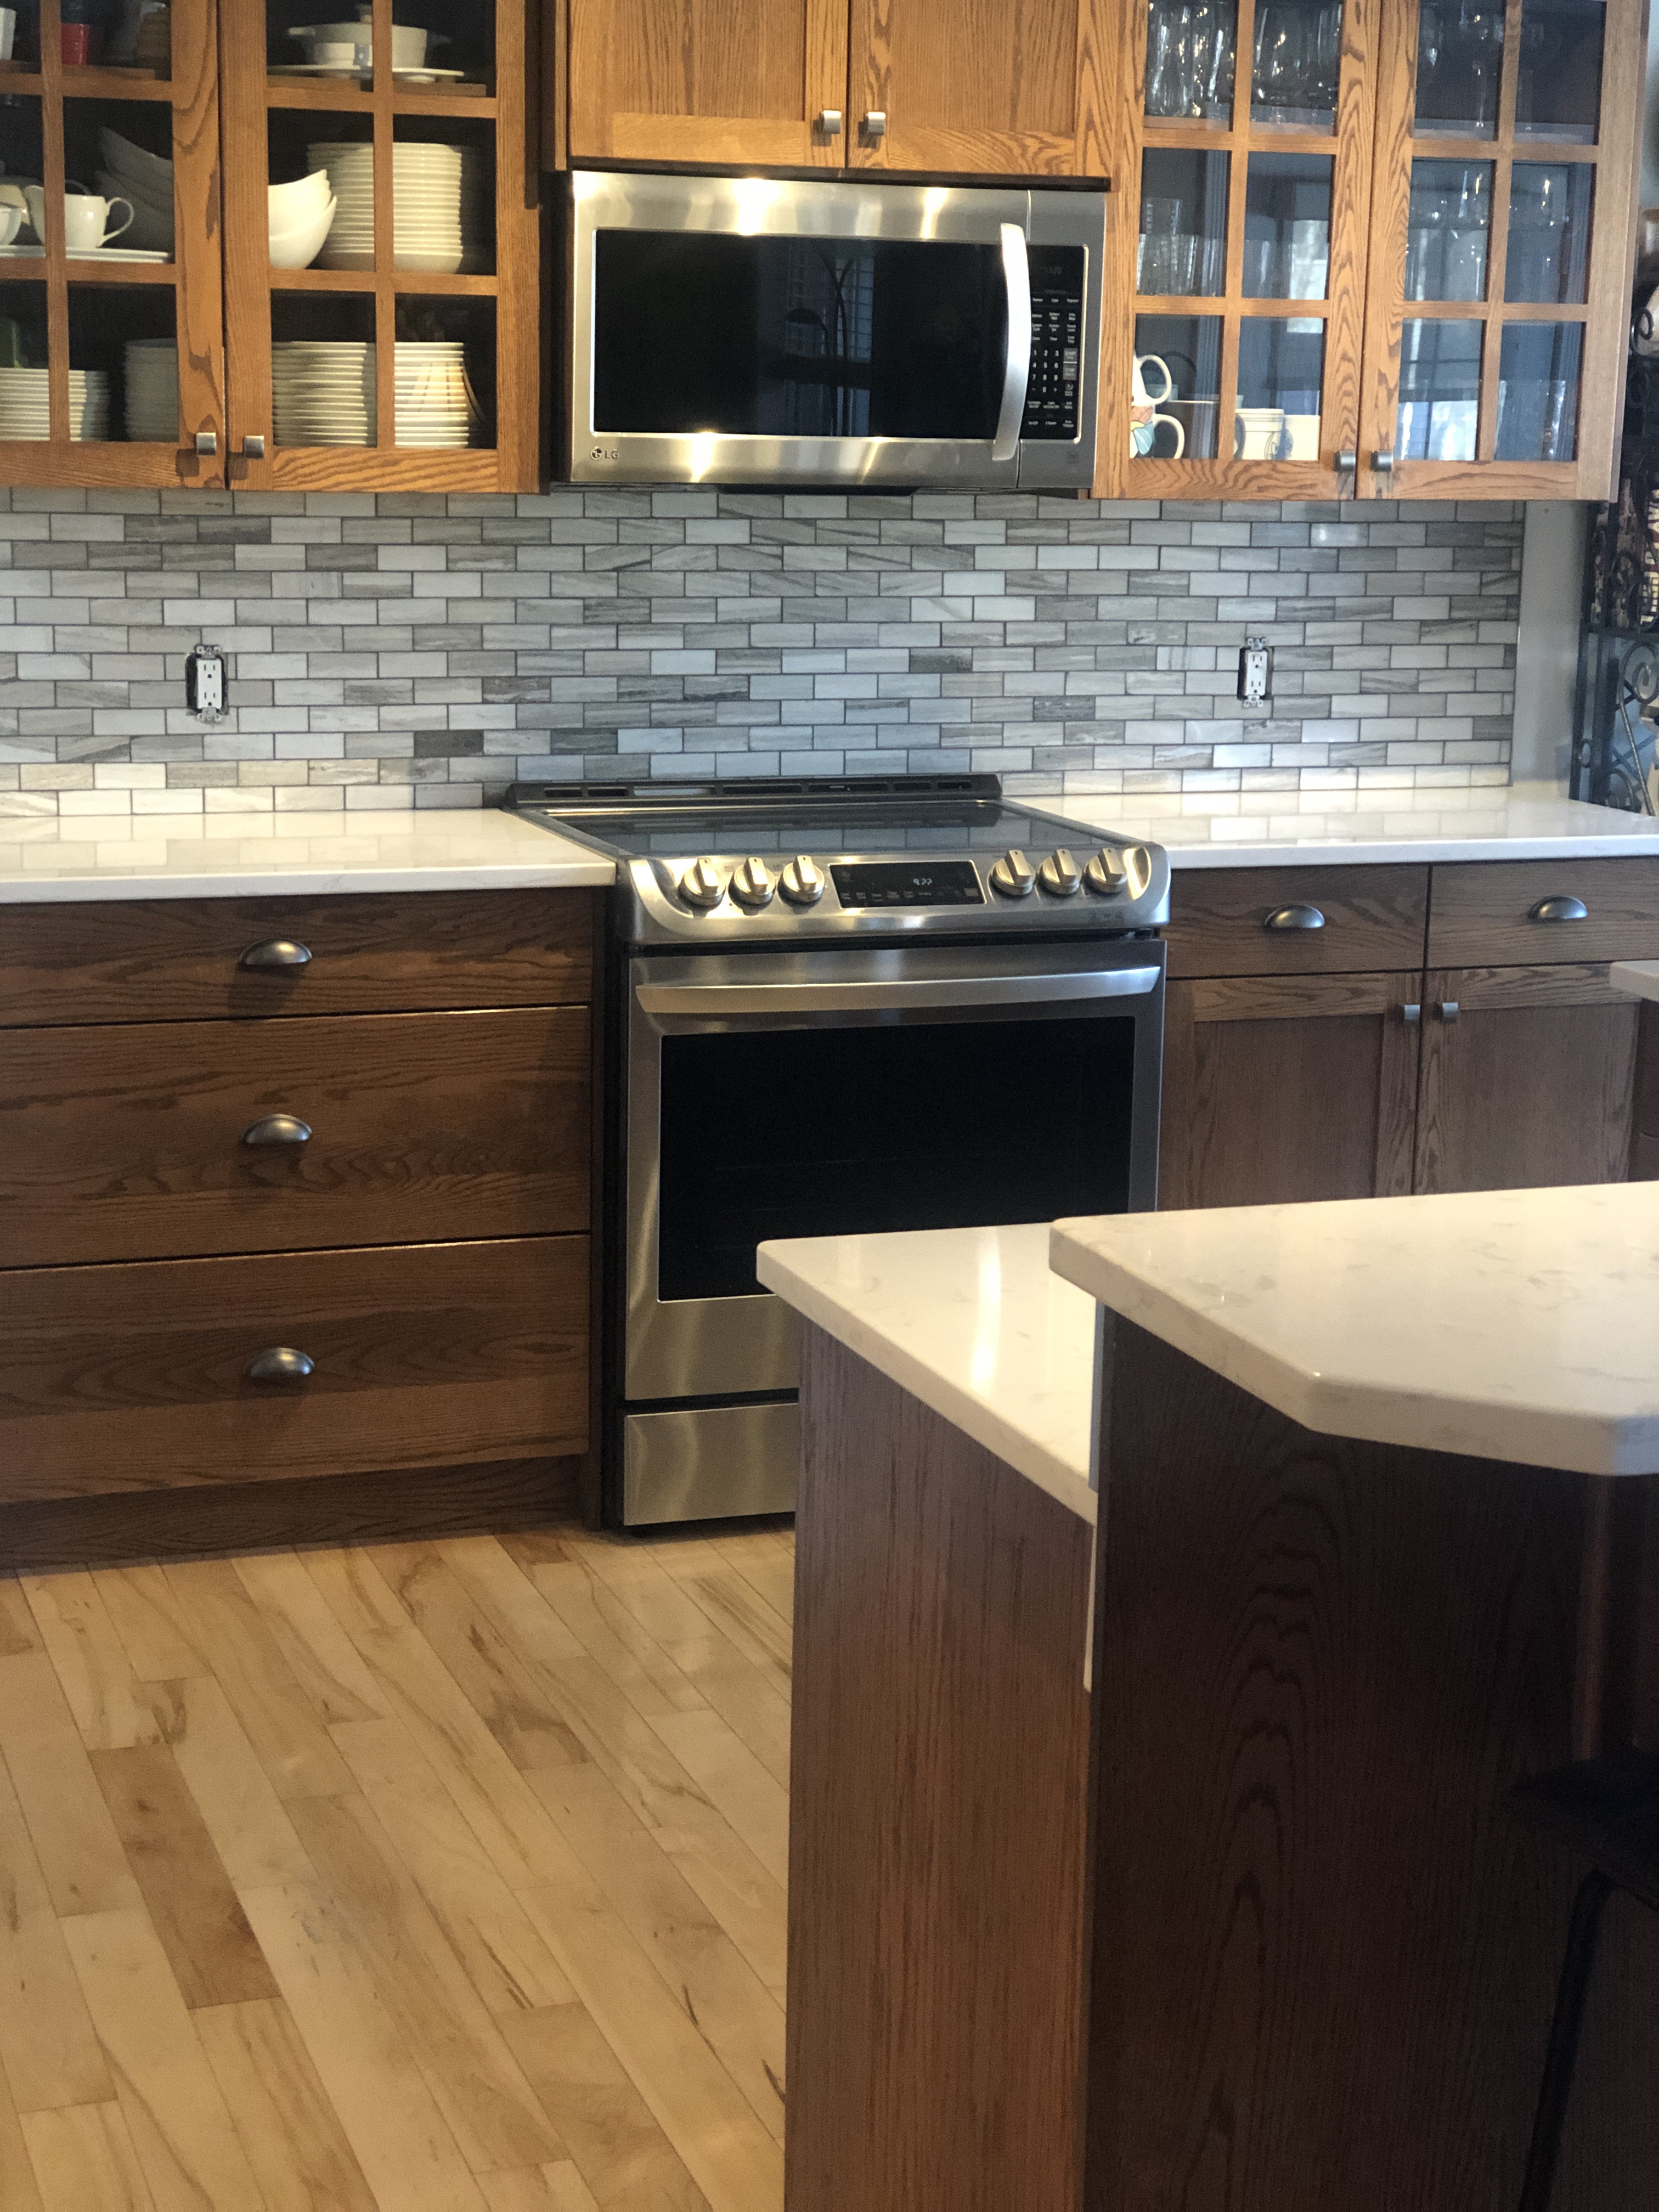
Prior to leaving for Mexico we did a renovation of the kitchen and bathroom which has updated the house. New appliances, back splash, counter tops, sinks in both the kitchen and 1/2 bath… so happy with our choices and the help we got from our contractor, trades and suppliers. ✨✨✨
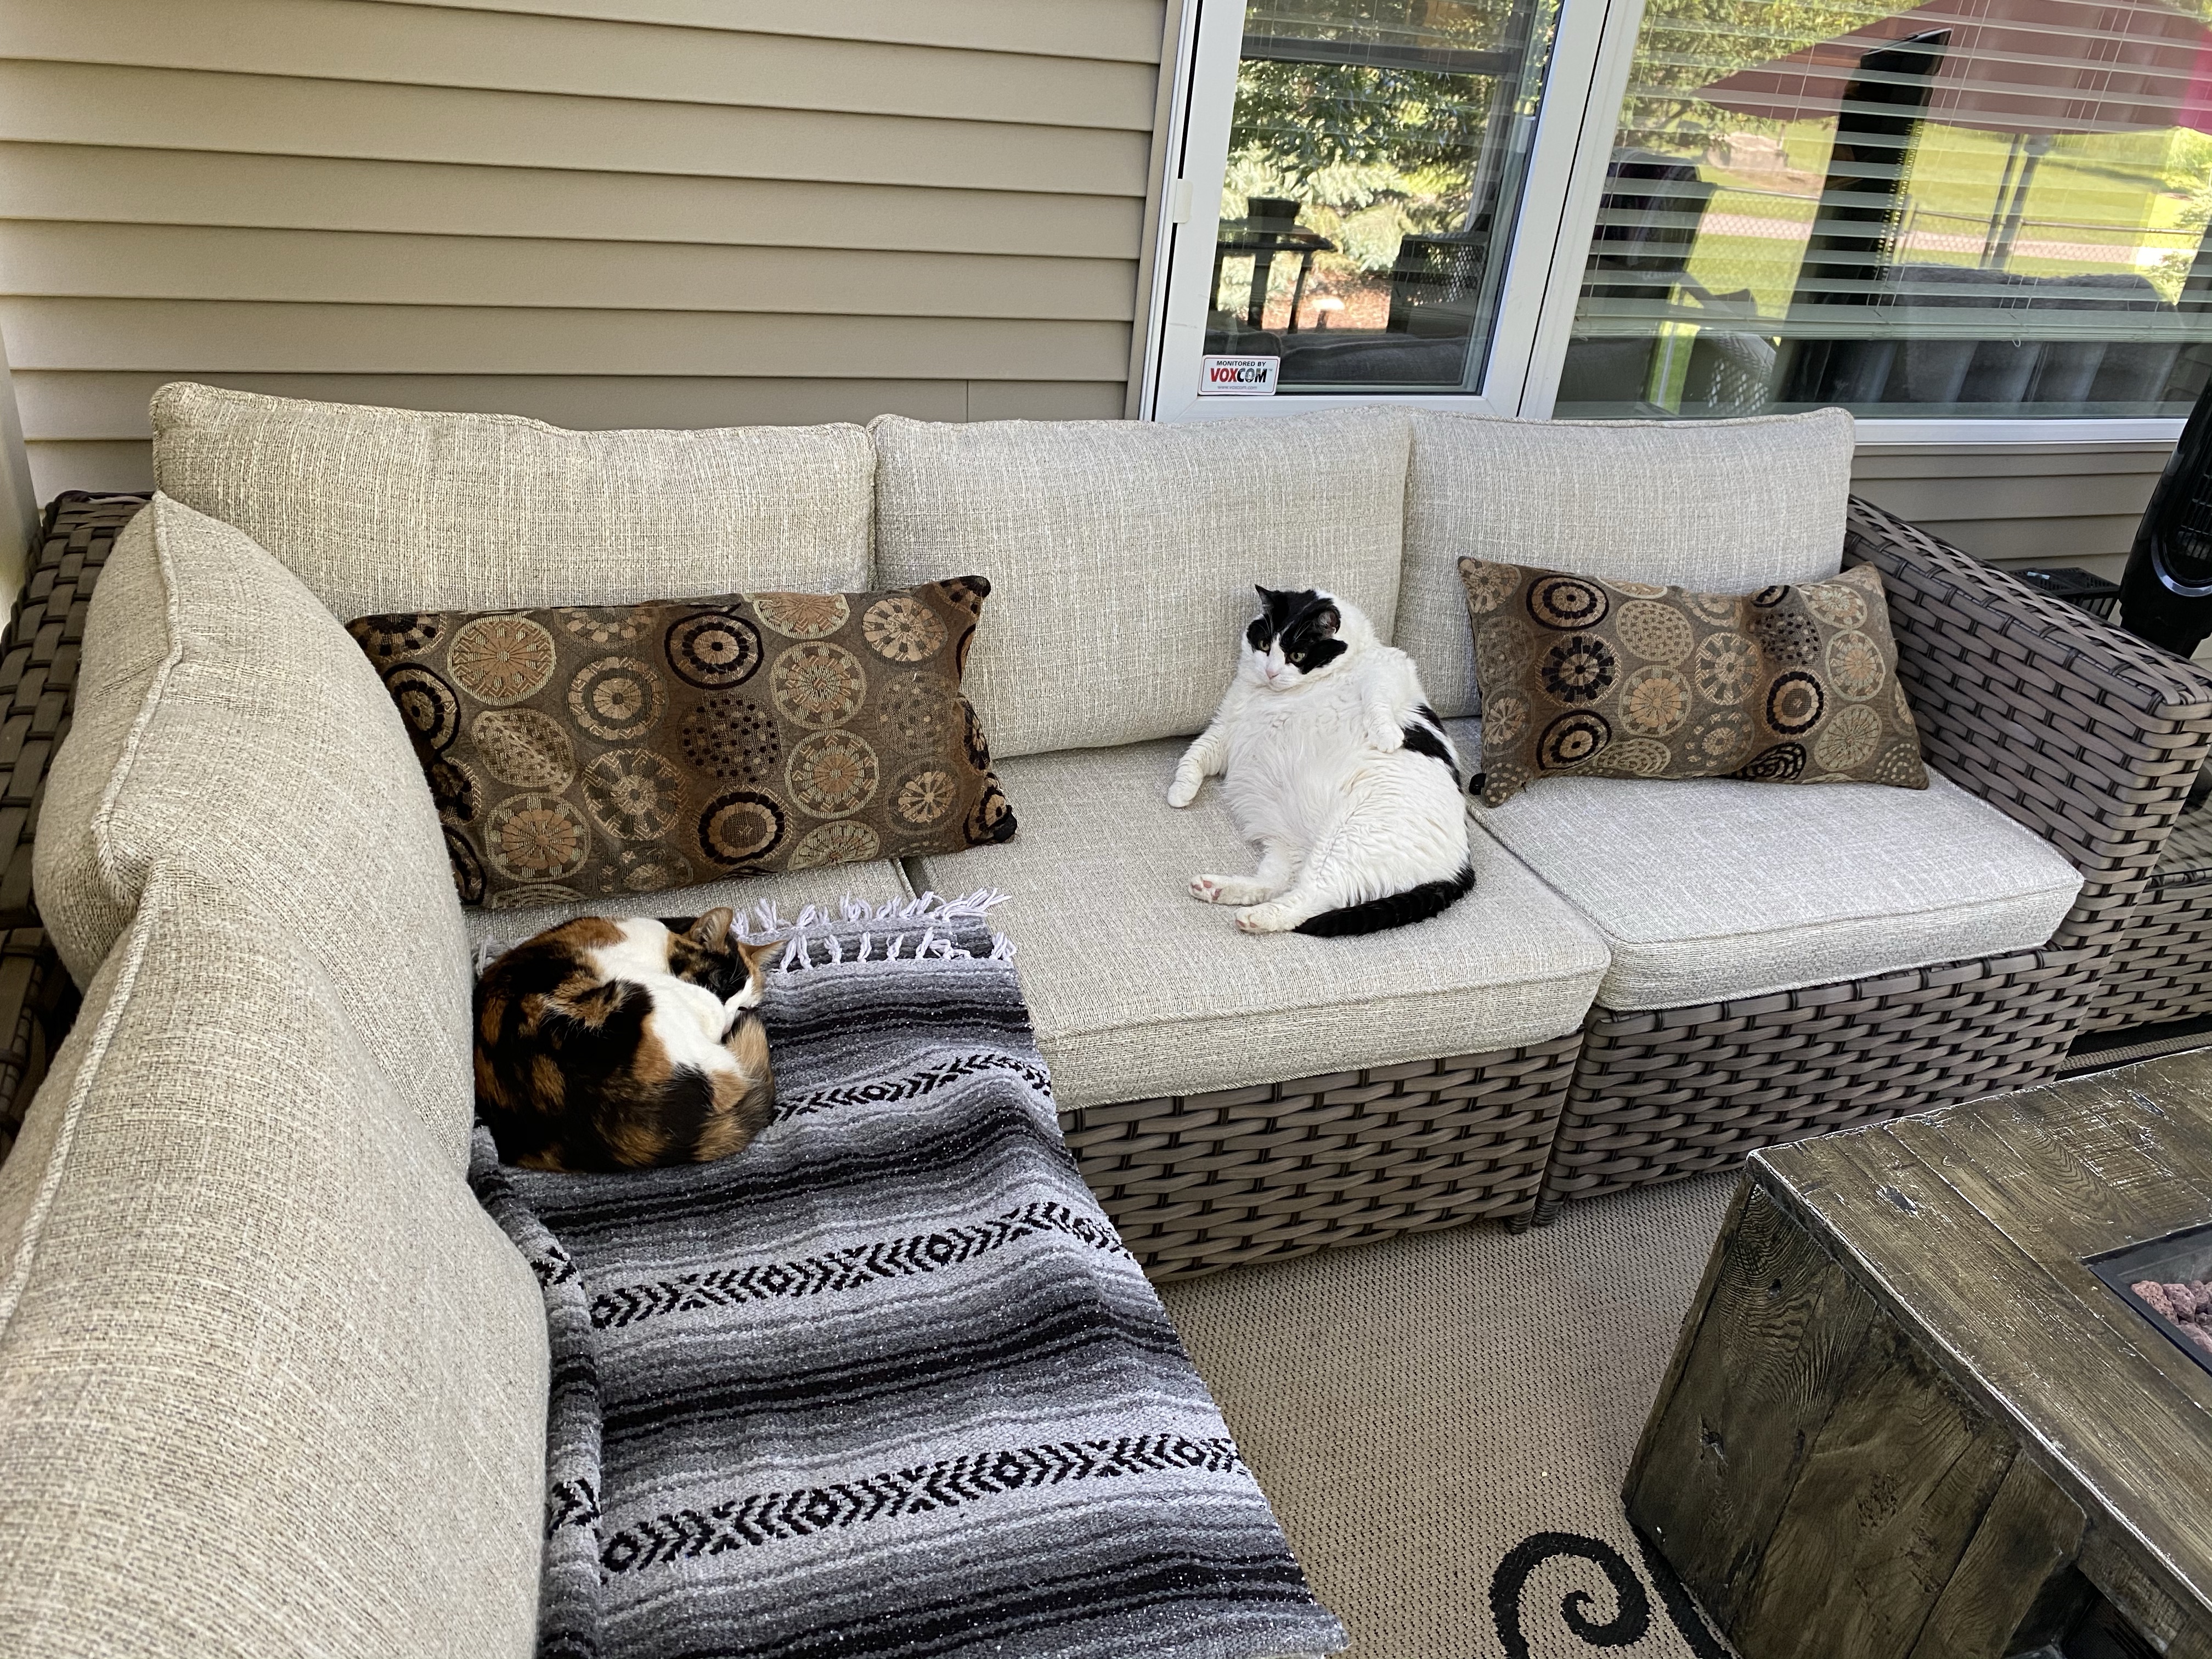
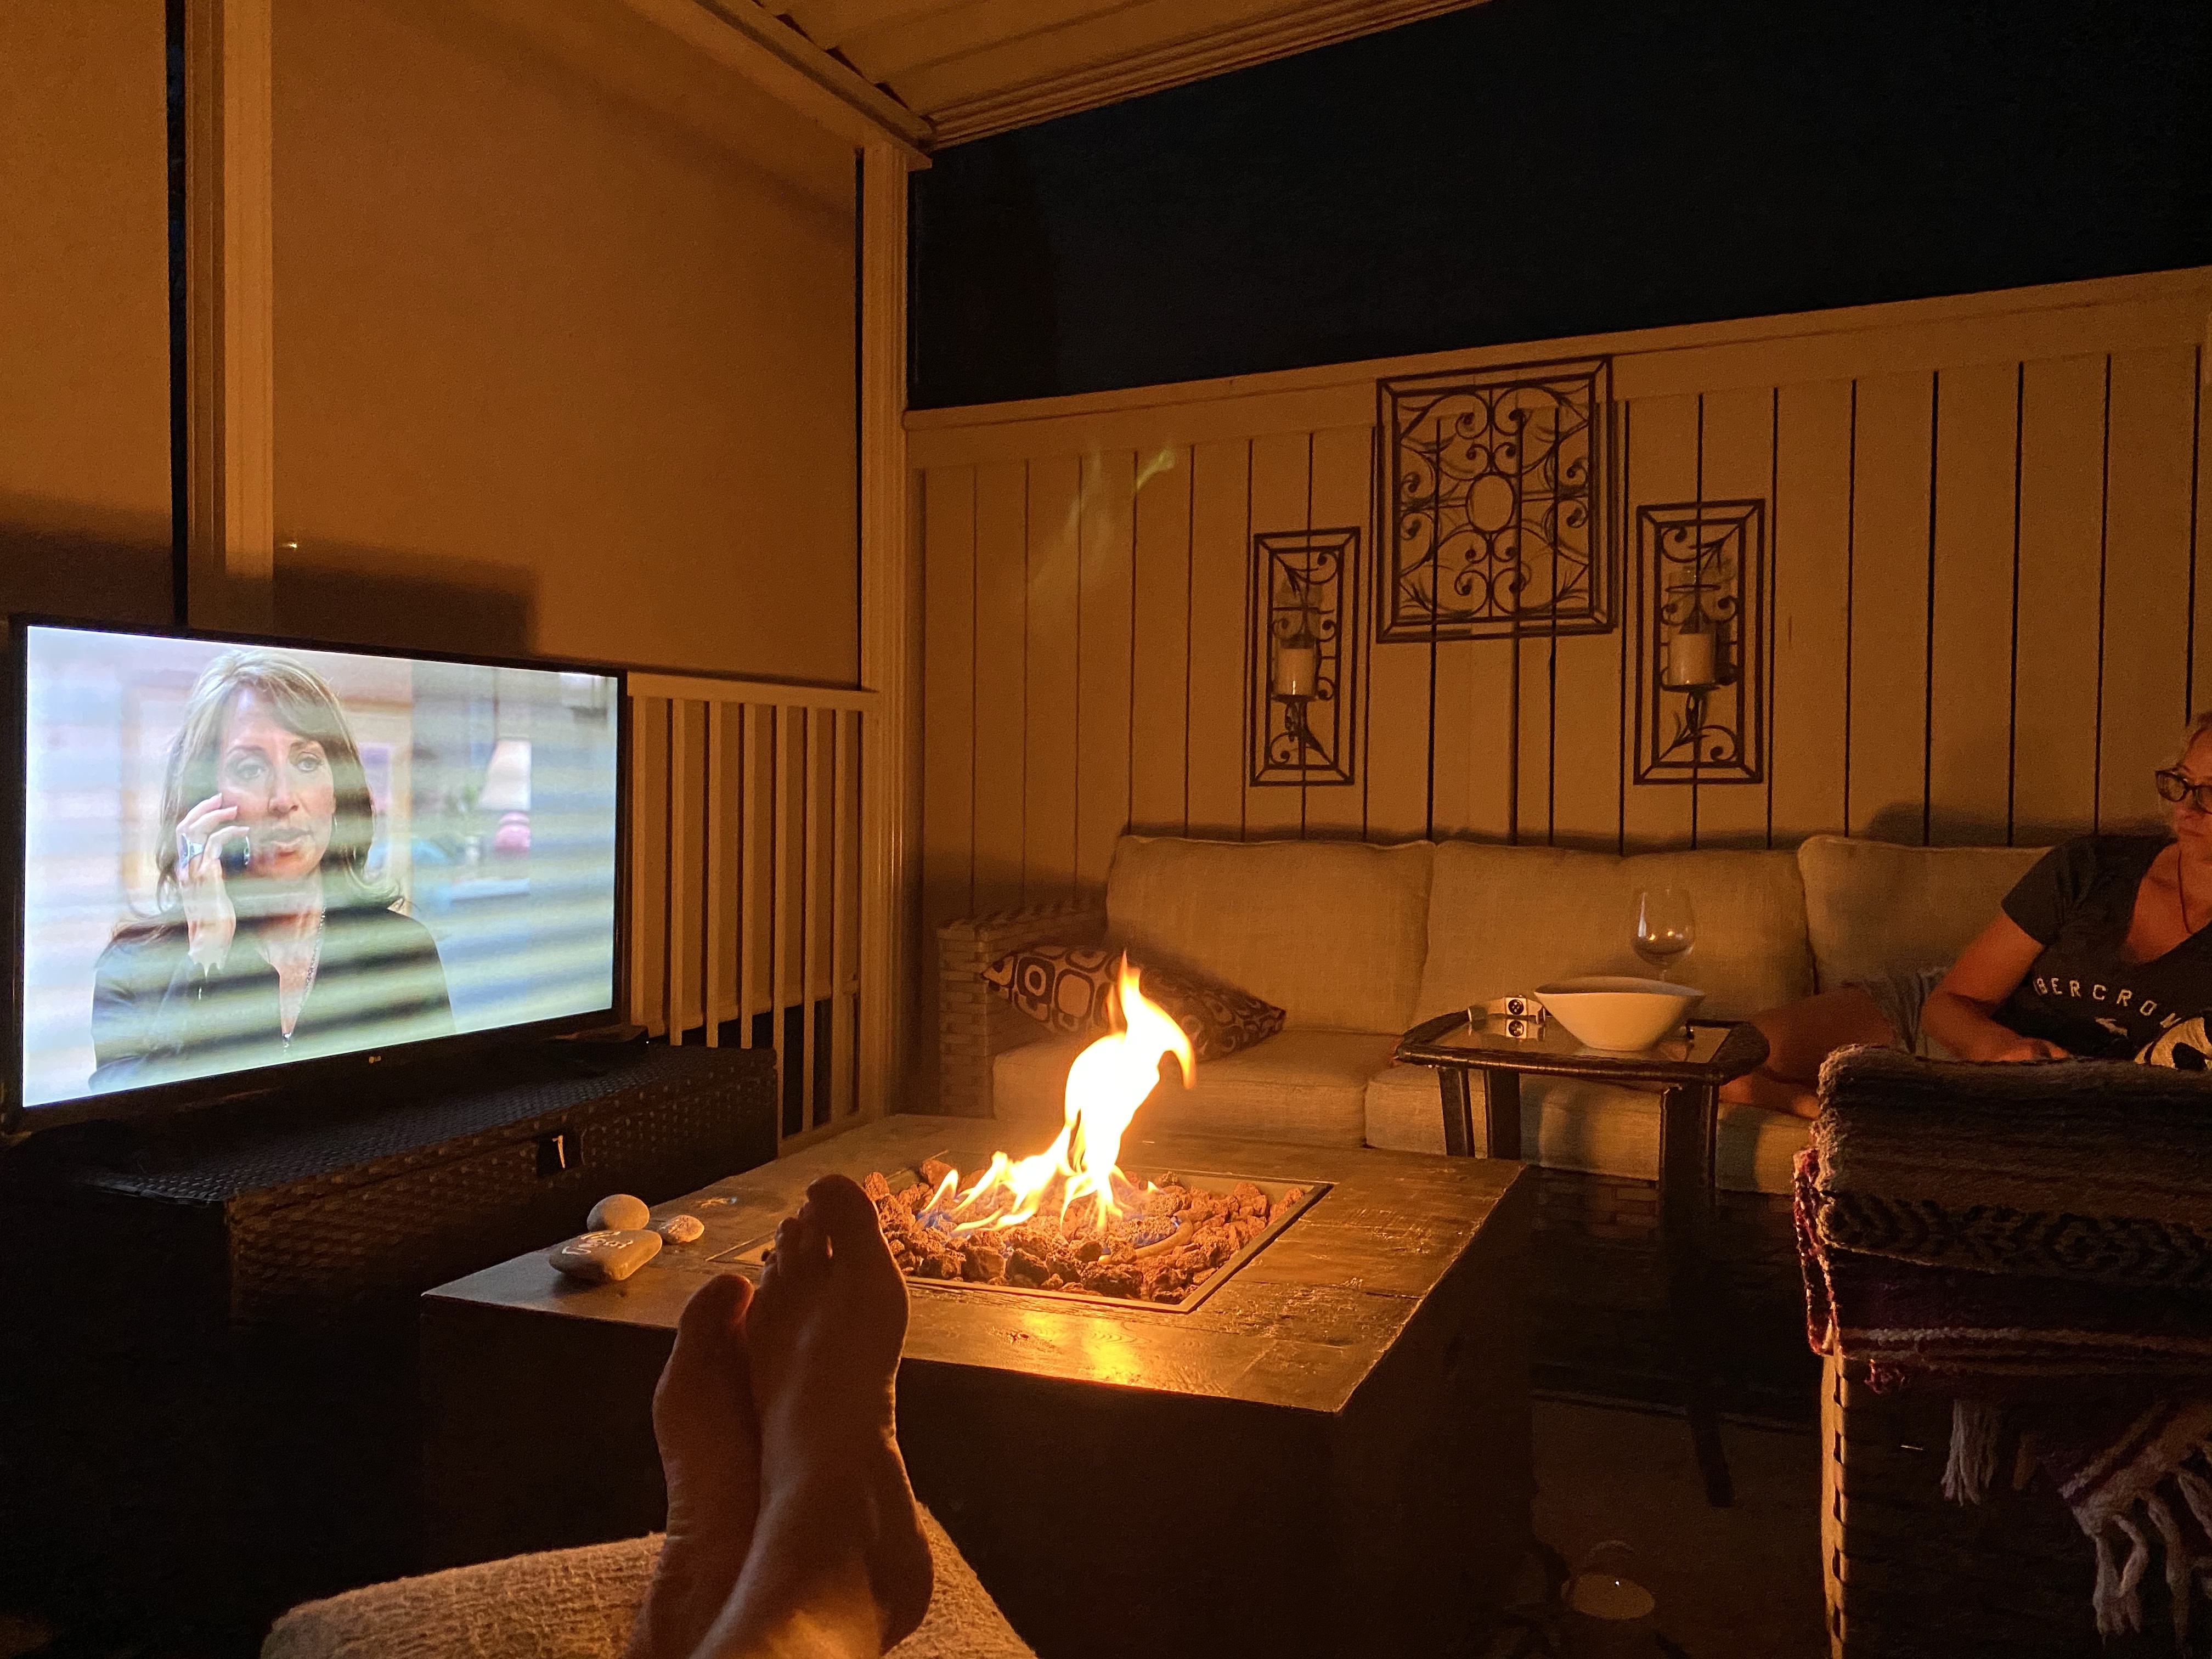
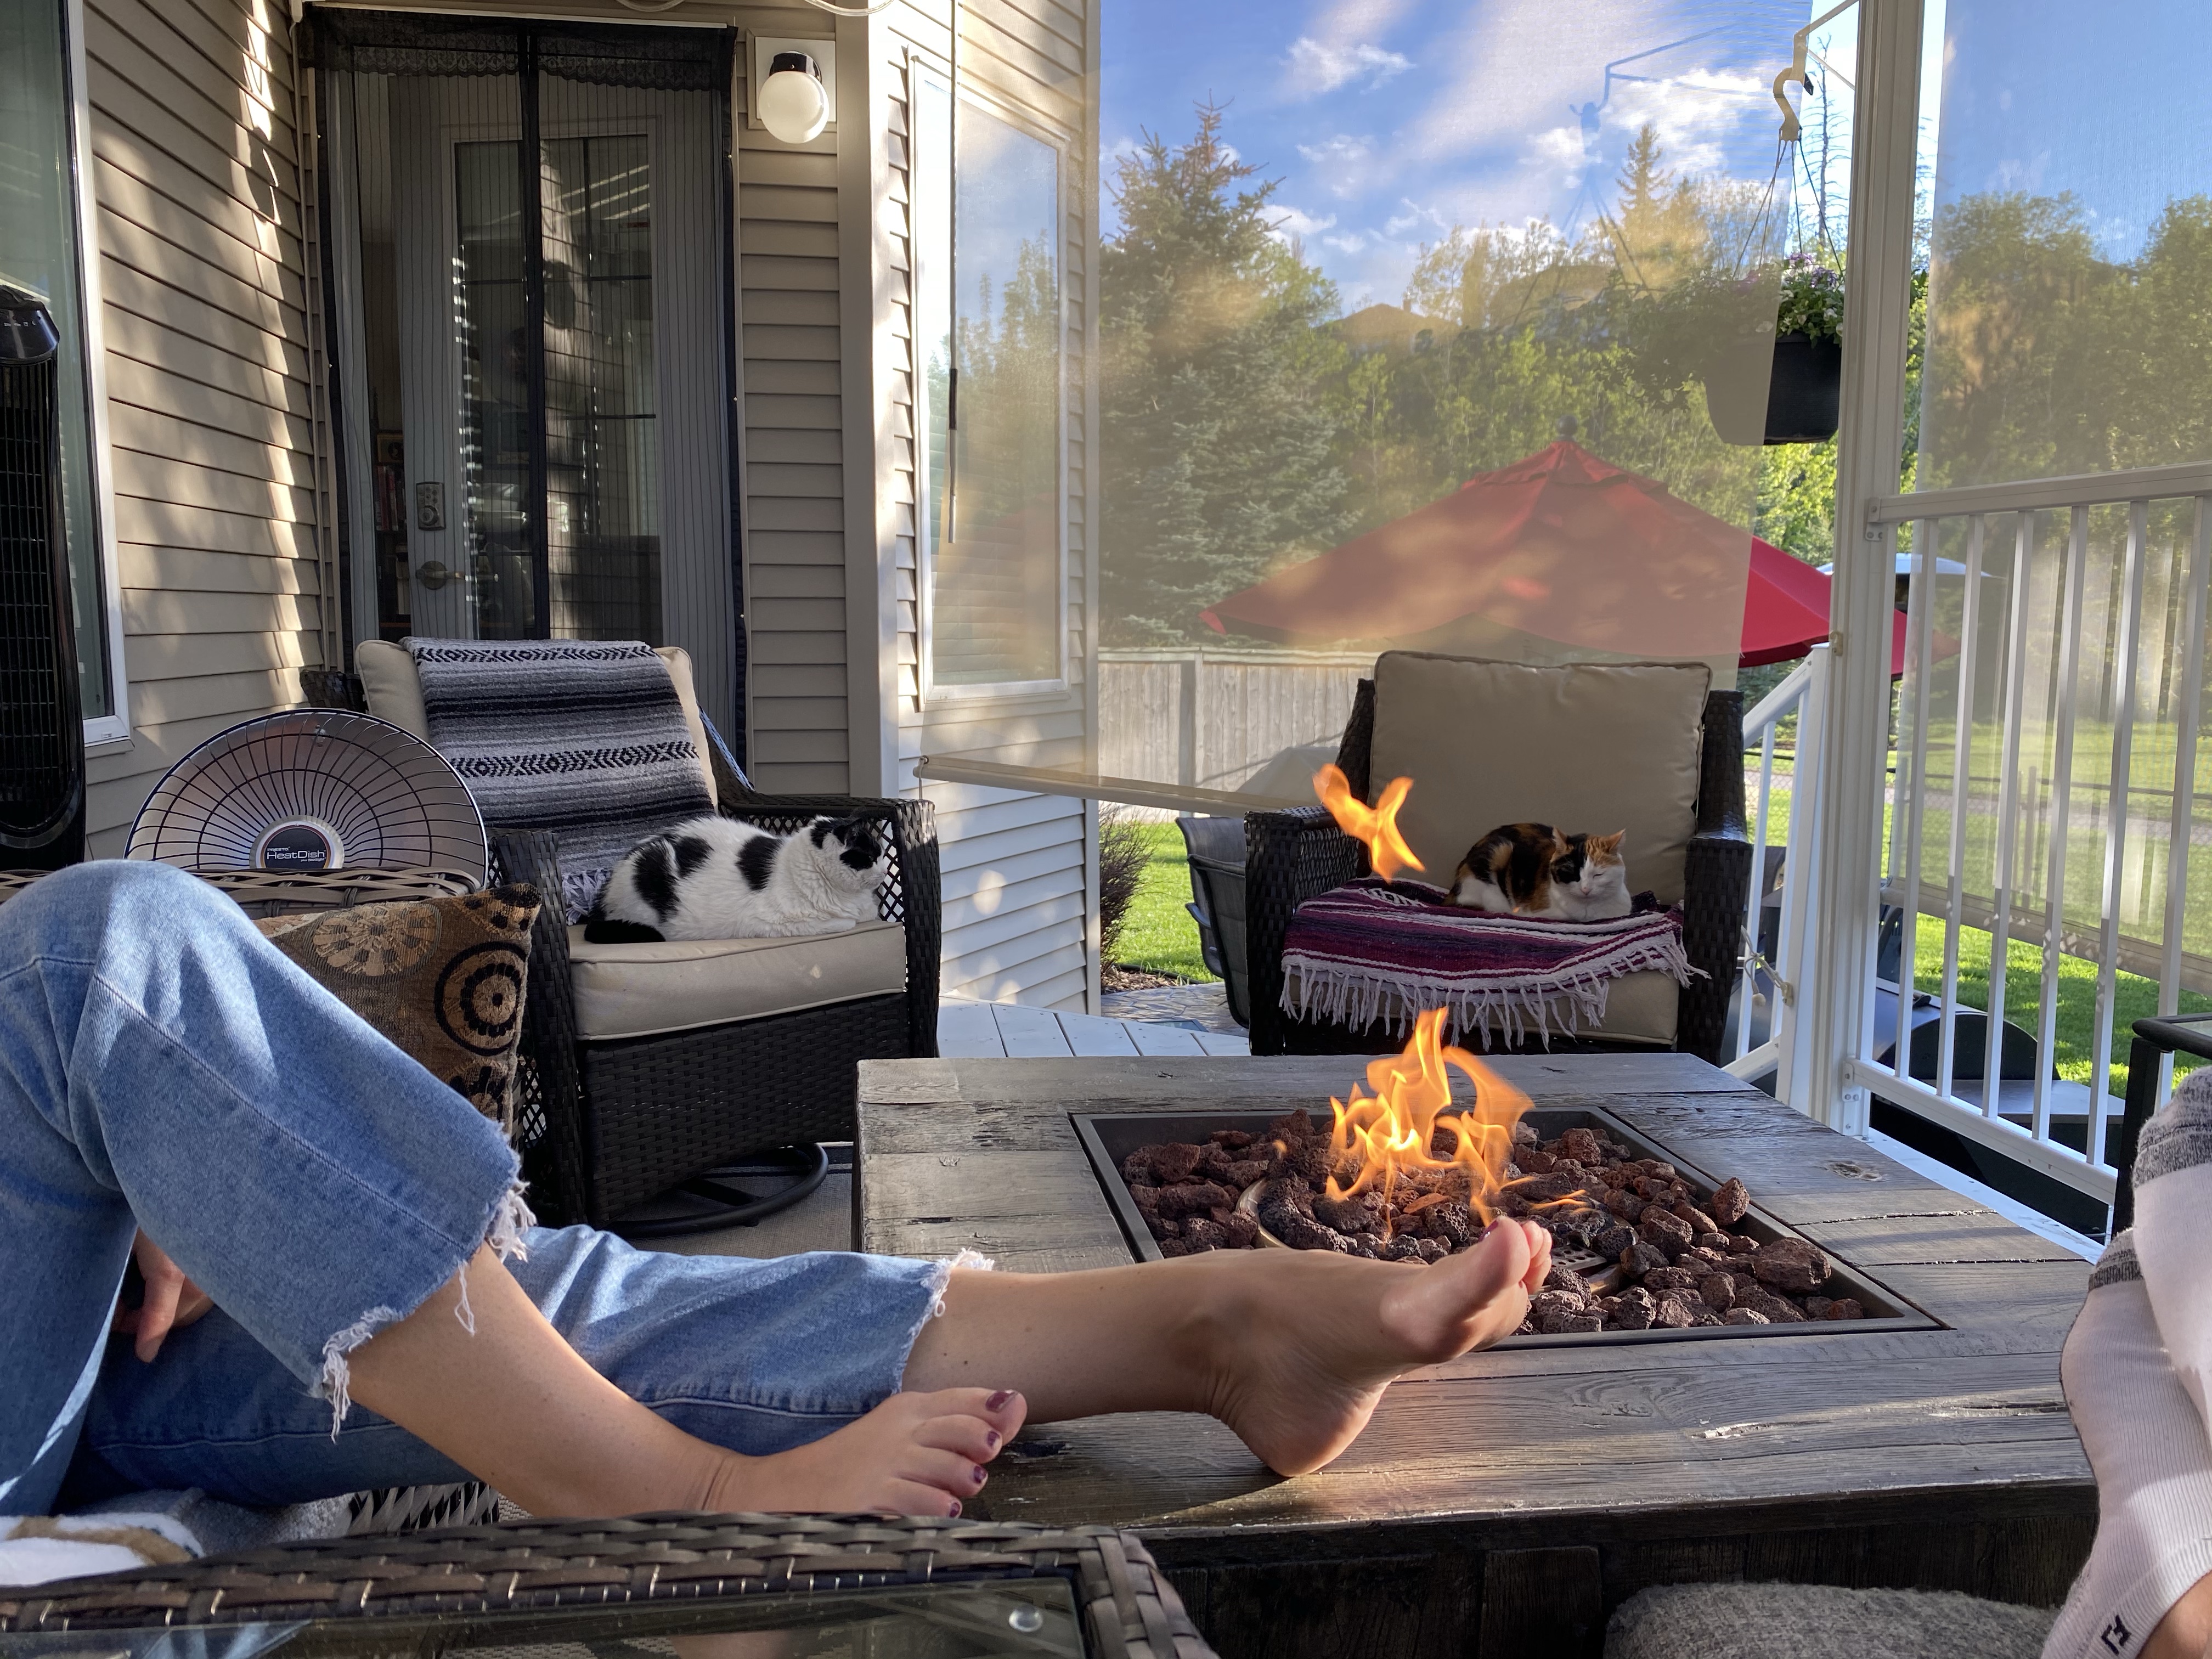
I’m hoping to expand more on the Reno on another post. The choices we made and why. It’s a big leap and we tried to made big statements with a lower budget. But as everyone knows with renovations, more ideas are swirling in my head so stay tuned. ☺️ We then decided to insulate and drywall, paint the garage. And moved in an extra fridge to save having to walk downstairs. It holds the extra beverages ie wine, beer and the stuff get from Costco in multiples. We then moved onto our partially enclosed back deck and added glass railings to combat the elements. Now we have a fantastic extra room that we (and the cats 😺😺)have spent the summer enjoying. And will continue to enjoy into the fall.
Outdoor enclosed back deck
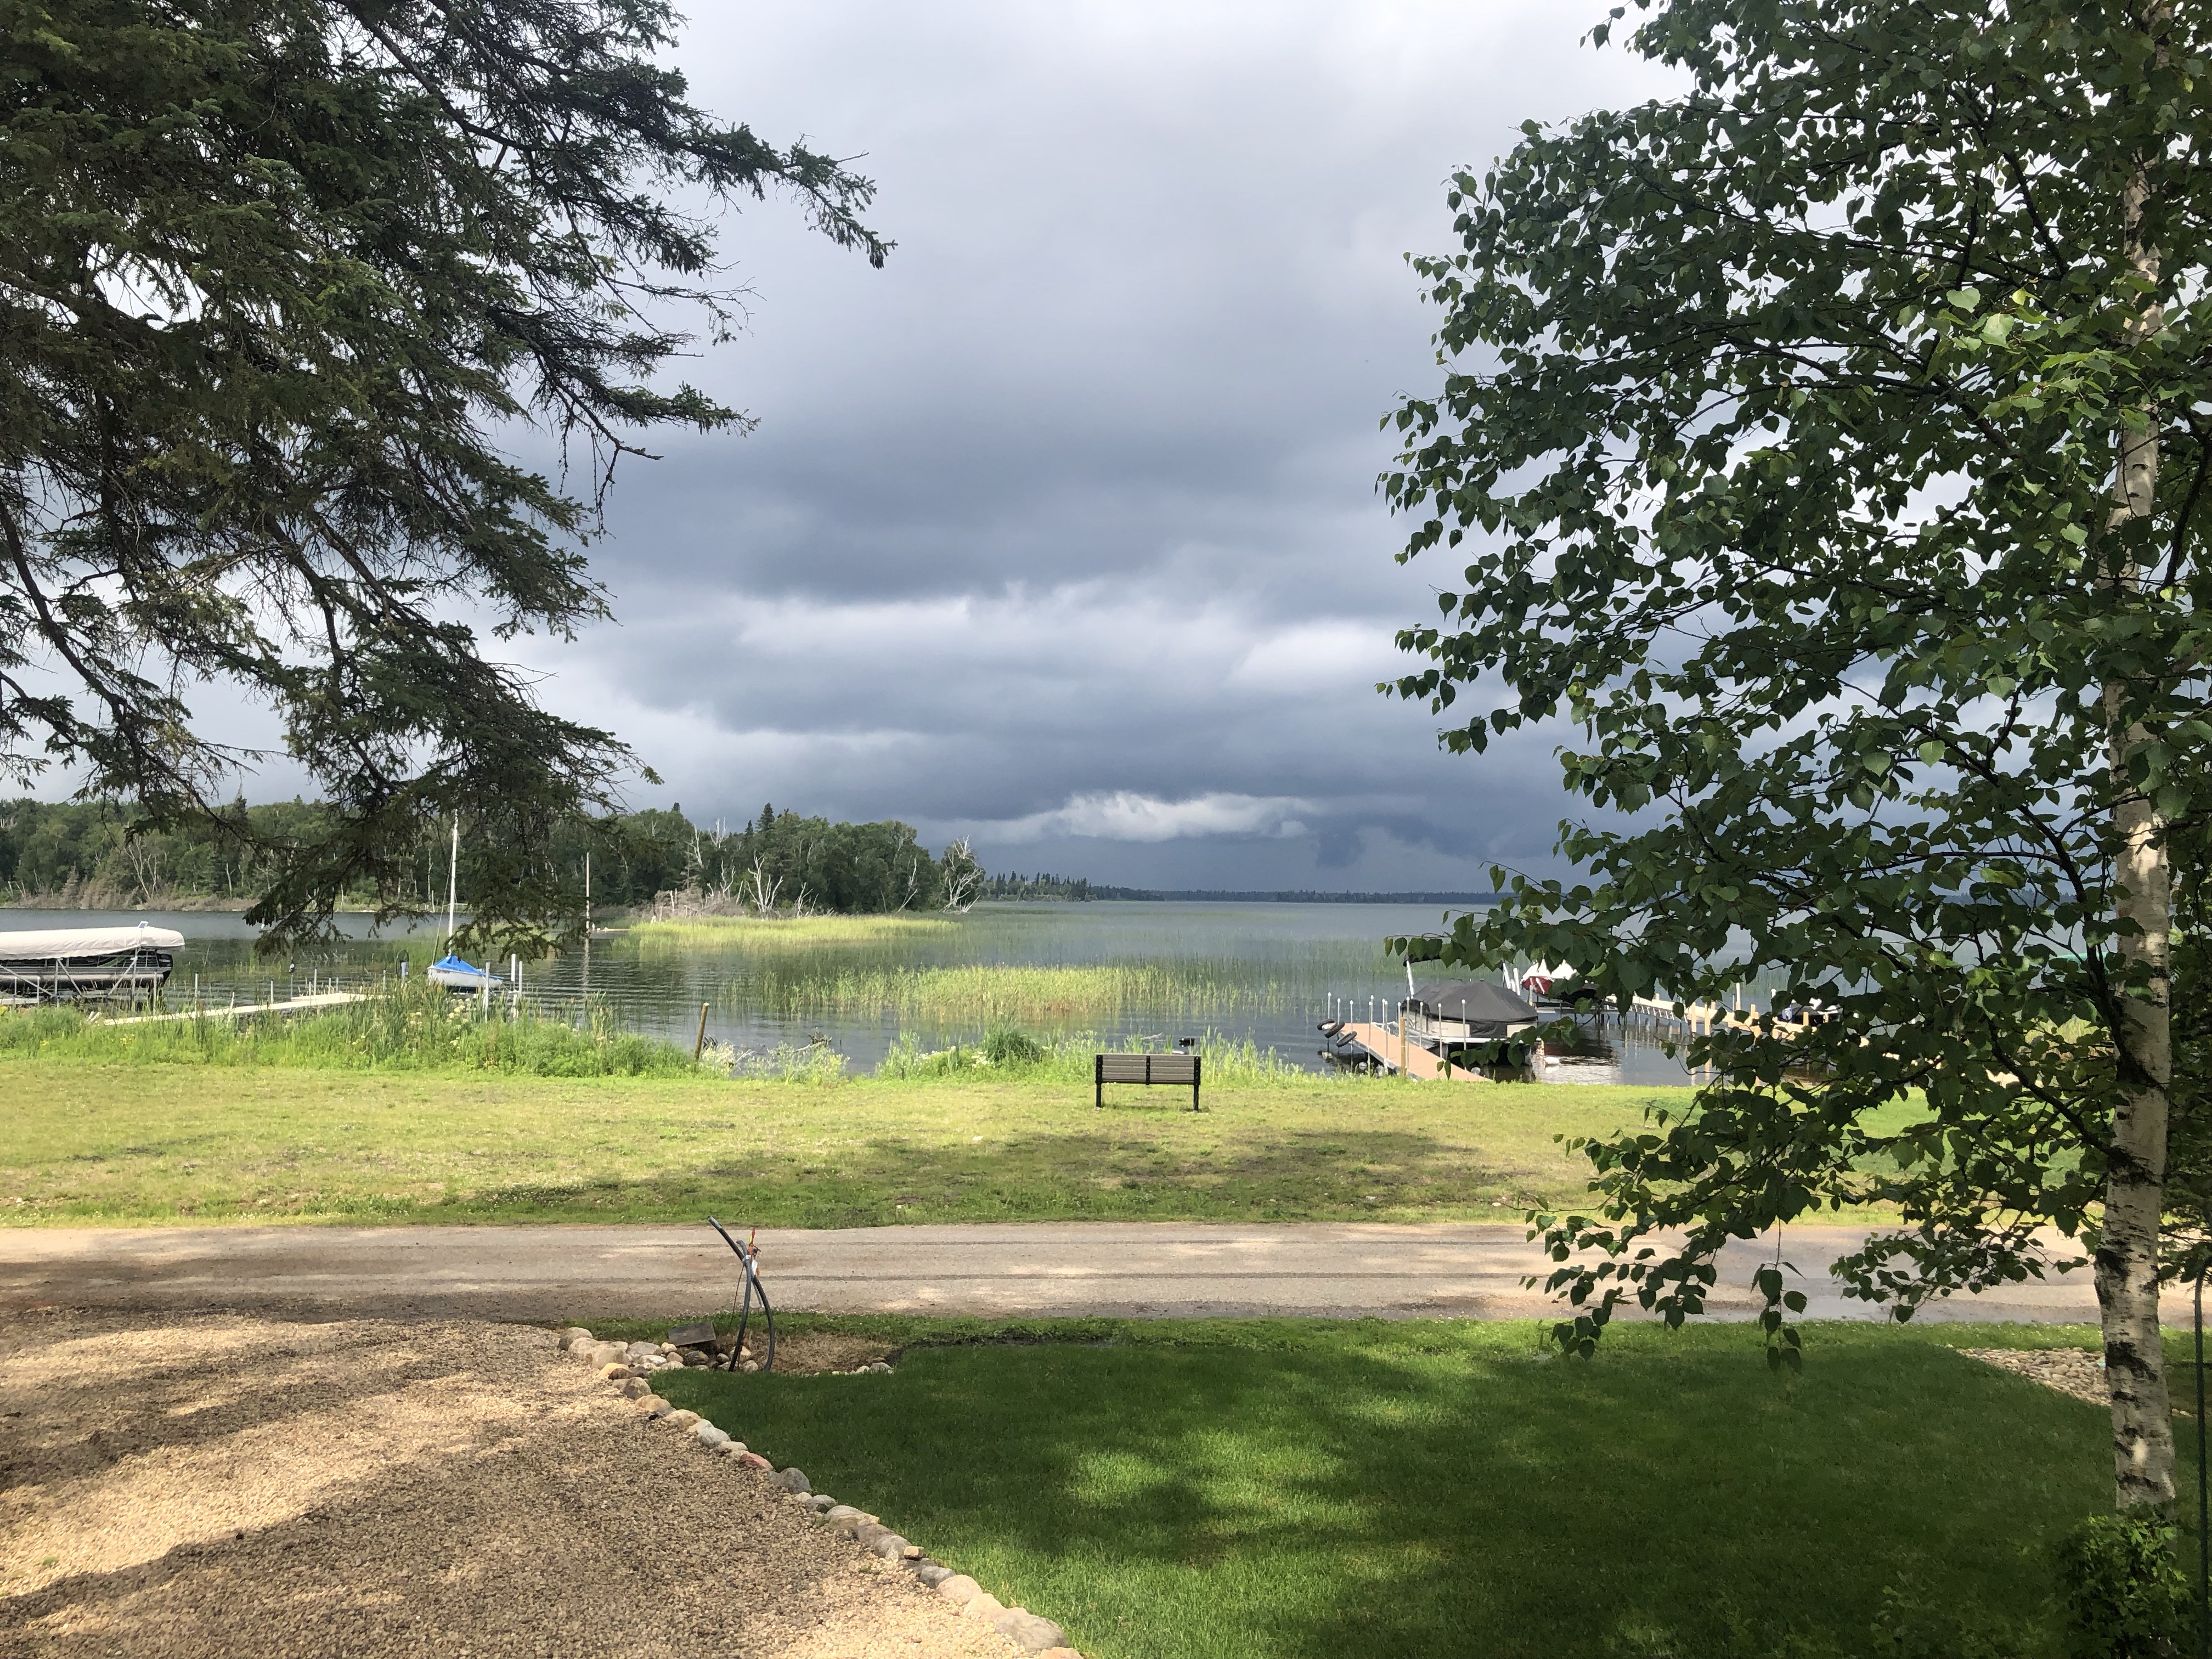
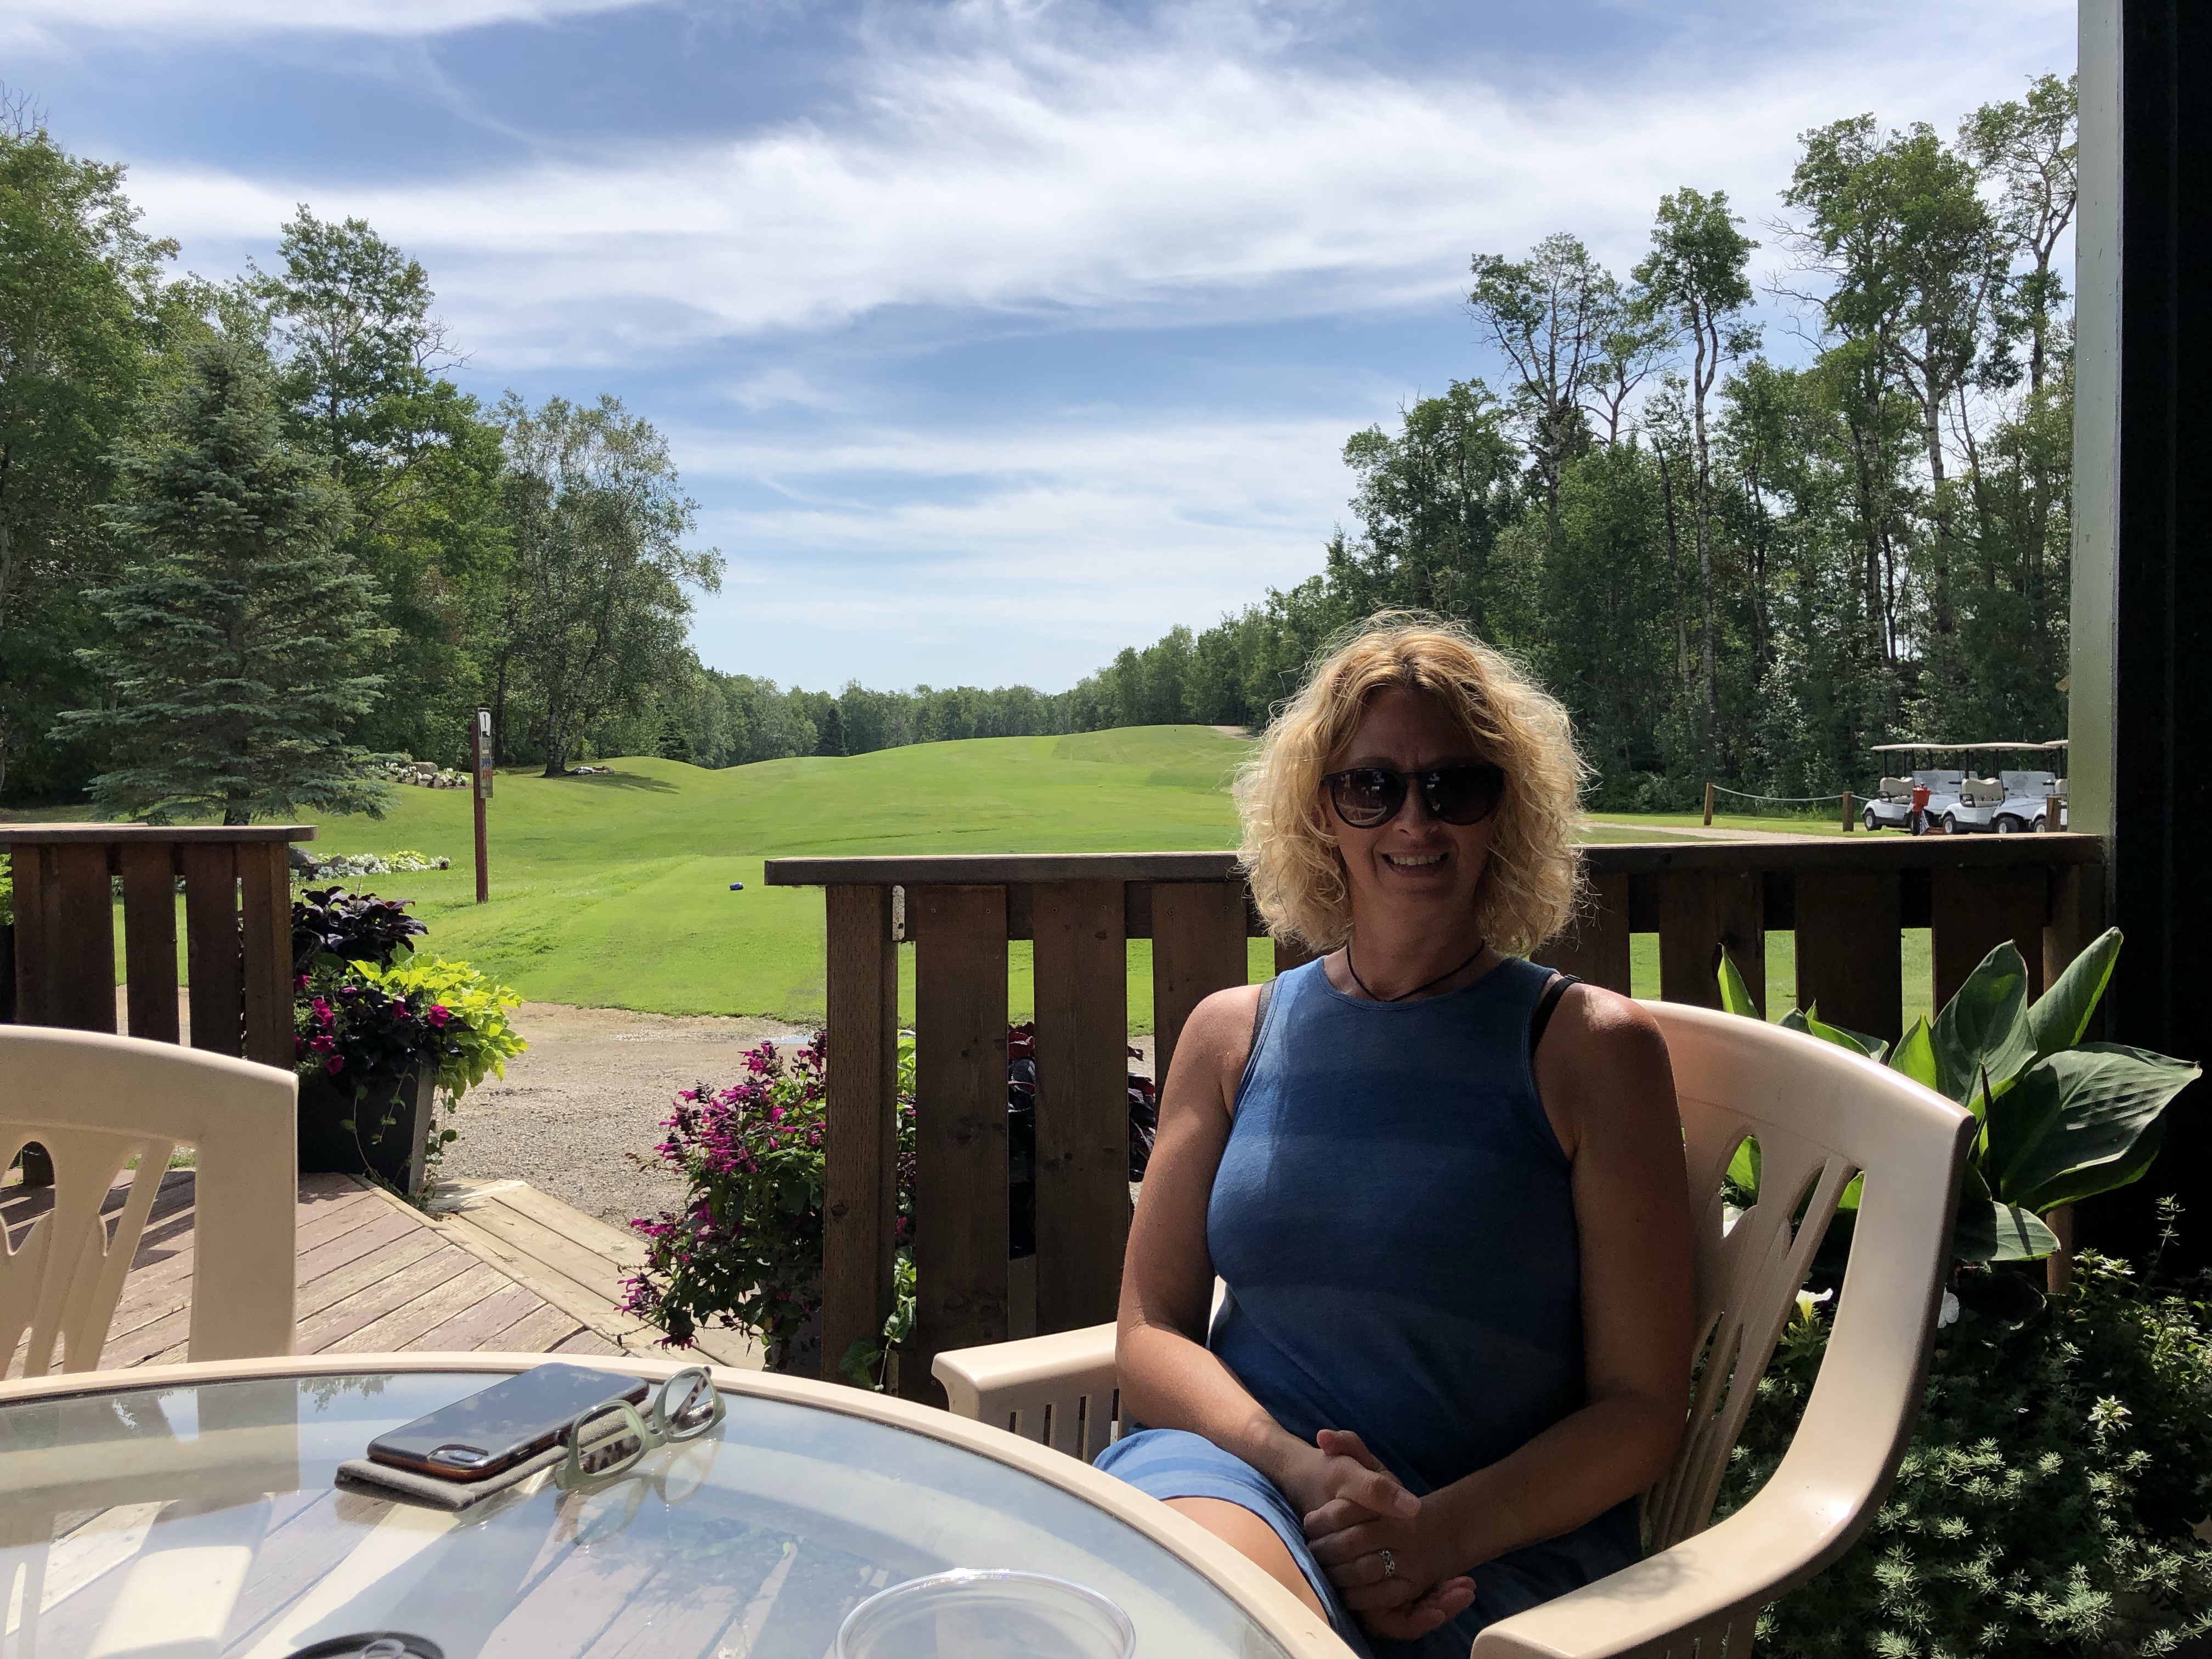
Currently we are having one last summer getaway to our family cabin in Saskatchewan. The park is much quieter than when we vacation in July/August and the golf course less busy. I have spent time here for all 51 years of my life. Working, vacationing as a single, then married, then as a family and this summer our kids brought their partners along. The cabin had not been that full for a long time. The weather cooperated and we all had a great time!
I shall be back very soon… with new content. New recipes, new reads, and what I’ve been up too. Because everything keeps moving forward and I’m moving with it. Thanks for checking in with me. Keep watching my IG too!!! ❤️😊
Welcome back! It has been too long since my last post. Why do the months seem to steam roll by at an accelerated rate and my to do list just gets longer and longer?! The cold weather has not made it any better, but we did escape on a trip of a lifetime to Peru for two weeks. Lima, Manchu Picchu, Cusco, llamas, Arequipa, Vicuñas, Pisac, Alpacas, pisco sours, more llamas… and an amazing tour guide who happens to be our niece. Beautiful landscapes, non stop historical facts and of course llamas, alpacas and vicunas. This trip totally took us out of our comfort zone of travelling, but we would not have changed a thing.
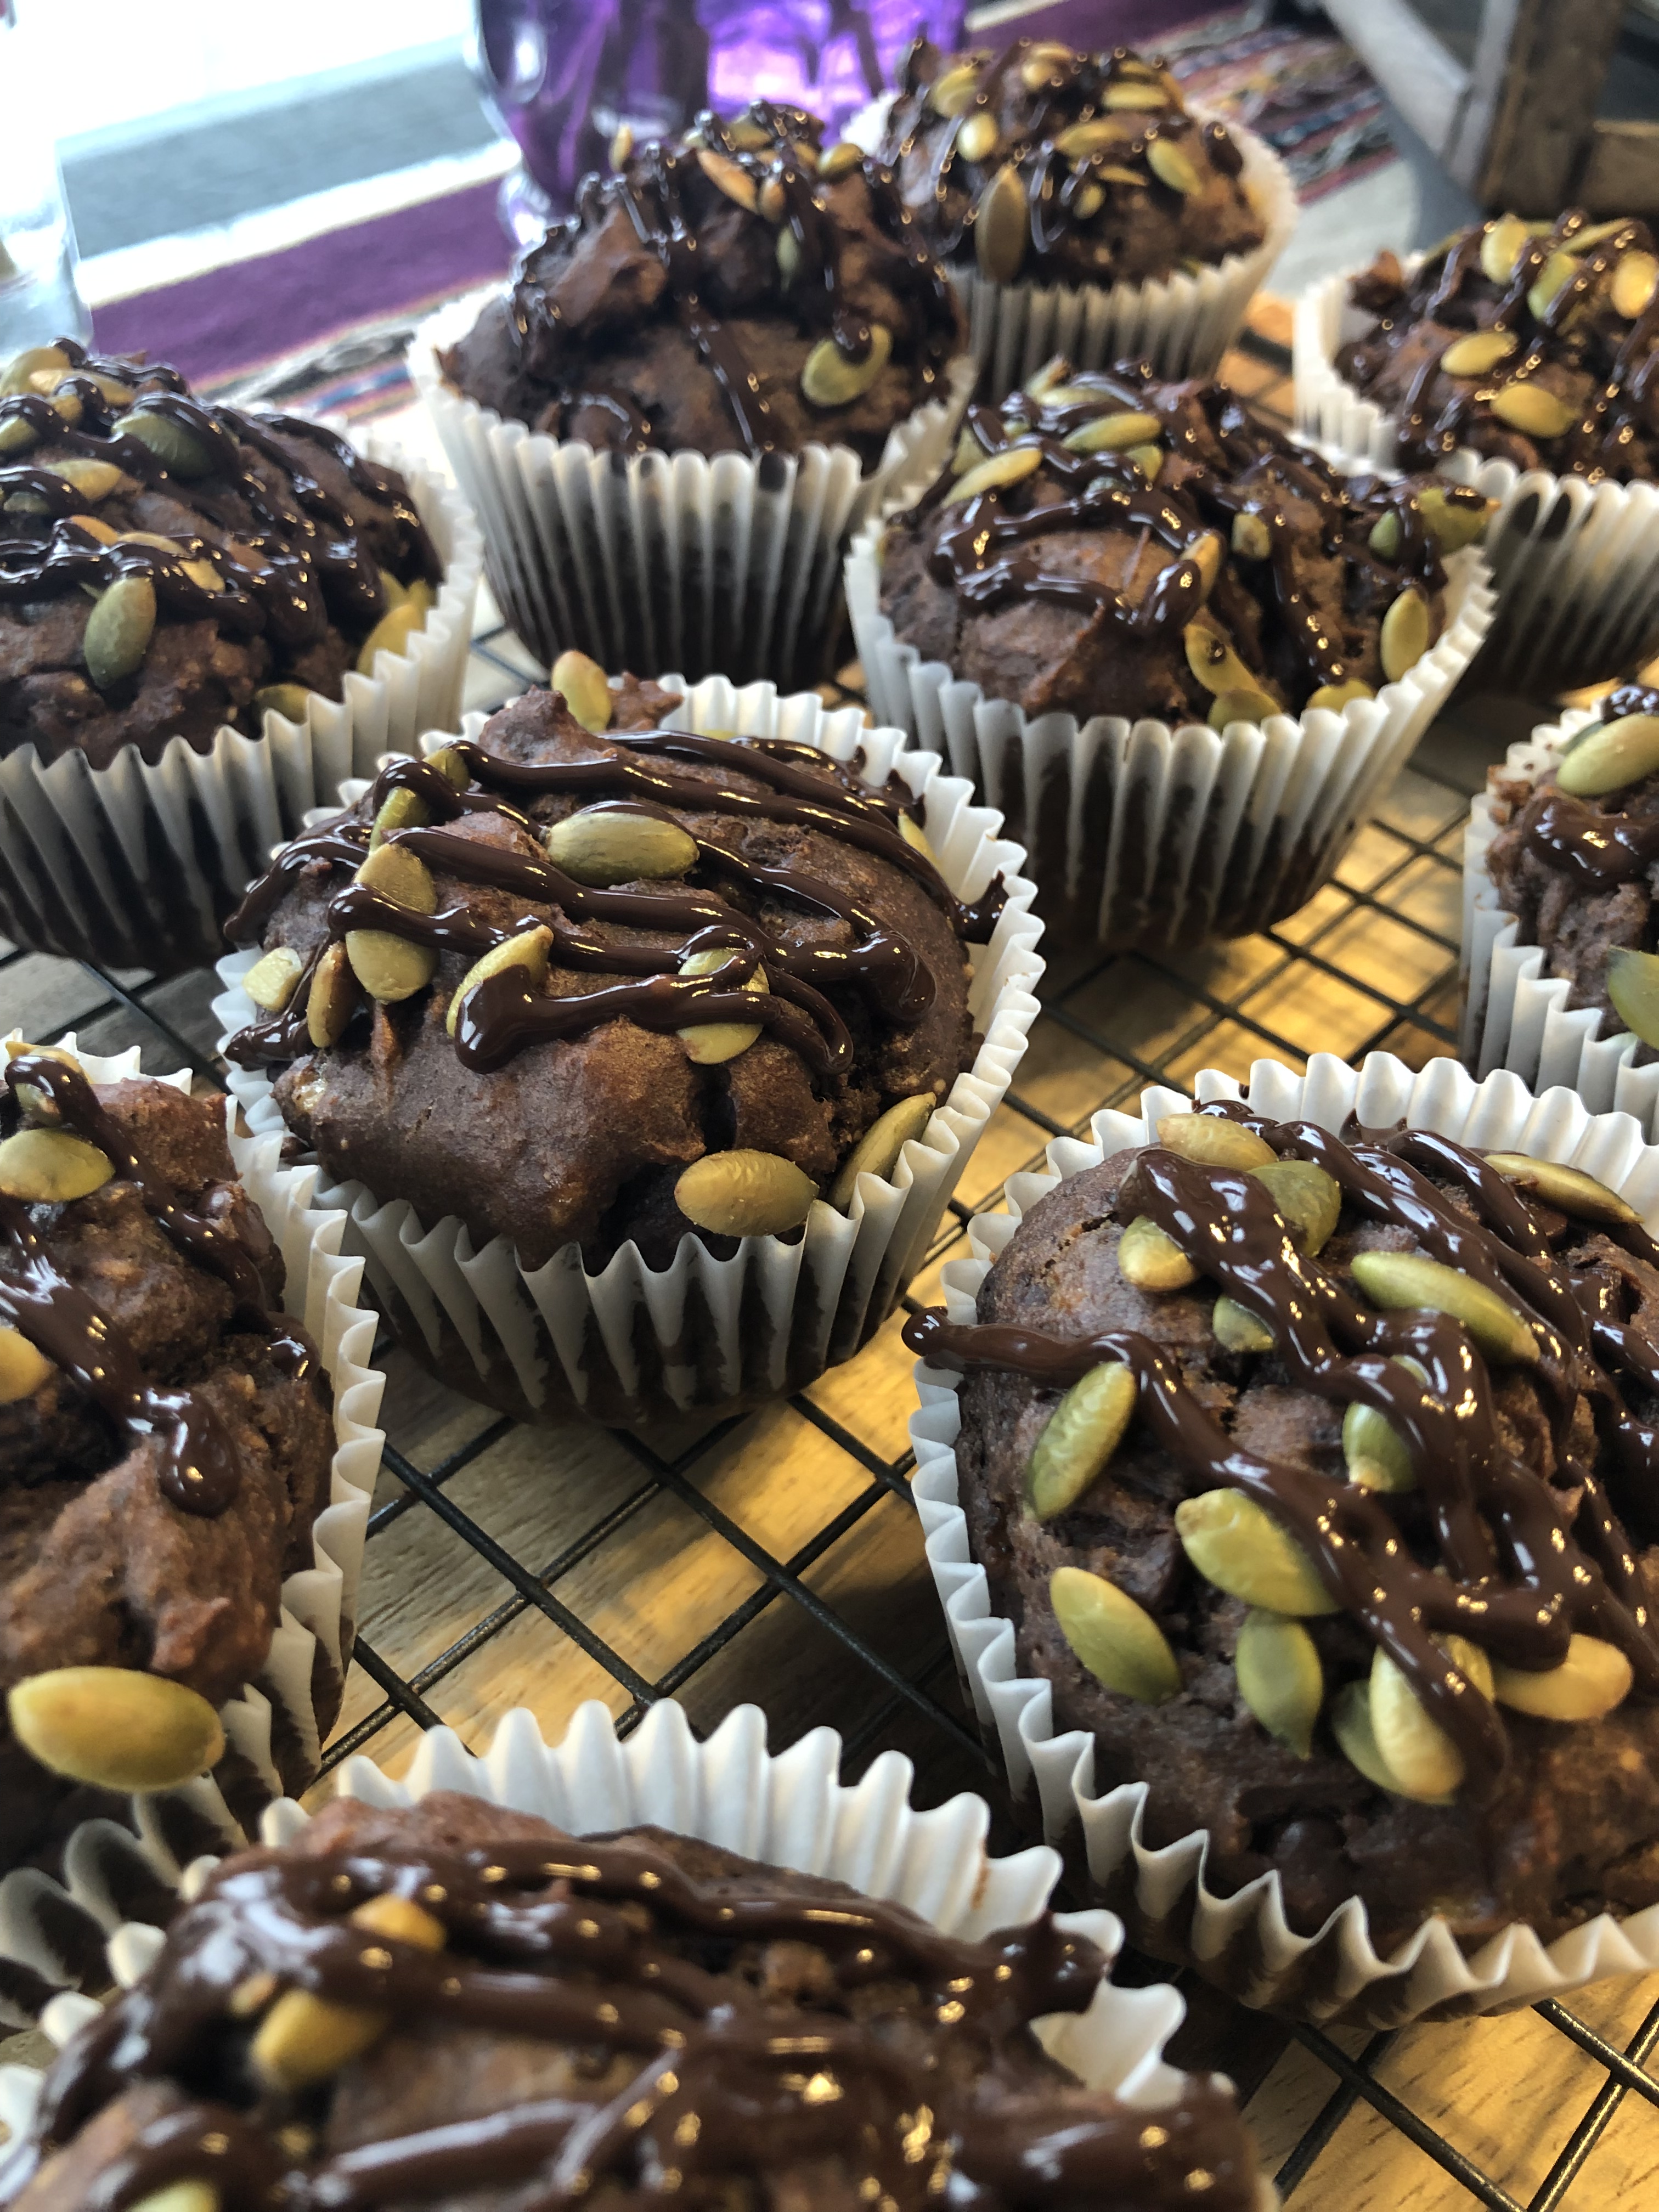
Since returning back to the deep freeze I’ve been staying in doors and experimenting with sweet recipes. Cupcakes are my favourite dessert. Especially mini, bite sized, swirled and sprinkled ones. Throw in chocolate and peanut butter and I’m in cupcake heaven. Now if I can make them slightly healthier, I could actually eat them for breakfast! Score! This recipe uses a gluten free flour mix, but I am going to try make them low carb on the next attempt. They are super delicious and satisfy both the rich chocolate crave and sweetness factor.
I have also been loving cauliflower and broccoli. Yes, total opposite of chocolate. Back in the day everyone was boiling and steaming these two to their peak (or death) including me. I noticed more restaurants were roasting, either in the oven or on the bbq, their vegetables. Just toss in olive oil and add herbs, salt and Parmesan cheese. Devine deliciousness and the veggies retain all the goodness of their nutritional value. You can also do Brussels sprouts this way, but I love them done with some bacon on the stove top. Maybe I’ll share that recipe with you too! 😉
3/4 cup natural peanut butter – almond butter would work too
1 tsp vanilla
1/2 cup unsweetened almond milk
1 egg
3/4 cup gluten free flour – I used Cloud 9 from Costco
1/4 cup cocoa powder
2 tsp baking soda
1/4 tsp salt
1/2 cup mini chocolate chips – I like Enjoy
1/4 cup pumpkin seed kernels – I used toasted and salted ones from Costco
6 squares, 1/2 a bar Baker’s dark chocolate – optional
How to make them:
Set your oven to 375 F. Grab a 12 sectioned muffin tin and either drop in some muffin liners or grease them well. I used liners.
Peel the bananas and drop them into a larger sized mixing bowl. Using a potato masher or a fork, mash the bananas and then add the maple syrup, coconut sugar, peanut butter, vanilla, almond milk and egg. Depending on how much mixing power you have, either grab a wire whisk and use your raw strength, or take the high road and grab your mixette or mixmaster and let it do the work. I mixed for about 2 minutes in total.
Then add in the flour, cocoa powder, baking soda and salt. Grab a wooden spoon and mix until all the dry ingredients are incorporated in. Dump in the chocolate chips and give it three or four more stirs.
Using a ice cream scoop or 1/4 cup scoop fill each liner. If you have some left over divide it between the liners. Sprinkle and lightly press the pumpkin seeds into each dough mound. Bake 16 – 18 minutes.
Once done, place on a wire rack to cool. If you like an extra chocolate hit, take 6 squares dark chocolate/ half a bar, put into a small zip lock bag and microwave on high for 30 – 45 seconds. Snip off a corner and pipe some onto each muffin.
Enjoy 😊
Oven roasted Cauliflower
What you need:
1 medium head cauliflower
Generous drizzle of olive oil
1 teaspoon paprika/smoked paprika
1 teaspoon garlic powder, or 1 tablespoon minced garlic
1/2 cup grated Parmesan cheese
How to make it:
Wash and remove the leaves and core of the cauliflower head. Cut the cauliflower into bite sized pieces and place into a bowl. Drizzle generously with olive oil, add the paprika and the garlic and toss to coat.
Place a piece of parchment paper on a baking sheet / pan. Dump the cauliflower onto the pan and spread it out. Place in a 400 F oven for 20 minutes. After 20 minutes take out, sprinkle the Parmesan cheese evenly over the cauliflower and then bake for 10 minutes longer.
With the crazy weather Mother Nature shocked us with here in the Foothills of the Rockies earlier in October, she has redeemed herself by gracing us with some beautiful, mild weather to bring in November. With Thanksgiving and Hallowe’en behind us, we look ahead to wearing our poppies, remembering and reflecting on those who lost their lives fighting for our freedom. And for those who continue to serve and protect our nation each and every day.
I love November. My husband and daughter were both born this month so we have Birthdays to celebrate. And the Christmas excitement begins. But before I get ahead of myself, I promised I would share my Fat Bomb recipes with you.
What is a Fat Bomb you may ask? In the Keto world, or low carb world, they are delicious, mini sized snacks that squash the hunger pangs your stomach can have. They digest slower than other carb heavy snacks such as granola bars or energy balls. And because they are mostly fat, they provide a continuous source of energy to stabilize your blood sugar levels and not give your body a roller coaster craving effect. I have found that with the reduced amount of carbs I eat, the less I crave certain foods, the crappy food snack attacks. And with my afternoon coffee, which I won’t give up, having an f bomb or two satisfies me until supper. They are also great for a sweet treat after supper or a booster after a workout…
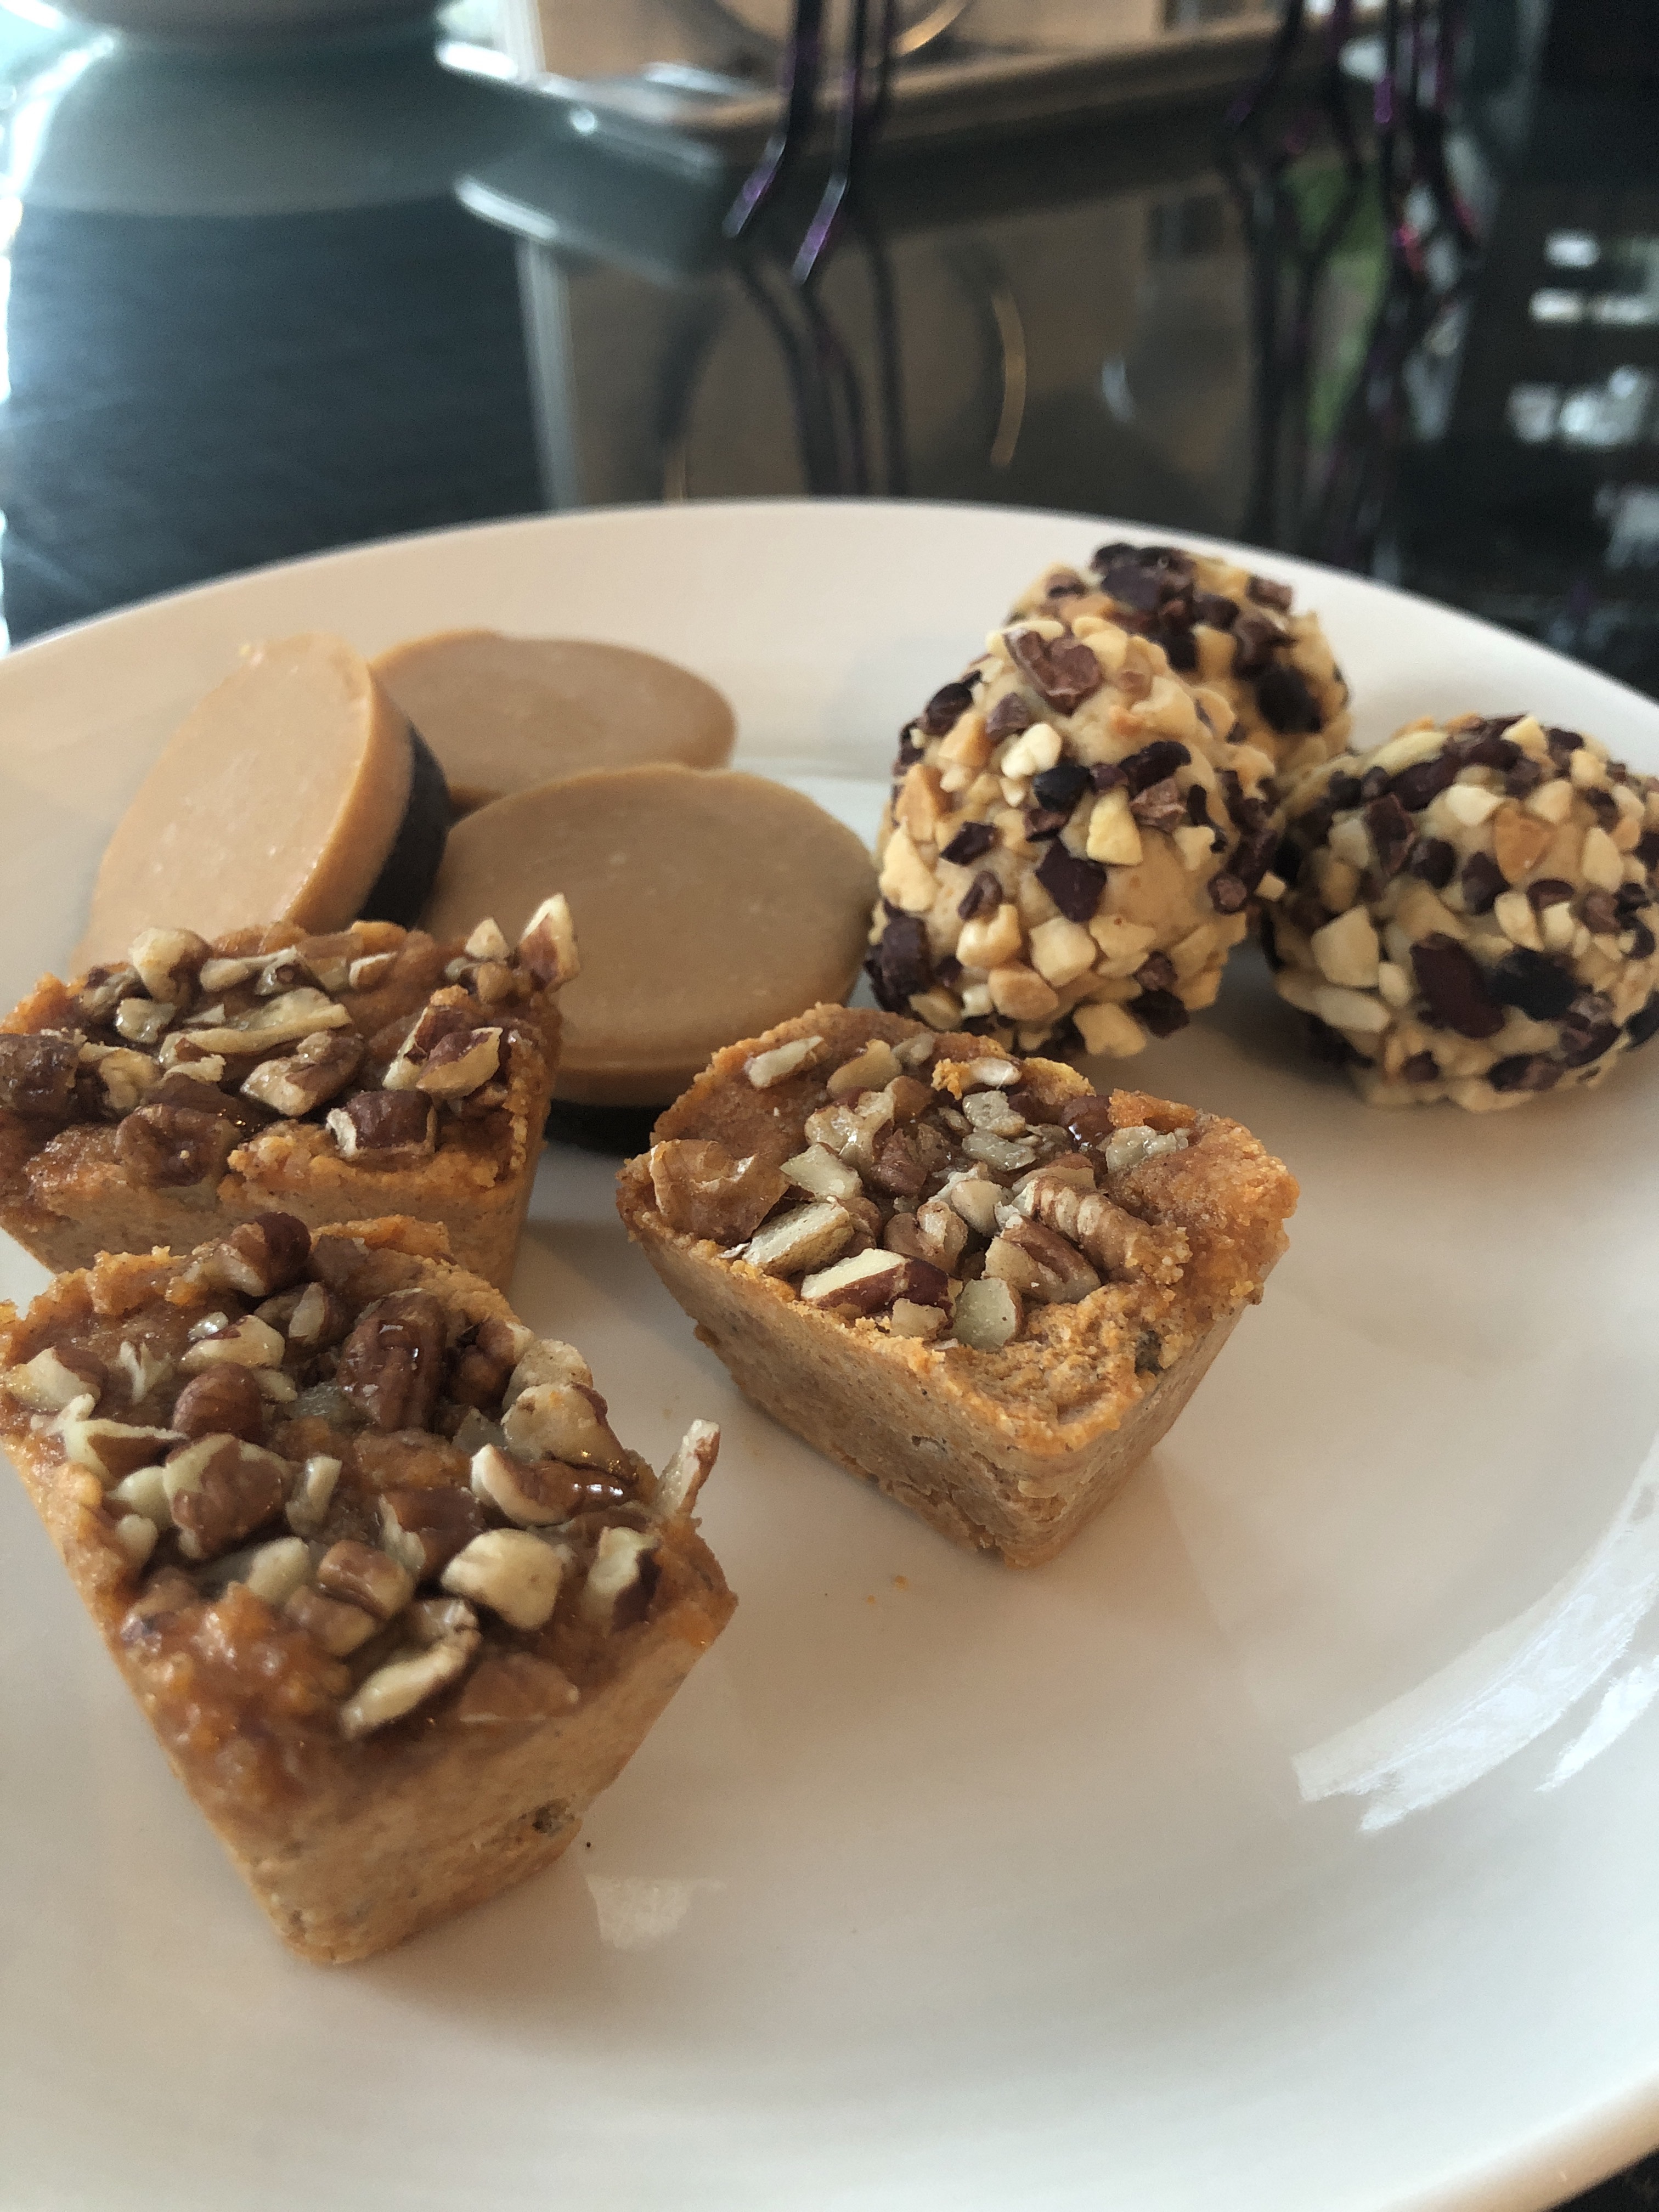
These three are my faves… probably because I am a huge fan of the whole peanut butter/chocolate thing, and I love me a great slice of cheesecake. Although I do still favour using coconut sugar as a sweetener, I have found Swerve to be equally as good with a zero carb count but great taste. Swerve comes in granular and powdered form, and can be found in natural food stores as well as Superstore and Safeway.
Peanut butter Cream cheese Fat Bombs
What you need:
4 oz (1/2 cup whipped cream cheese) full fat only
1/4 cup smooth natural peanut butter
2 tbsp granular Swerve
1/4 cup chopped toasted peanuts
1/4 cup cacao nibs ( I find them at Winners, or natural food stores) – dried and fermented cacao beans
How to make them:
Mix together the whipped cream cheese, natural peanut butter and Swerve. Put it into the fridge for 15 minutes, this will make the mixture easier to roll into balls.
To toast the peanuts, set your oven to 400 F and place the chopped peanuts on a cookie sheet lined with parchment paper. Set the timer for 5 minutes. If they are not browned enough add an extra minute or two but watch them closely so they do not burn. Once they have toasted slide them onto a small plate or bowl to cool. Add the cacao nibs to the peanuts and give them a mix.
Roll the cream cheese/peanut butter mixture into 1 inch balls and then roll in the peanut/nib mix. You should get 8 -12 balls.
I like to keep my fat bombs in the freezer so they last longer. In the fridge they will last a week.
Pumpkin Cheesecake Fat Bombs
What you need:
2/3 cup pumpkin purée (not pie filling)
1/3 cup melted coconut oil
1/3 cup whipped cream cheese
1/4 cup granular Swerve
2 tsp pumpkin pie spice or cinnamon
1/2 cup toasted chopped pecans
1 tbsp real maple syrup
How to make them:
Mix the pumpkin purée, melted coconut oil, whipped cream cheese, Swerve and pumpkin pie spice or cinnamon.
Toast the chopped pecans in a 400 F oven for 5 – 7 minutes (on a cookie sheet lined with parchment paper). Once toasted, slide them onto a plate to cool.
Take a 12 portioned ice cube tray and divide the pumpkin/cream cheese mixture between the 12. Sprinkle the pecans and then drizzle each portion with some maple syrup.
Put the tray into the freezer and leave it for an hour. Once frozen solid pop the cheesecake portions out and place them in a freezer safe container. Put them back in the freezer and take out individually to thaw slightly and enjoy.
Peanut butter Chocolate Fat Bombs
What you need:
Chocolate layer:
2 tbsp melted coconut oil
4 tbsp unsweetened cocoa powder
4 tbsp natural peanut butter
1/4 tsp vanilla
2 tbsp granulated Swerve
Peanut Butter Layer:
2 tbsp melted coconut oil
4 tbsp natural peanut butter
1/4 tsp vanilla
2 tbsp granulated Swerve
How to make them:
Mix the chocolate layer ingredients together and divide between the cups of a 12 mini cupcake pan (about a tbsp). Place the pan in the freezer for 30 minutes until the chocolate layer sets. Mix the peanut butter layer ingredients together and divide on top of the chocolate layer (slightly less than a tbsp). Put back into the freezer until the cups harden, about 30 minutes. Once they set, bang the pan on the counter upside down, and the cups should slide out. Place the cups into a freezer safe container and store in the freezer. To enjoy, thaw slightly…
Here in the foothills of the Rockies the seasons have changed, fall is upon us and summer has become a distant memory. I do not like saying goodbye to summer, I love my flip flops, the smell of cut lawns and flowers, sitting on the deck in the evening and more hours of sun. But with the cooler temperatures, more time is spent indoors and thus I have been in my kitchen baking up some new sweet recipes.
I have also spent a good amount of time looking into adopting eating patterns with less carbohydrates, essentially less sugars and starchy foods. The Ketogenic lifestyle, gluten -free eating, Atkins Diet, I have read and researched their pros and more importantly the cons. I have said a million times that I feel a healthy, all food group consumed, balanced regimen is the only way to go. One hundred percent. That is just this girls opinion, and it is how I have cooked and baked meals for my family and friends always.
So why am I even blogging about this topic now?! Okay, if the the truth be told I simply wanted to reduce the amount of breads, pasta, potatoes, rice, baked goods, alcohol (ummmm yes wine), snack foods (potato chips AND Cheezies!) in my daily diet. Essentially everything I LOVE about eating. Insert crying 😭… Some of this stuff is processed in one way or another and I know reducing or ideally eliminating it would be of benefit. So after 6 weeks of changing my eating habits (ie low carb) how am I doing? More importantly how are other two in the house coping?
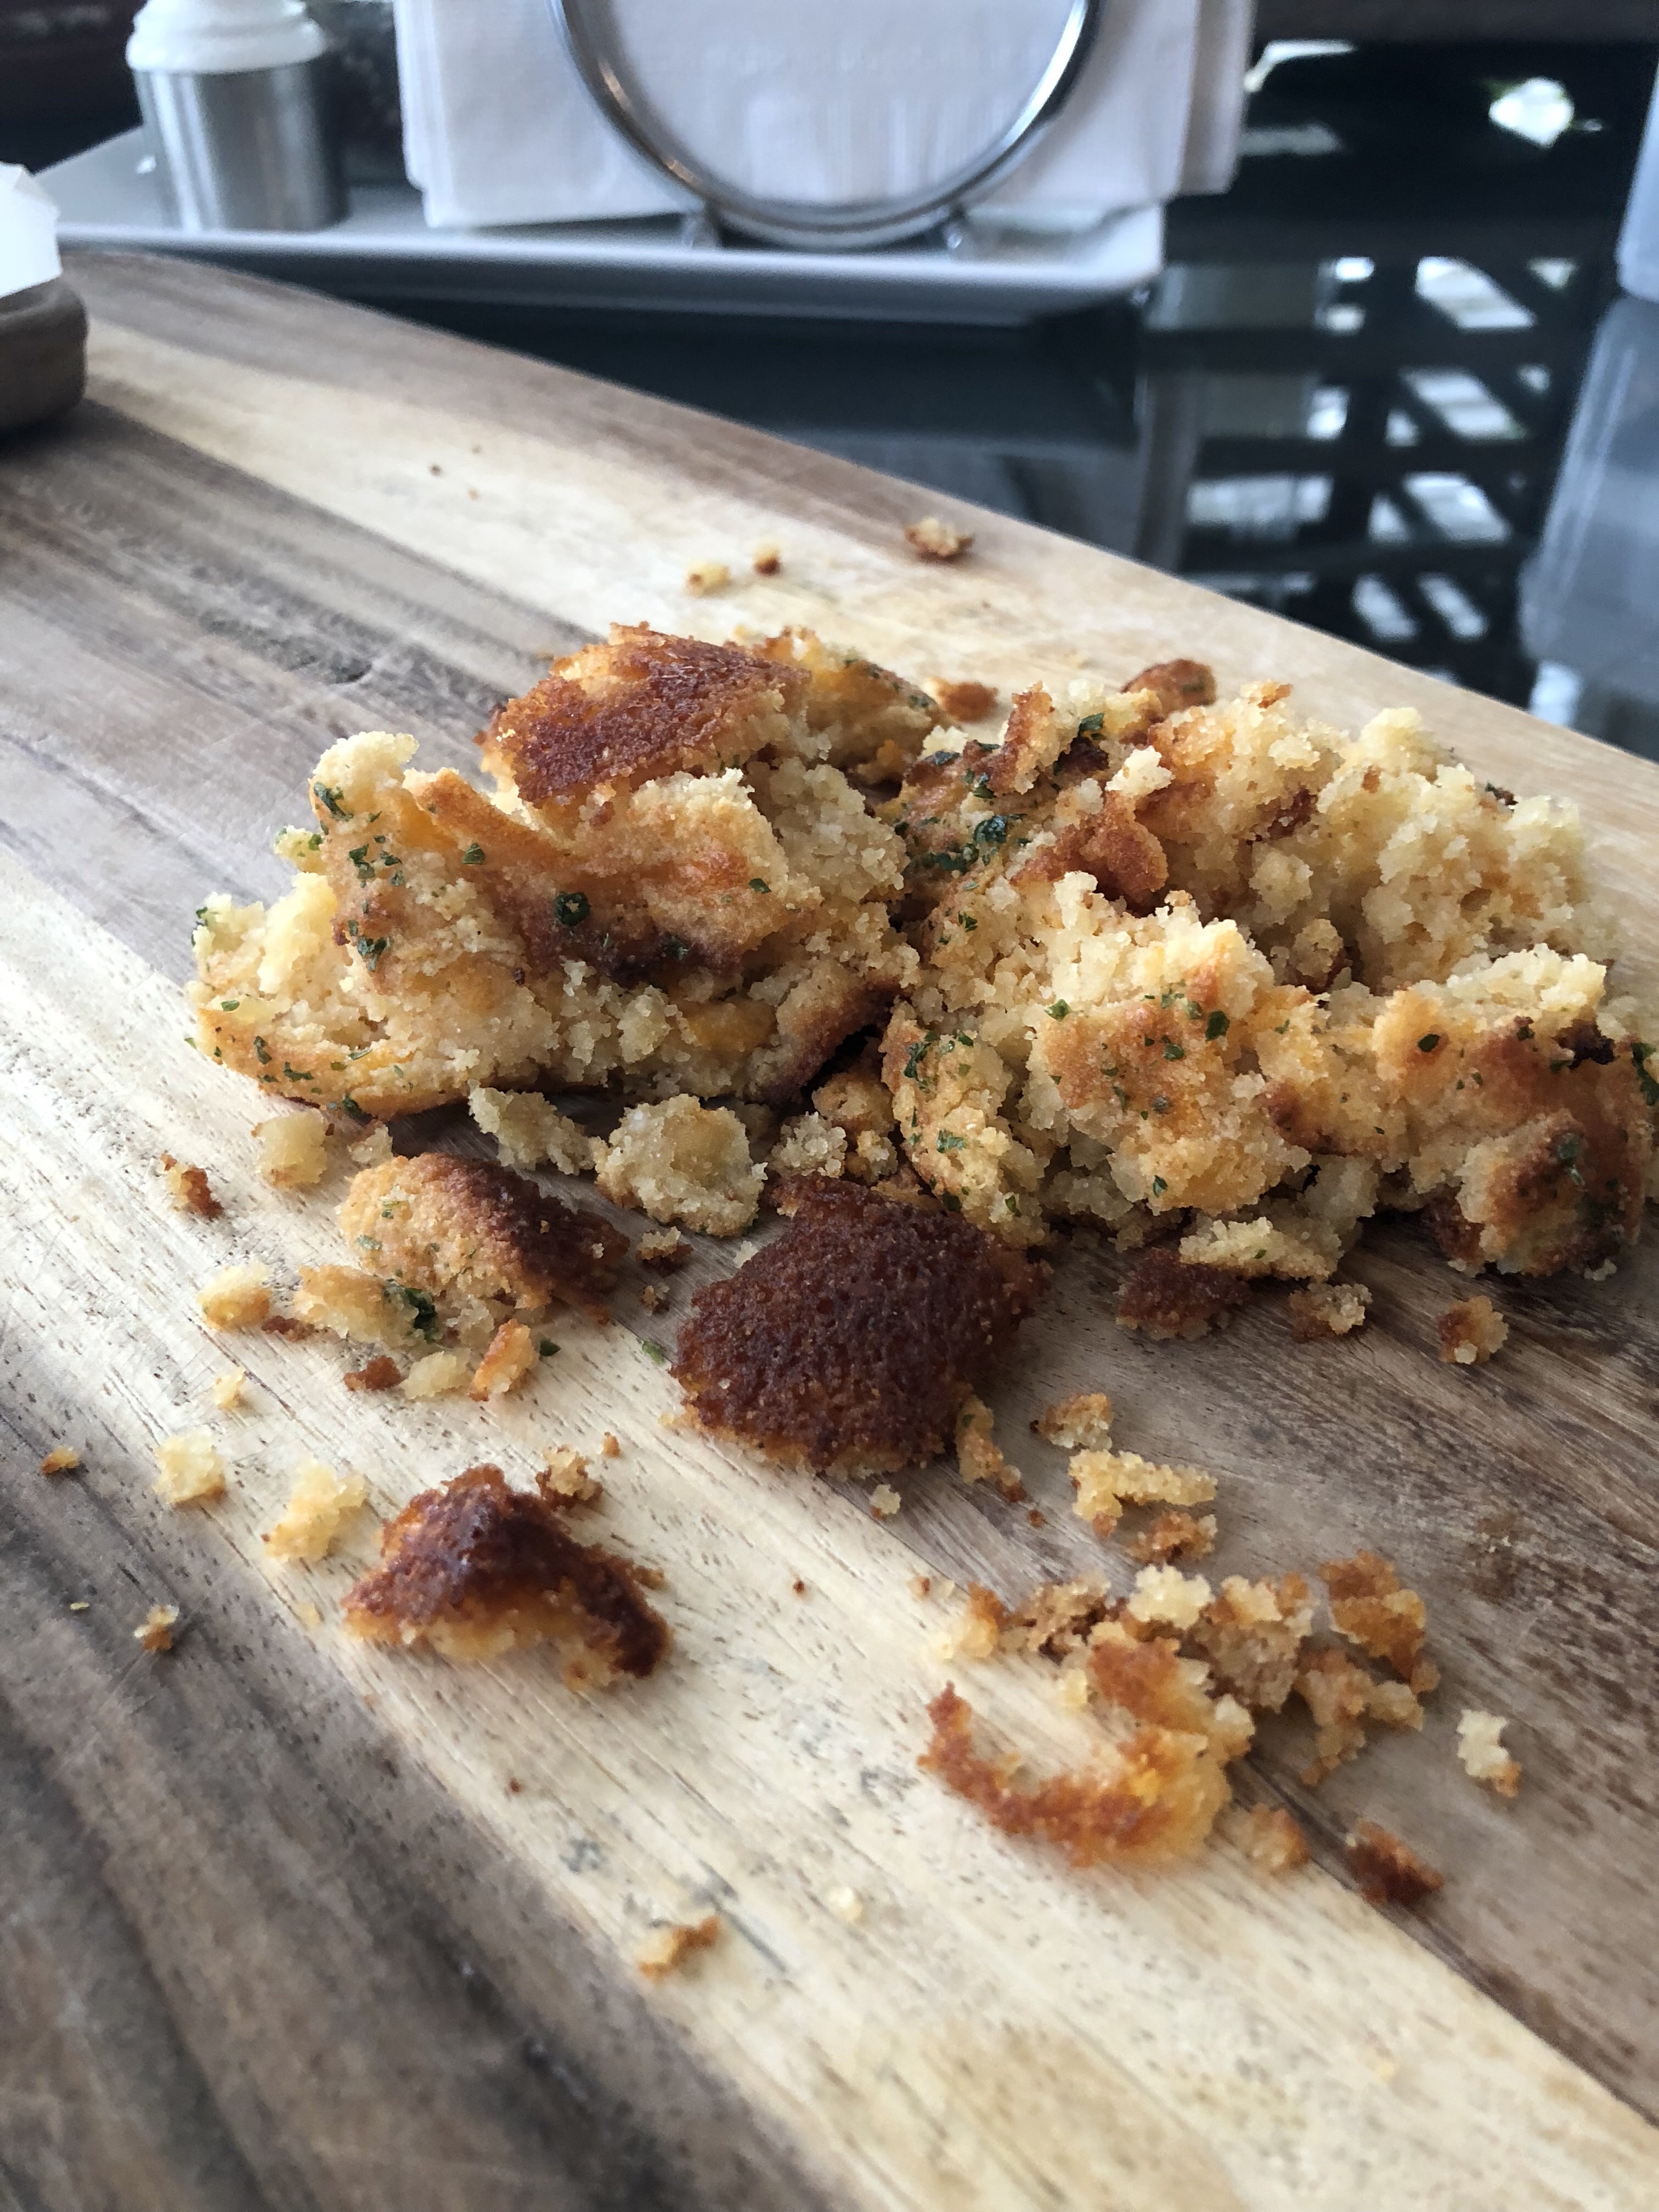
I have not chosen to take on a 100% Keto based diet as there are certain things I could not and would not give up. Sweetener in my coffee, chocolate, wine. We have been using coconut sugar in our household for quite a while as it has a lower glycemic index than refined white sugar. I am having a hard time accepting using the other sugar substitutes like monk fruit, erythritol (sugar alcohol) in my baking so am currently using coconut sugar. But I am swaying after researching some of the store products like Swerve that this may be the way to go. Using almond and coconut flour has been a challenge in baking as there is no gluten. But with trial and error, and several disasters, I have had some great results.
Failed Cheddar Biscuits 🤷🏼♀️
So we still have the potato chips, pasta and bread in the house. When I decided to change my eating habits I did not want to force anyone else in the household to change theirs. But that being said, less of the ‘do not consume’ products are being consumed. I guess it is partially because I do most of the cooking and baking. What they are eating away from home is their choice. 🙂
I have found that I am craving high carb food less and less, and that by eating foods higher in protein and fats I feel full longer. My vegetable intake has increased. I eat more berries. I still allow myself a glass of wine, a piece of chocolate, 🥓 bacon, 🧀 cheese. And desserts…
Learning to rethink baking has been, as I stated earlier, trial and error, some stellar flops. But I have had some very good, thumbs up results. My main goal was to still have a great end product, visibly and to the palate, yet substantially decrease the sugar and ultimately the carbohydrate amount. I haven’t gotten crazy into the breakdown of nutrients or calories with these recipes. And I apologize if that is what you are after. But I do know they taste pretty darn good. 😉
So far I have a great cheesecake recipe and cookie recipe…others are still works in progress.
To finish I need to say that this has been my journey, and I am not saying that anyone needs to change their eating habits. Even though I have reduced or eliminated certain foods from my diet I am throughly happy and content with my choices. If you do decide to make a change, read and research what is out there as there is an abundance of information. Happy eating!
Till next time…
Suzanne x
Low-Carb Cookies with two variations
What you need: (base recipe)
3 cups almond flour for chocolate chip or chunk cookies / 3 1/4 cups almond flour for the coconut lemon cookies
3/4 cups coconut sugar
1 tsp baking soda
1/4 tsp sea or pink Himalayan salt
1/4 tsp cream of tartar
1/2 cup softened butter
1/4 cup coconut oil (melted)
2 eggs ( I use omega 3)
1 tsp vanilla extract
To make chocolate chunk: I used Chipits 70% chunks but you can chop up a dark chocolate bar, or dark chocolate chips (the higher the cocoa % the less the carb count) – you will need approximately 1/2 to 2/3 cup depending if you use chips or chunks. Plus an extra 1/2 cup to melt if you want to drizzle over the cookies.
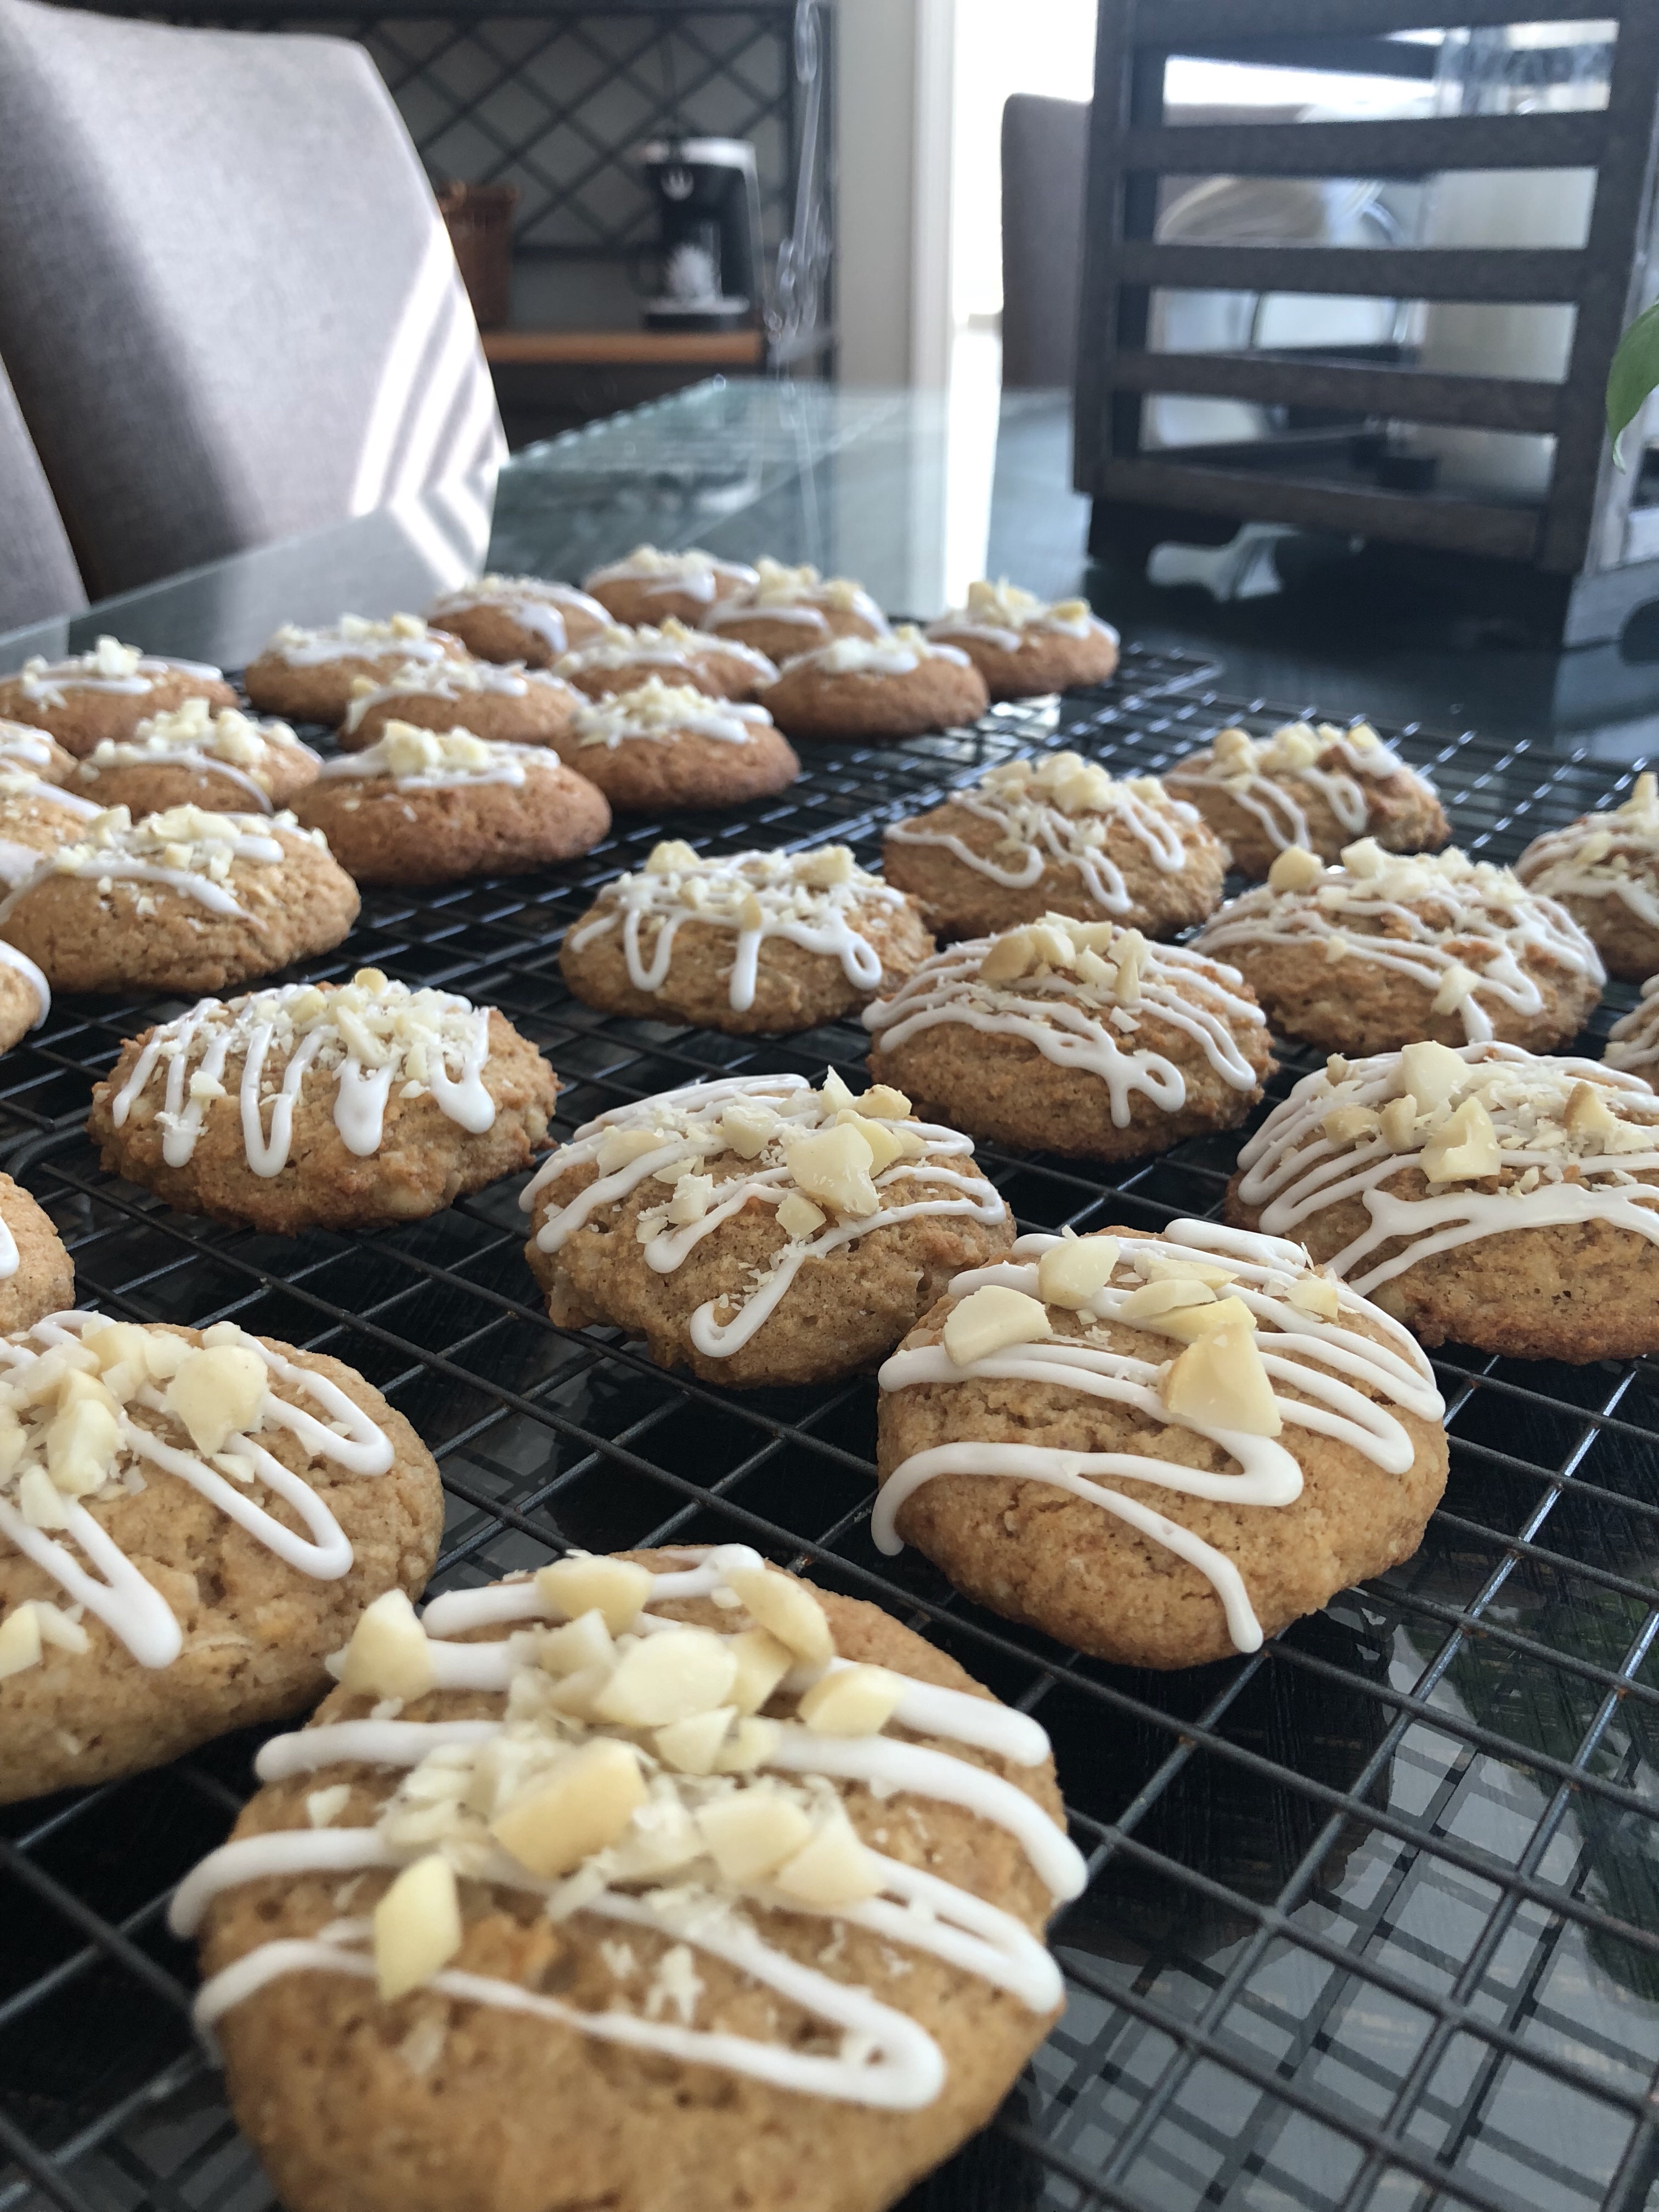
To make coconut lemon: zest from a whole lemon, juice from a whole lemon, 1 cup of unsweetened shredded coconut, 1 cup icing sugar (yes real icing sugar), 2 tsp whipping cream, 1/2 cup macadamia nuts chopped
Lemon Coconut Macadamia Cookies 🍋🥥🍋🥥
How to make them:
Set your oven to 350 F. In a medium sized bowl add the flour, coconut sugar, baking soda, salt and cream of tartar. Mix with a whisk and break up any large pieces of flour or sugar. Set aside for later. In a large bowl, with an electric hand or stationary mixmaster, cream the butter, then add the coconut oil and mix well. Add the eggs one at a time until smooth. Then add the vanilla and if making the lemon coconut cookies, add the lemon zest and 1 Tbsp lemon juice. Mix again. Add the dry ingredients to the wet ingredients 1 cup at a time, mixing well each time. Works out to be 3 or 4 times. If making the lemon coconut cookies add the shredded coconut and mix it in with a wooden spoon or spatula.
Put the dough in the fridge for half an hour to chill. It will help with rolling the dough into balls. Line your cookie sheets (2 possibly 3) with silapat mats or parchment paper. The chocolate cookie recipe will make approximately 22 – 24 cookies. The lemon coconut recipe makes 28 – 30. I use a small cookie scoop, each rolled ball is about 1 1/2 inches in size. When rolling the cookie dough into balls, if your palms get too sticky the easiest solution is to just wash them. Then keep rolling. I put them about 2 – 3 inches apart on the cookie sheet. If you are making the chocolate chip cookies, press your chunks, chips or cut up chocolate bar pieces into each ball and flatten slightly. If making the coconut lemon, flatten each ball slightly.
Bake for 12 – 14 minutes. Just until the tops start to brown.
When you take them out of the oven let them sit for 10 minutes to slightly cool before removing from the cookie sheets and placing on cooling racks.
Once the cookies have cooled you can decorate them by piping/drizzling melted chocolate or a lemon glaze onto each cookie.
For the chocolate chip cookies: measure 1/2 cup chips or chunks into a small resealable zip lock bag. Microwave for 20 second intervals on high until melted. Make a small cut in a corner of the bag and then pipe chocolate onto each cookie.
For the lemon coconut cookies: Put 1 cup icing sugar, 2 tsp cream, 1 tbsp lemon juice into a bowl and whisk together. It should be slightly thick , if it is too runny it will run off the cookies. If you feel it is too thick add 1/2 teaspoon cream. If too thick add a bit more icing sugar. Drizzle over cookies with a teaspoon, or put the glaze/icing into a small ziplock bag, make a small cut in a corner and pipe over each cookie. If you want you can then sprinkle the macadamia nuts over each cookie.
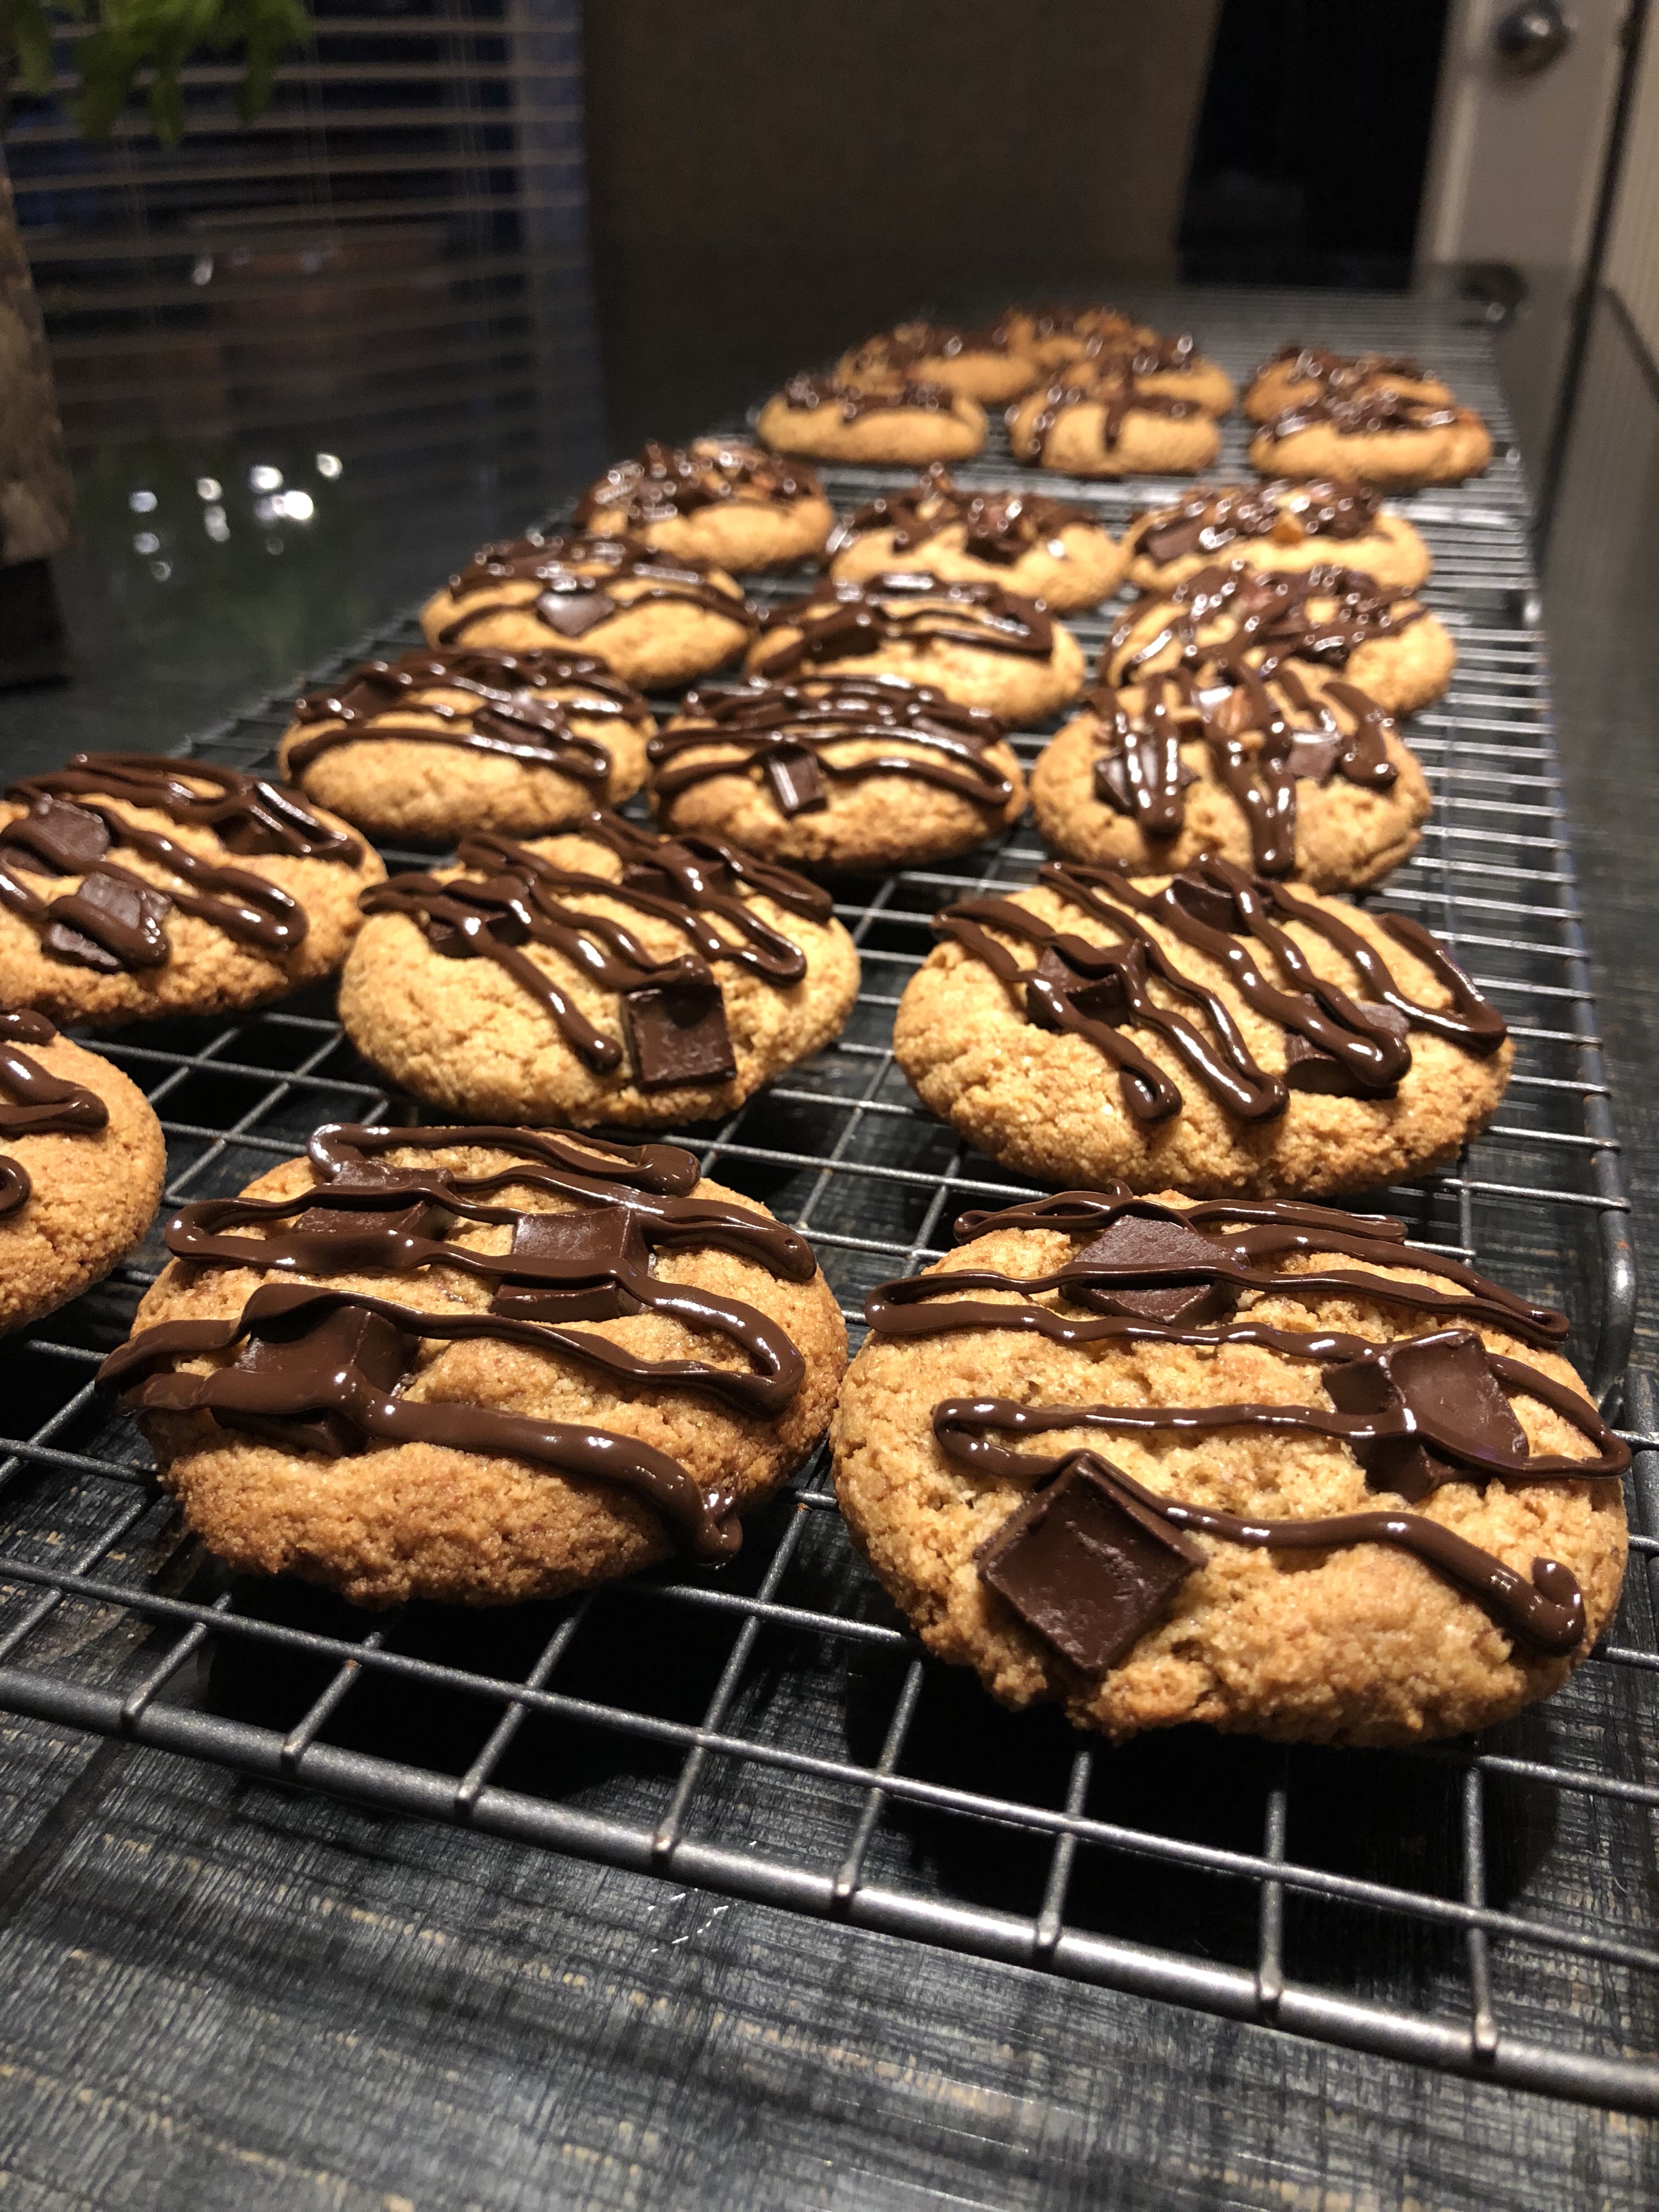
Chocolate Chunk Cookies 😍
Delicious No – Bake Low Carb Lemon Cheesecake
What you need:
For the crust:
1 1/4 cups almond flour
3 tbsp butter, melted
2 tbsp coconut sugar
For the filling:
1 large pkg original cream cheese (226 g), not low fat, softened
1 1/2 cups whipping cream
1 packet sugar free lemon Jello (8.5 g)
1 tsp lemon zest
1 tsp vanilla extract
How to make it:
Set your oven to 350 F. Spray the bottom of an 8 inch springform pan with cooking spray. In a medium bowl mix the almond flour, coconut sugar and butter until crumbly in texture. Pour and then press the mixture evenly into the bottom of the springform pan. Bake for 10 minutes until golden brown. Set the crust aside to cool.
With an electric mixer, with the whisk attachment, cream the cream cheese first. When smooth (make sure there are zero chunks of cream cheese), scrape down the sides of the bowl and add the whipping cream slowly on low speed. Once the whipping cream is mixed into the cream cheese turn to high and whip until the mixture thickens and peaks form. Add the lemon jello, lemon zest and vanilla and mix on low. Spread the lemon cream cheese filling evenly over the cooled almond flour crust.
Cover with plastic wrap and chill in the fridge for at least 2 hours. Even better if made the day before and left to chill overnight.
Serve with whipping cream. I cheat and use aerosol whipping cream. 😉
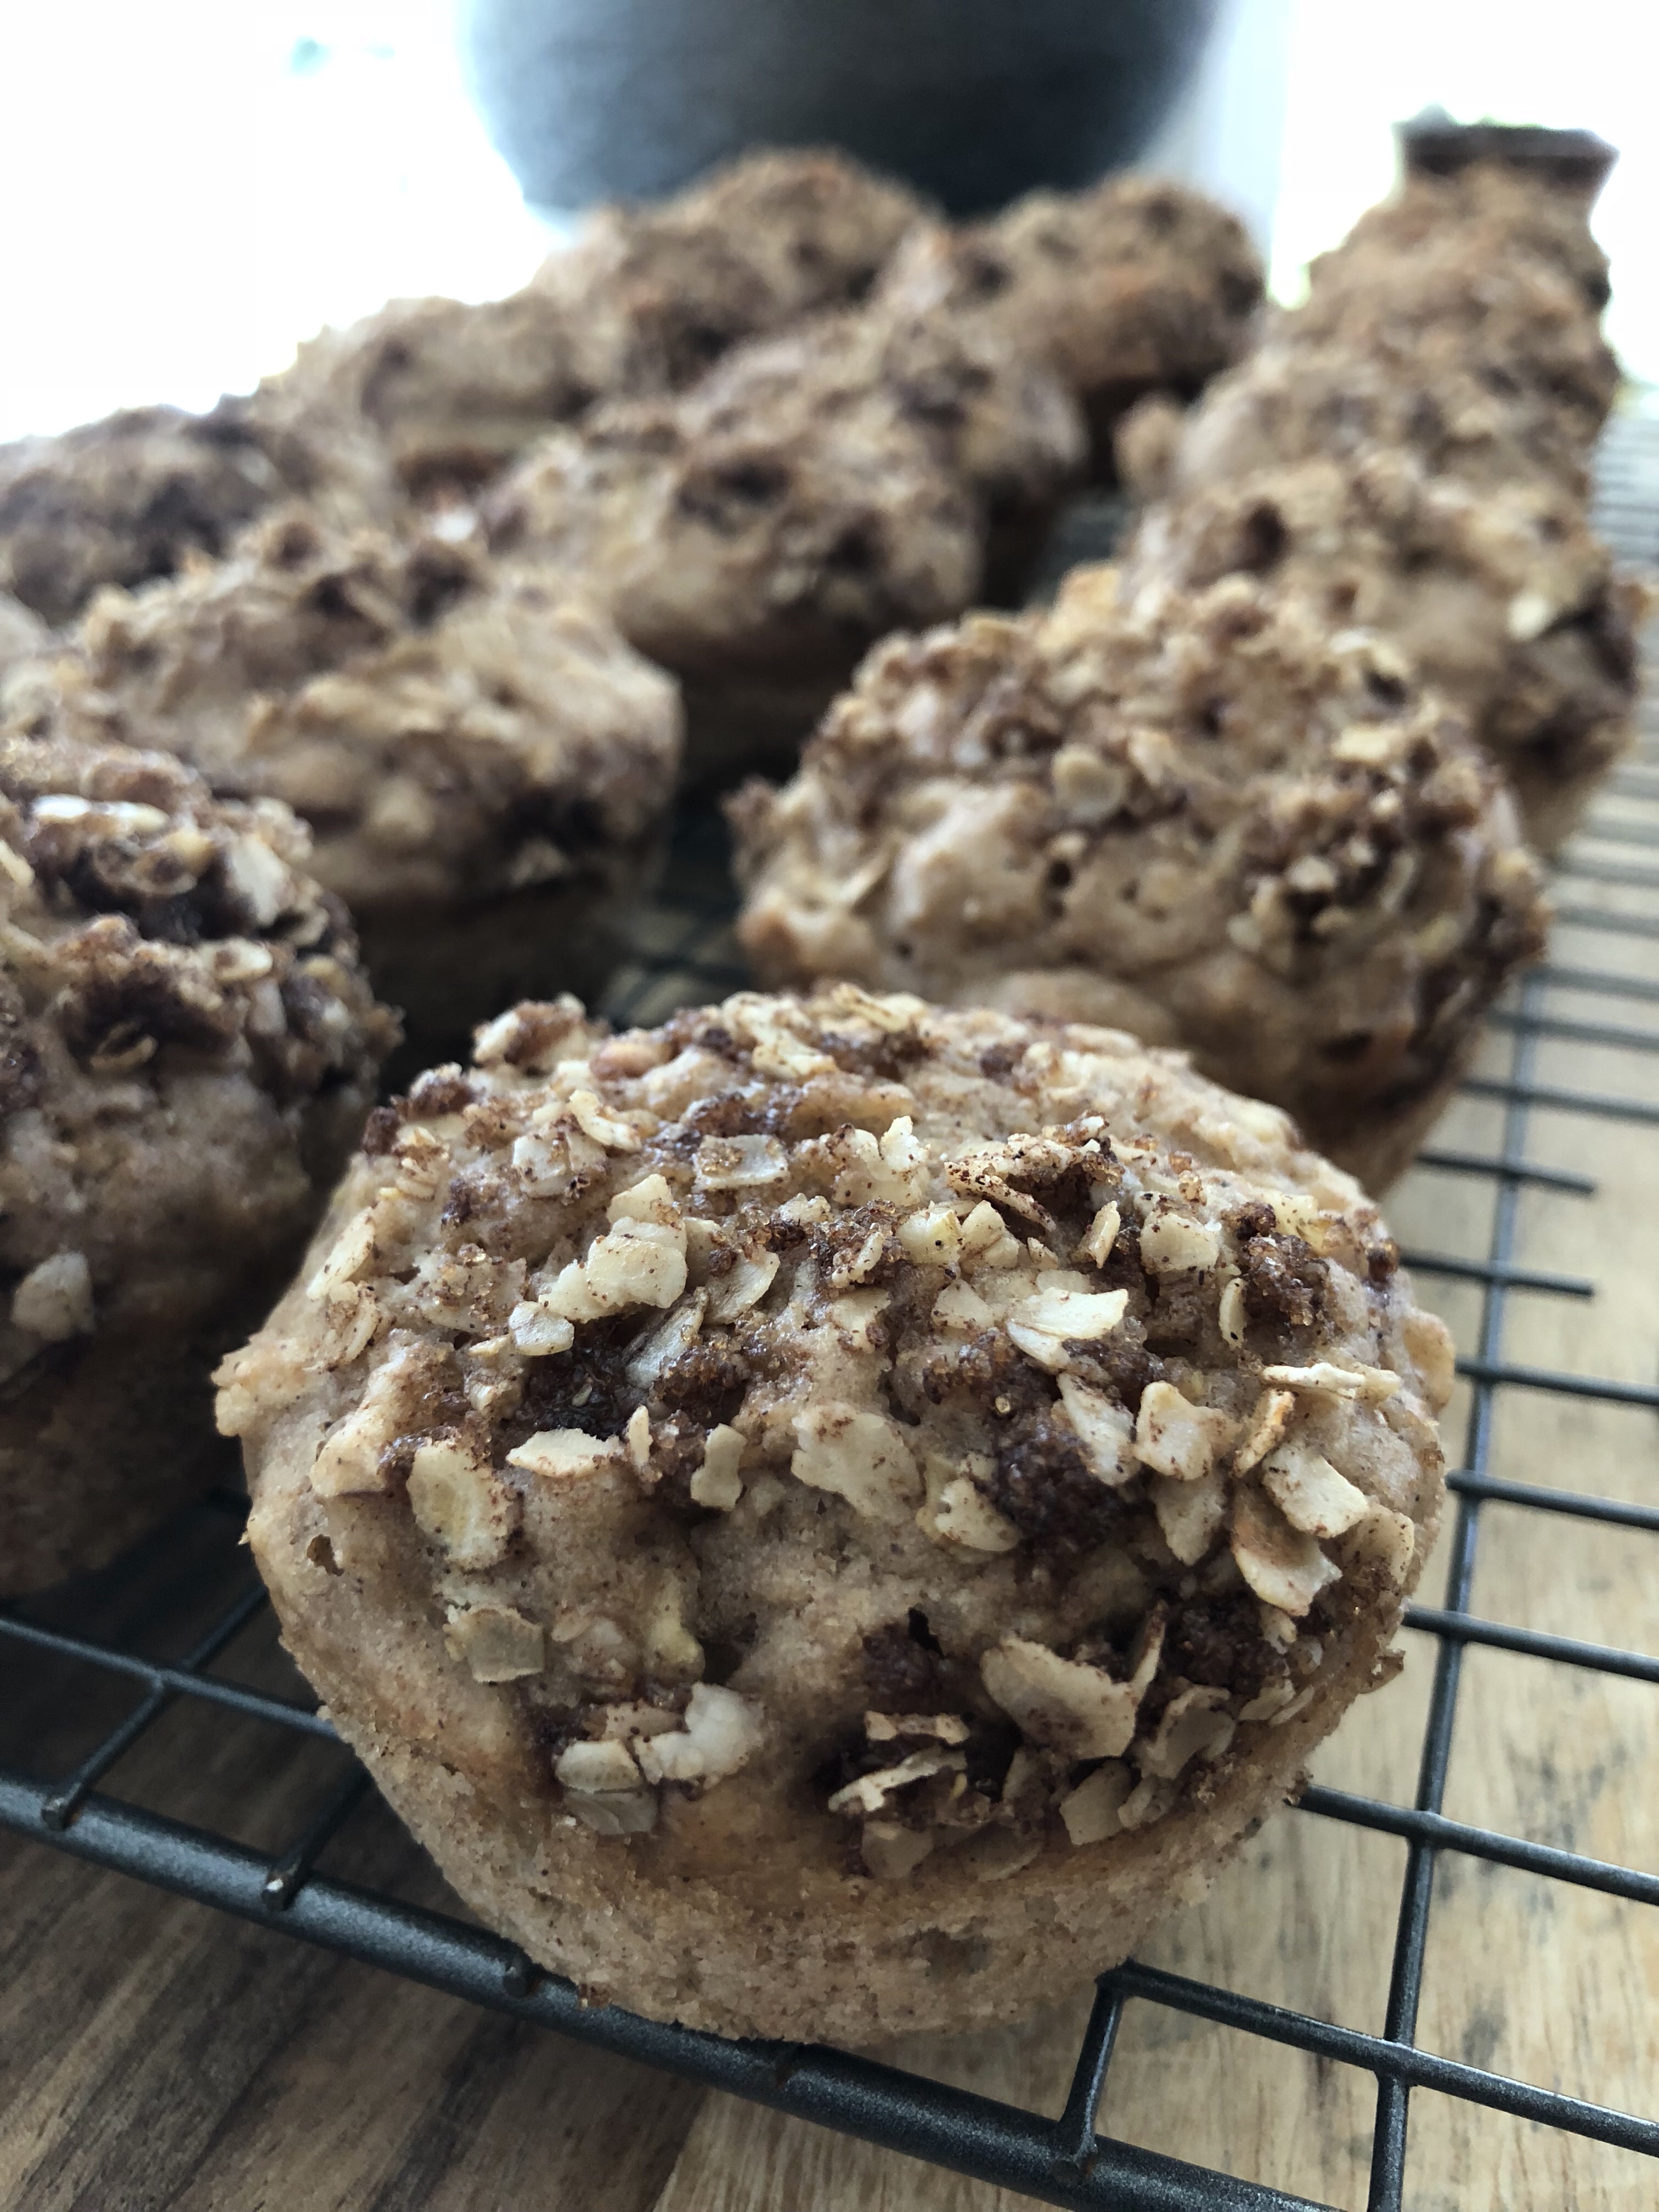
We always have bananas and apples. They are staple fruits in our household. Bananas (and avocados) have a window of opportunity to be eaten fresh. In the morning perfect, that night, not so perfect. Apples, on the other hand, seem to last forever if kept in the fridge. When I opened the fridge yesterday I noticed there were some gala apples in the crisper that had been there for awhile, and in the fruit basket bananas that were in the perfect state for mashing and baking.
I therefore decided to make use of those bananas and apples and make and bake some Apple Strudel Muffins and Banana Loaves. These recipes are old like me, tried and true, made them many times. They are pretty much fail proof. The muffins are very moist with just the right amount of apple and sweetness. The banana loaf is quite dense but moist, and you can customize the add ins or toppings with what you like or don’t. It isn’t super sweet which is why I usually add mini chocolate chips or sugared pecans or walnuts as a topping. The key to these recipes, as with most loaf or muffins, is to dump the wet into the dry and DO NOT over mix the two. When you see the flour mixture is incorporated into the wet, STOP mixing. The more you mix the tougher the end product will be. And we don’t want that.
So find yourself some blackened bananas and lost in the fridge apples and let’s get baking!
Naner (yes Banana) Loaf
What you need:
2 cups all purpose flour ( I always use unbleached)
3/4 cup wholewheat flour
1 cup dark brown sugar (unpacked)
1 1/2 teaspoons baking powder
1/2 teaspoon baking soda
1 teaspoon cinnamon
1/2 teaspoon salt
2 eggs
1/4 cup canola oil
3/4 cup of plain, vanilla or coconut yogurt (not non fat, Greek yogurt works too)
2 teaspoons vanilla (if using vanilla yogurt you can omit the vanilla)
3 well mashed, well ripened bananas (usually ends up being about 2 cups)
Mini chocolate chips, regular semi sweet chips, pecans, walnuts (if mixing into the batter I use 1/2 cup minis, 1 cup large chips, 1/2 cup walnuts or pecans)
I usually just sprinkle the toppings on the batter instead of mixing them in. The amounts I mentioned for adding them to the batter will be about the same for putting them on top.
How to make them:
Set your oven to 325 F.
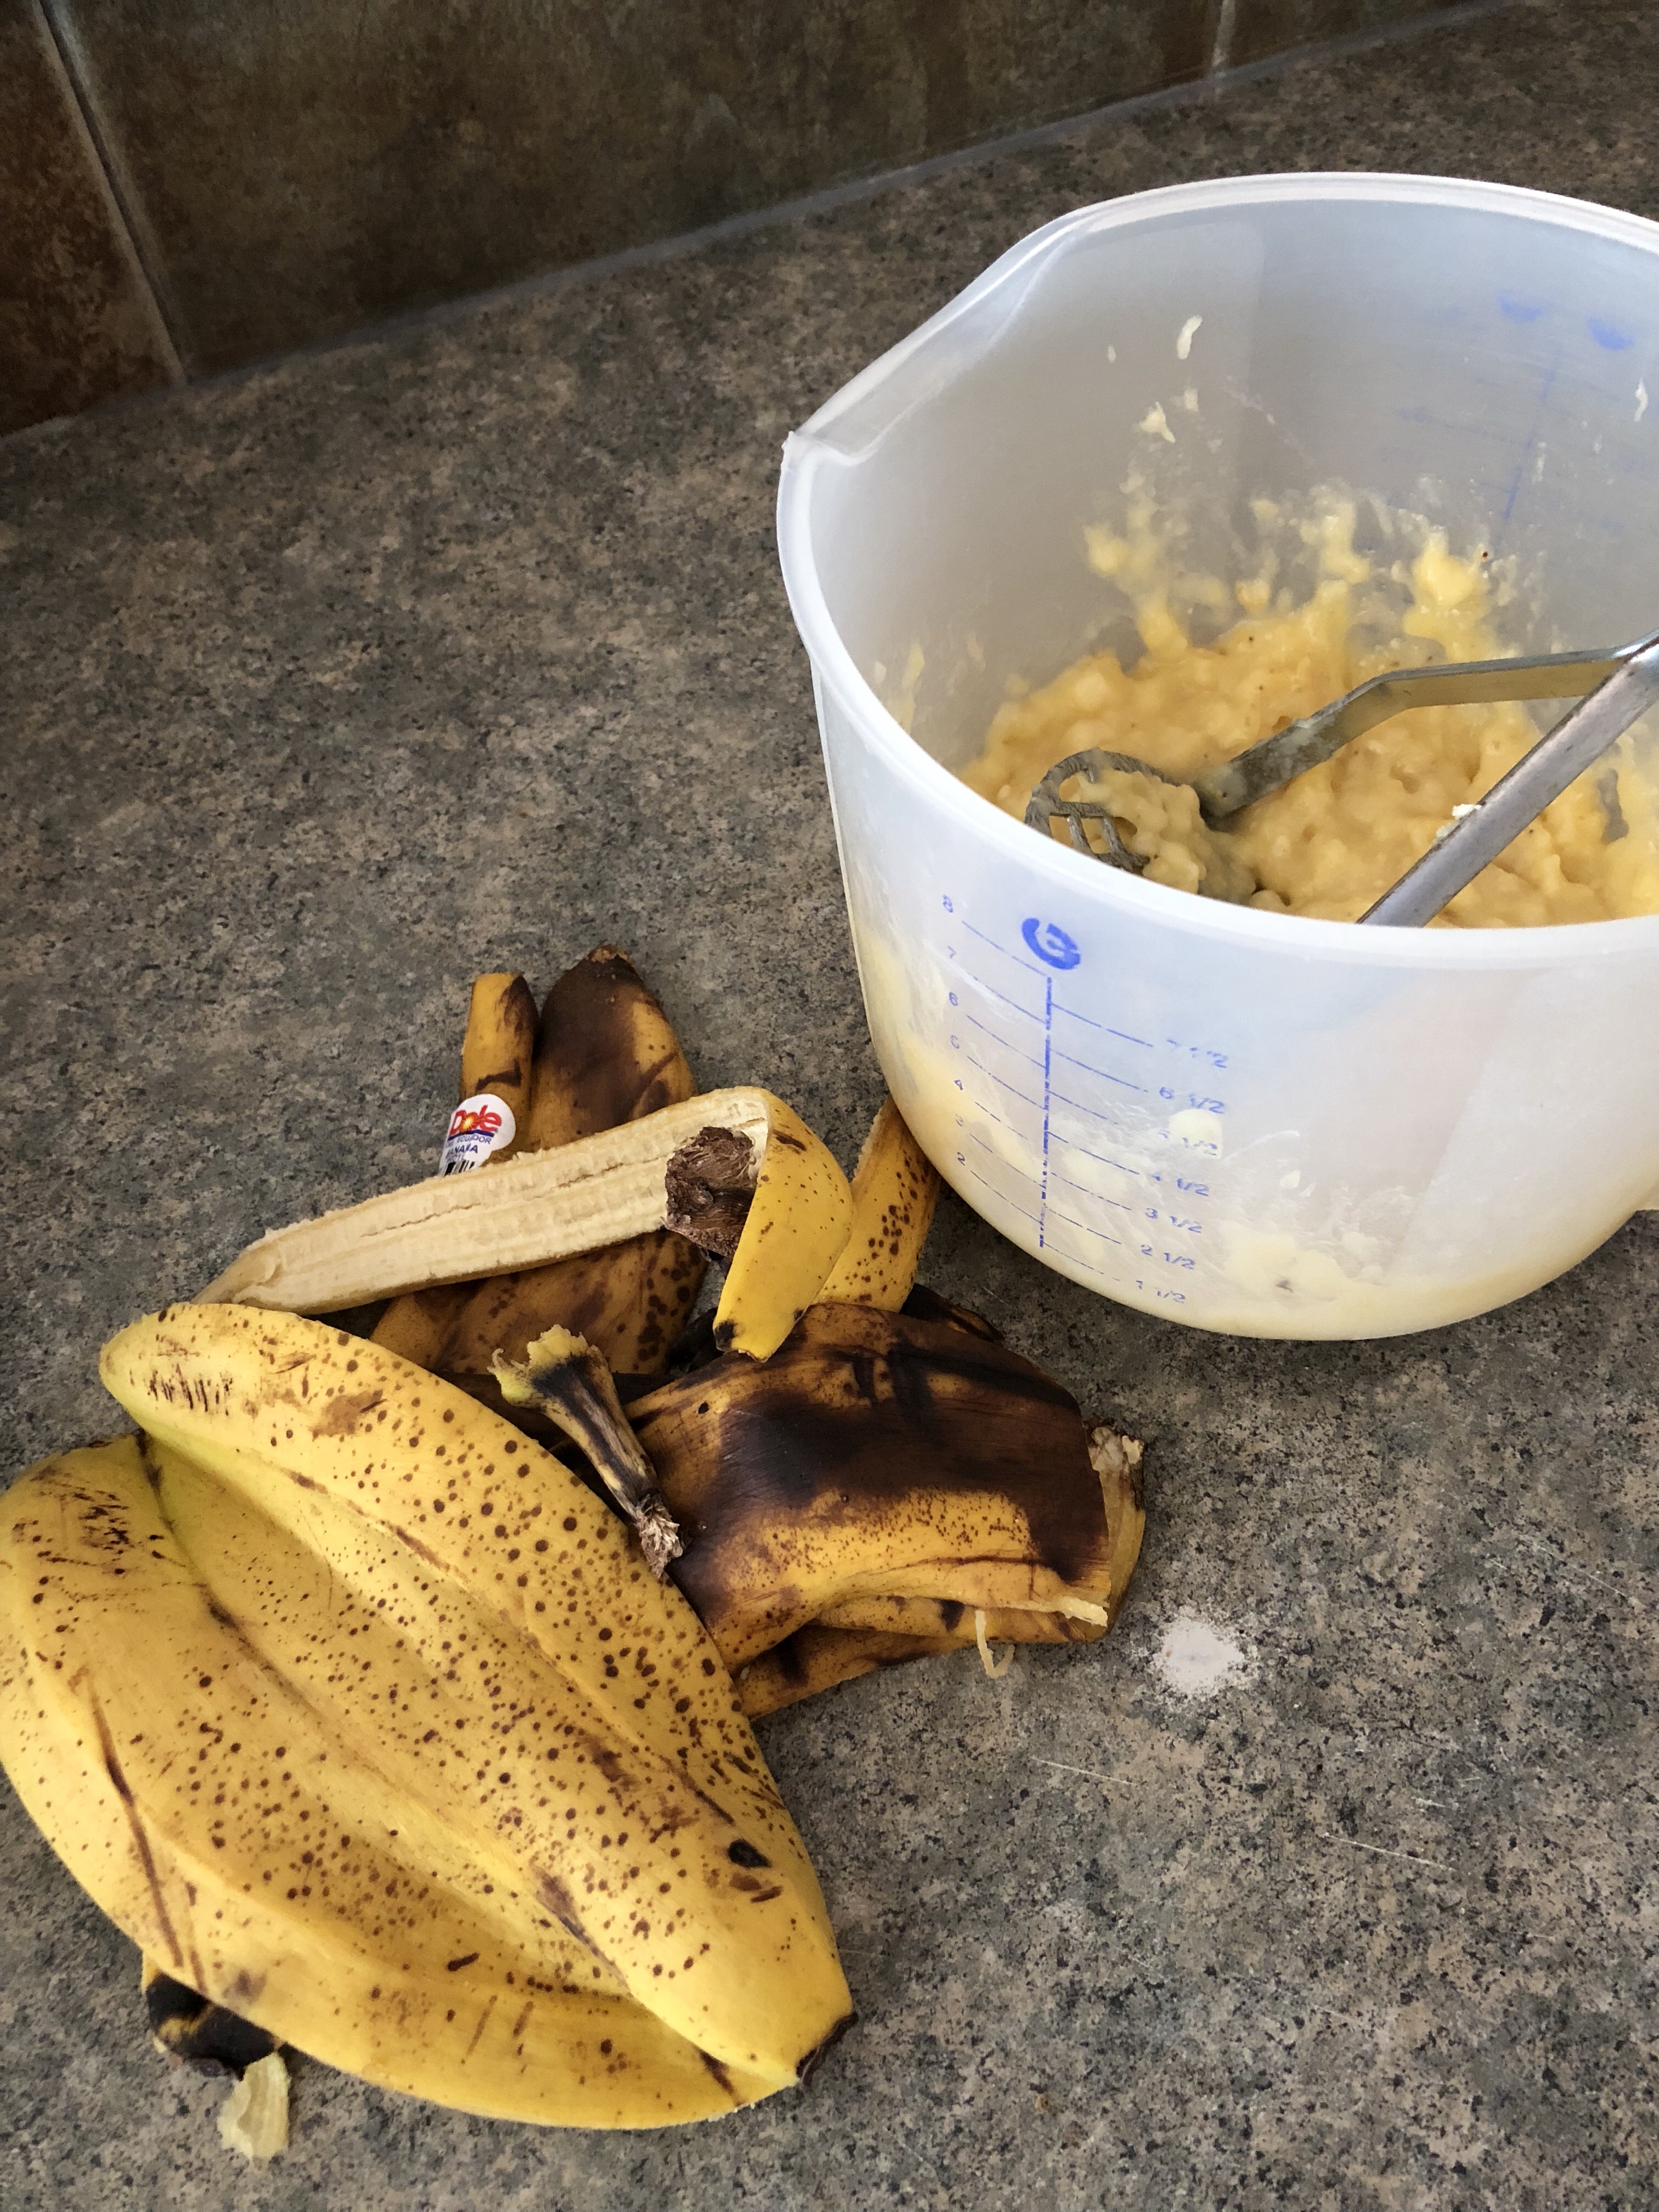
In a medium bowl mash your bananas with either a potato masher (my go to) or a fork. Make sure you peel them first. 🙂 Set them aside.
Into a large bowl measure the flours, the brown sugar, baking power and soda, salt and cinnamon. Stir or whisk everything together. Set them aside.
Grab the medium bowl with the mashed bananas and add the eggs, canola oil, yogurt and vanilla. Whisk all the wet ingredients together.
Dump the wet into the dry and using a wooden spoon or spatula mix the two together just until no more flour mixture is seen. The batter will be quite thick. If you want stir in your chips and/or nuts.
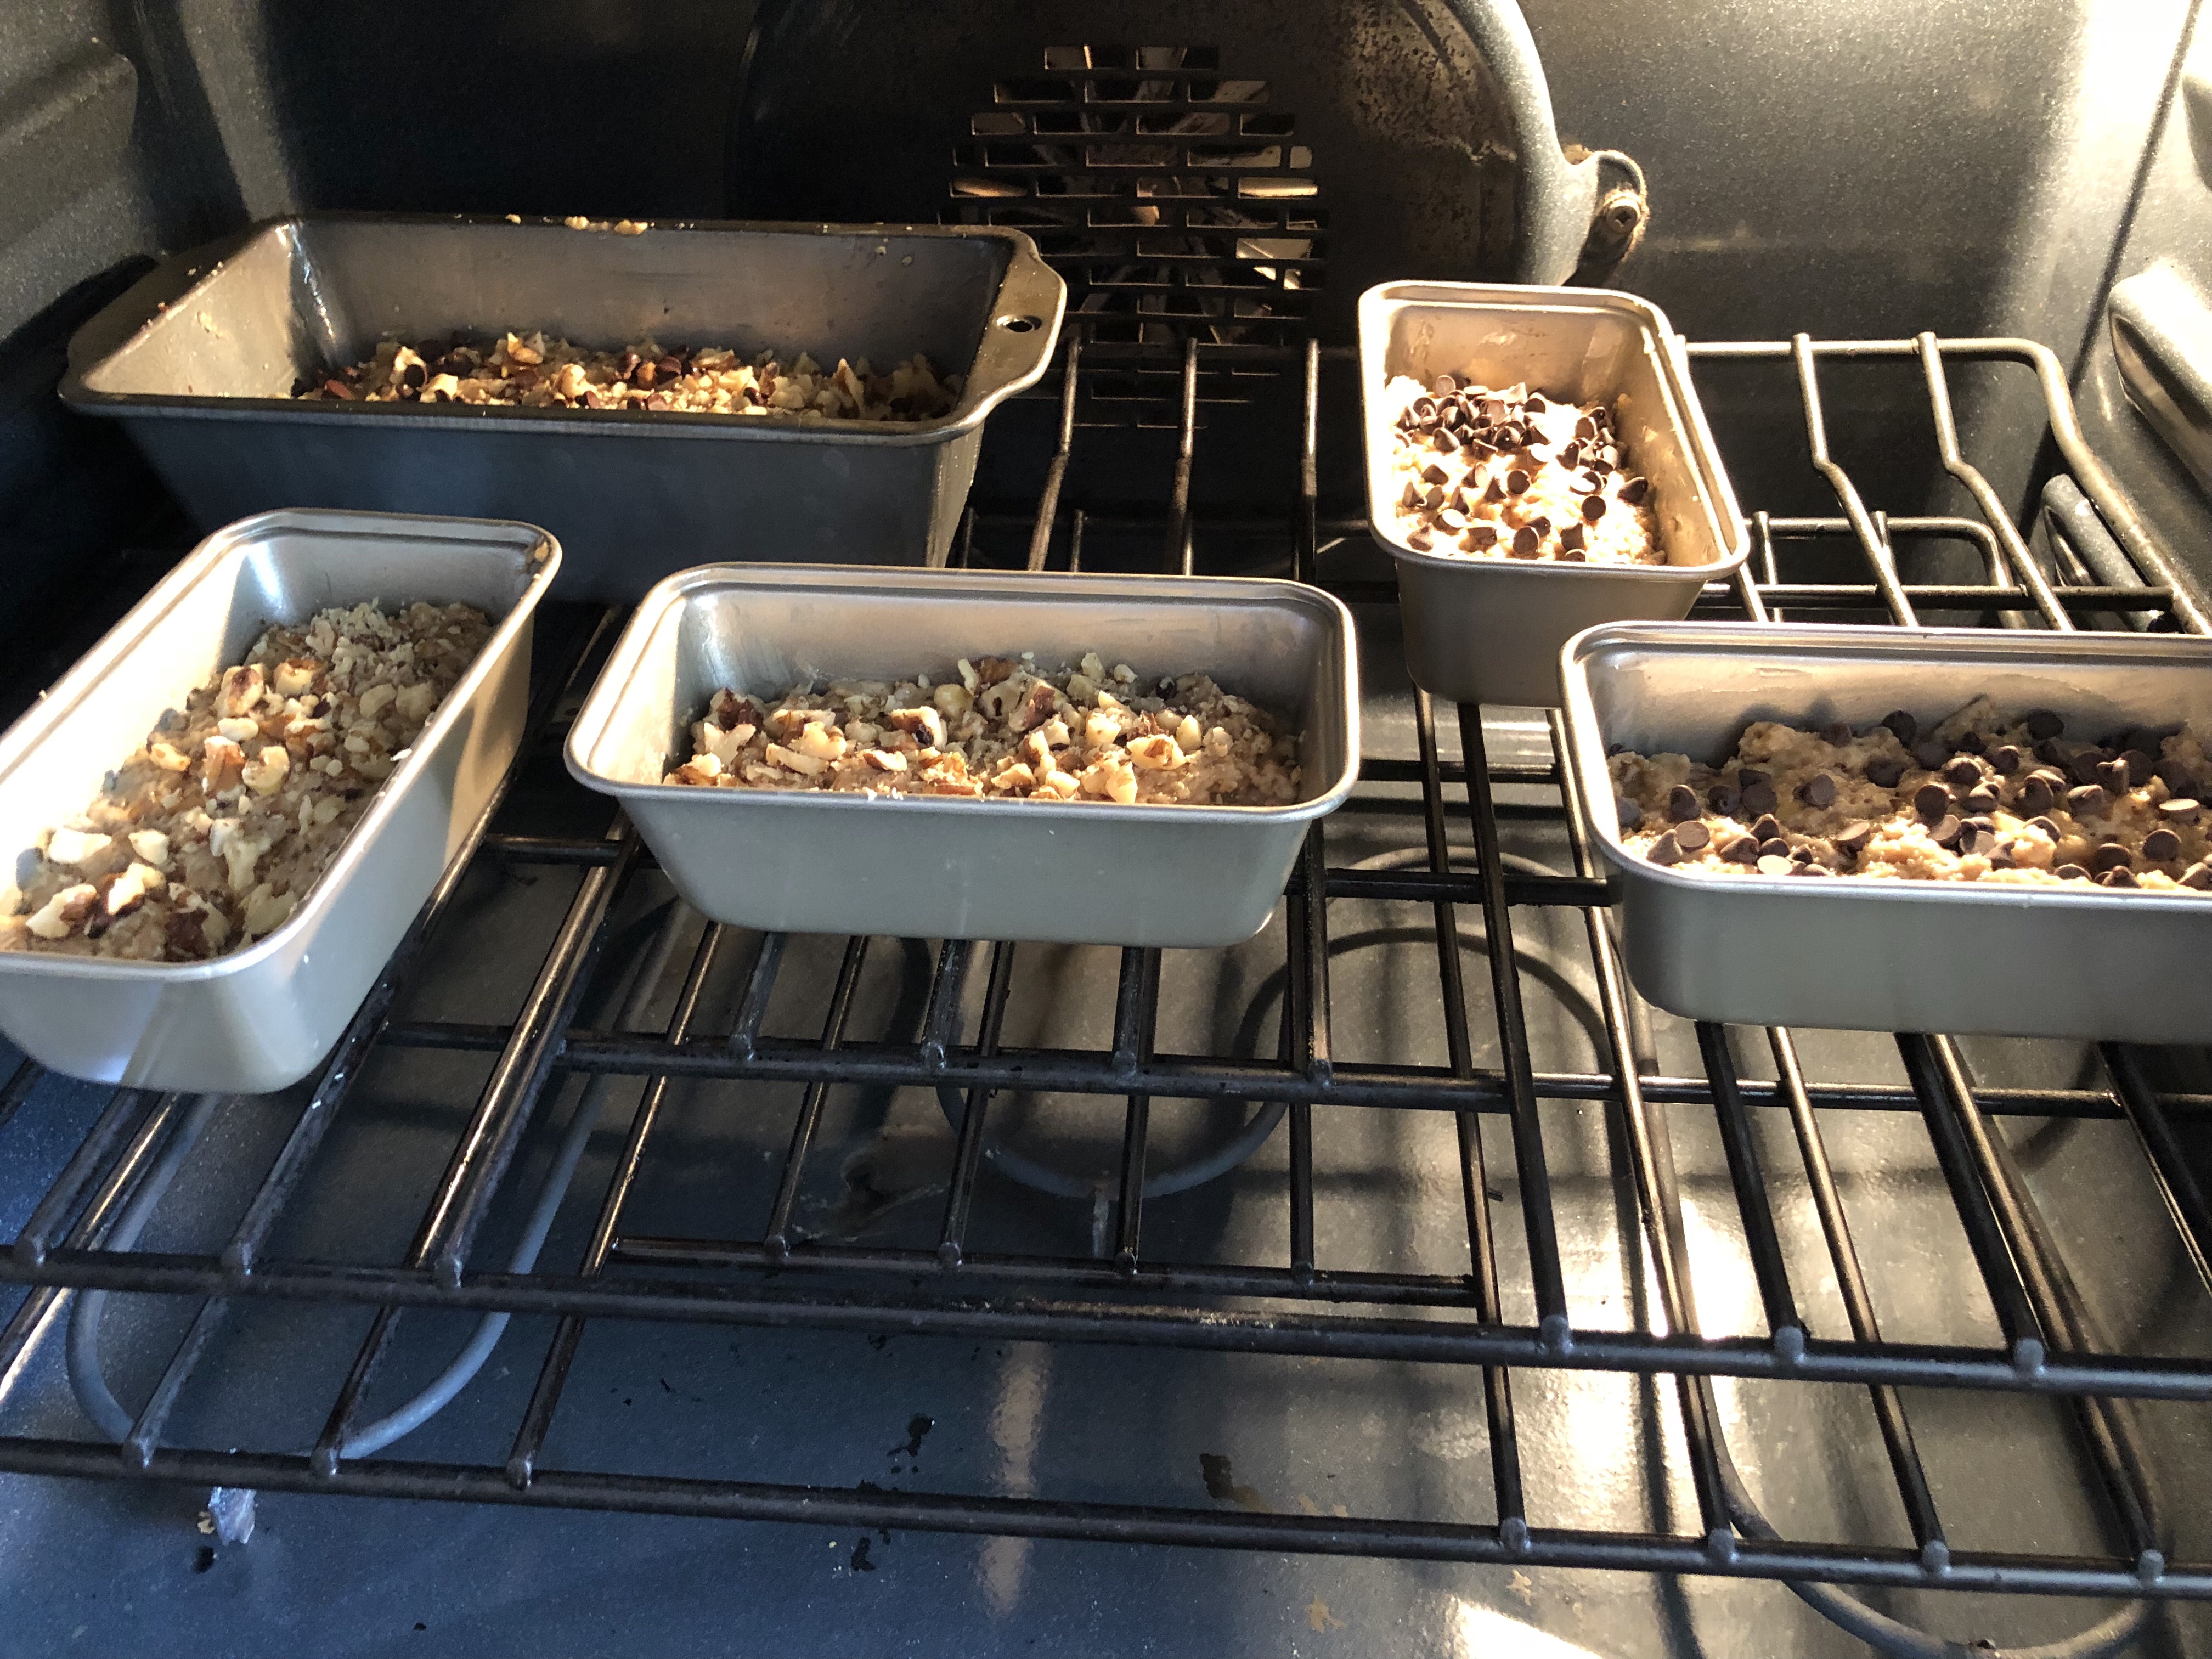
Grease either a 9×5″ loaf pan, 2 – 8×4″ loaf pans or 1 – 8×4″ and 4 – 5×3′ loaf pans. I use tub margarine to grease my pans but spraying with oil will work just as good.
Banana Loaves Galore
Divide the batter among the pans you are using, or if using only one large loaf pan dump it all in. Smooth out the batter and then if using sprinkle the toppings on.
For the large loaf bake for about 1 hour 15 minutes. The smaller loaves, 30 minutes. Check if they are done by inserting a toothpick into the center. If it comes out clean, they are done.
Set the loaves to cool on a wire rack. When they have cooled down, usually about 15 minutes, invert carefully and remove them from the pans.
Slice and enjoy!
Apple Strudel Muffins
What you need:
1 cup all purpose flour
1 cup whole wheat flour
1 tablespoon baking powder
1 teaspoon cinnamon
1/2 teaspoon nutmeg
1/2 teaspoon salt
1 egg
1 1/4 milk (cow’s milk, almond milk and carton coconut milk (not canned) all work)
1/2 cup packed dark brown sugar – you can use light too, I just prefer dark
1/3 cup canola oil
1 teaspoon cinnamon
2 large grated apples 🍎, cored, peeled or unpeeled (I use Galas)
For the strudel topping:
1/4 cup brown sugar
1/2 teaspoon cinnamon
3 tablespoons oats
1 tablespoon softened butter
How to make them:
Set your oven to 375 F.
Core the apples, peel if so desired, and then grate them. I usually grate them on to a cutting board and then they are easy to slide into the bowl. Save your fingertips and go slow. 🙂 When you are done grating the apples set them aside.
Into a large bowl, measure the flours, baking power, cinnamon, nutmeg and salt. Mix the dry ingredients together. Set them aside.
In a separate bowl whisk the egg, milk, brown sugar, canola oil, vanilla and grated apples.
Dump the wet ingredients into the dry ingredients and stir just until moistened. No over-mixing allowed.
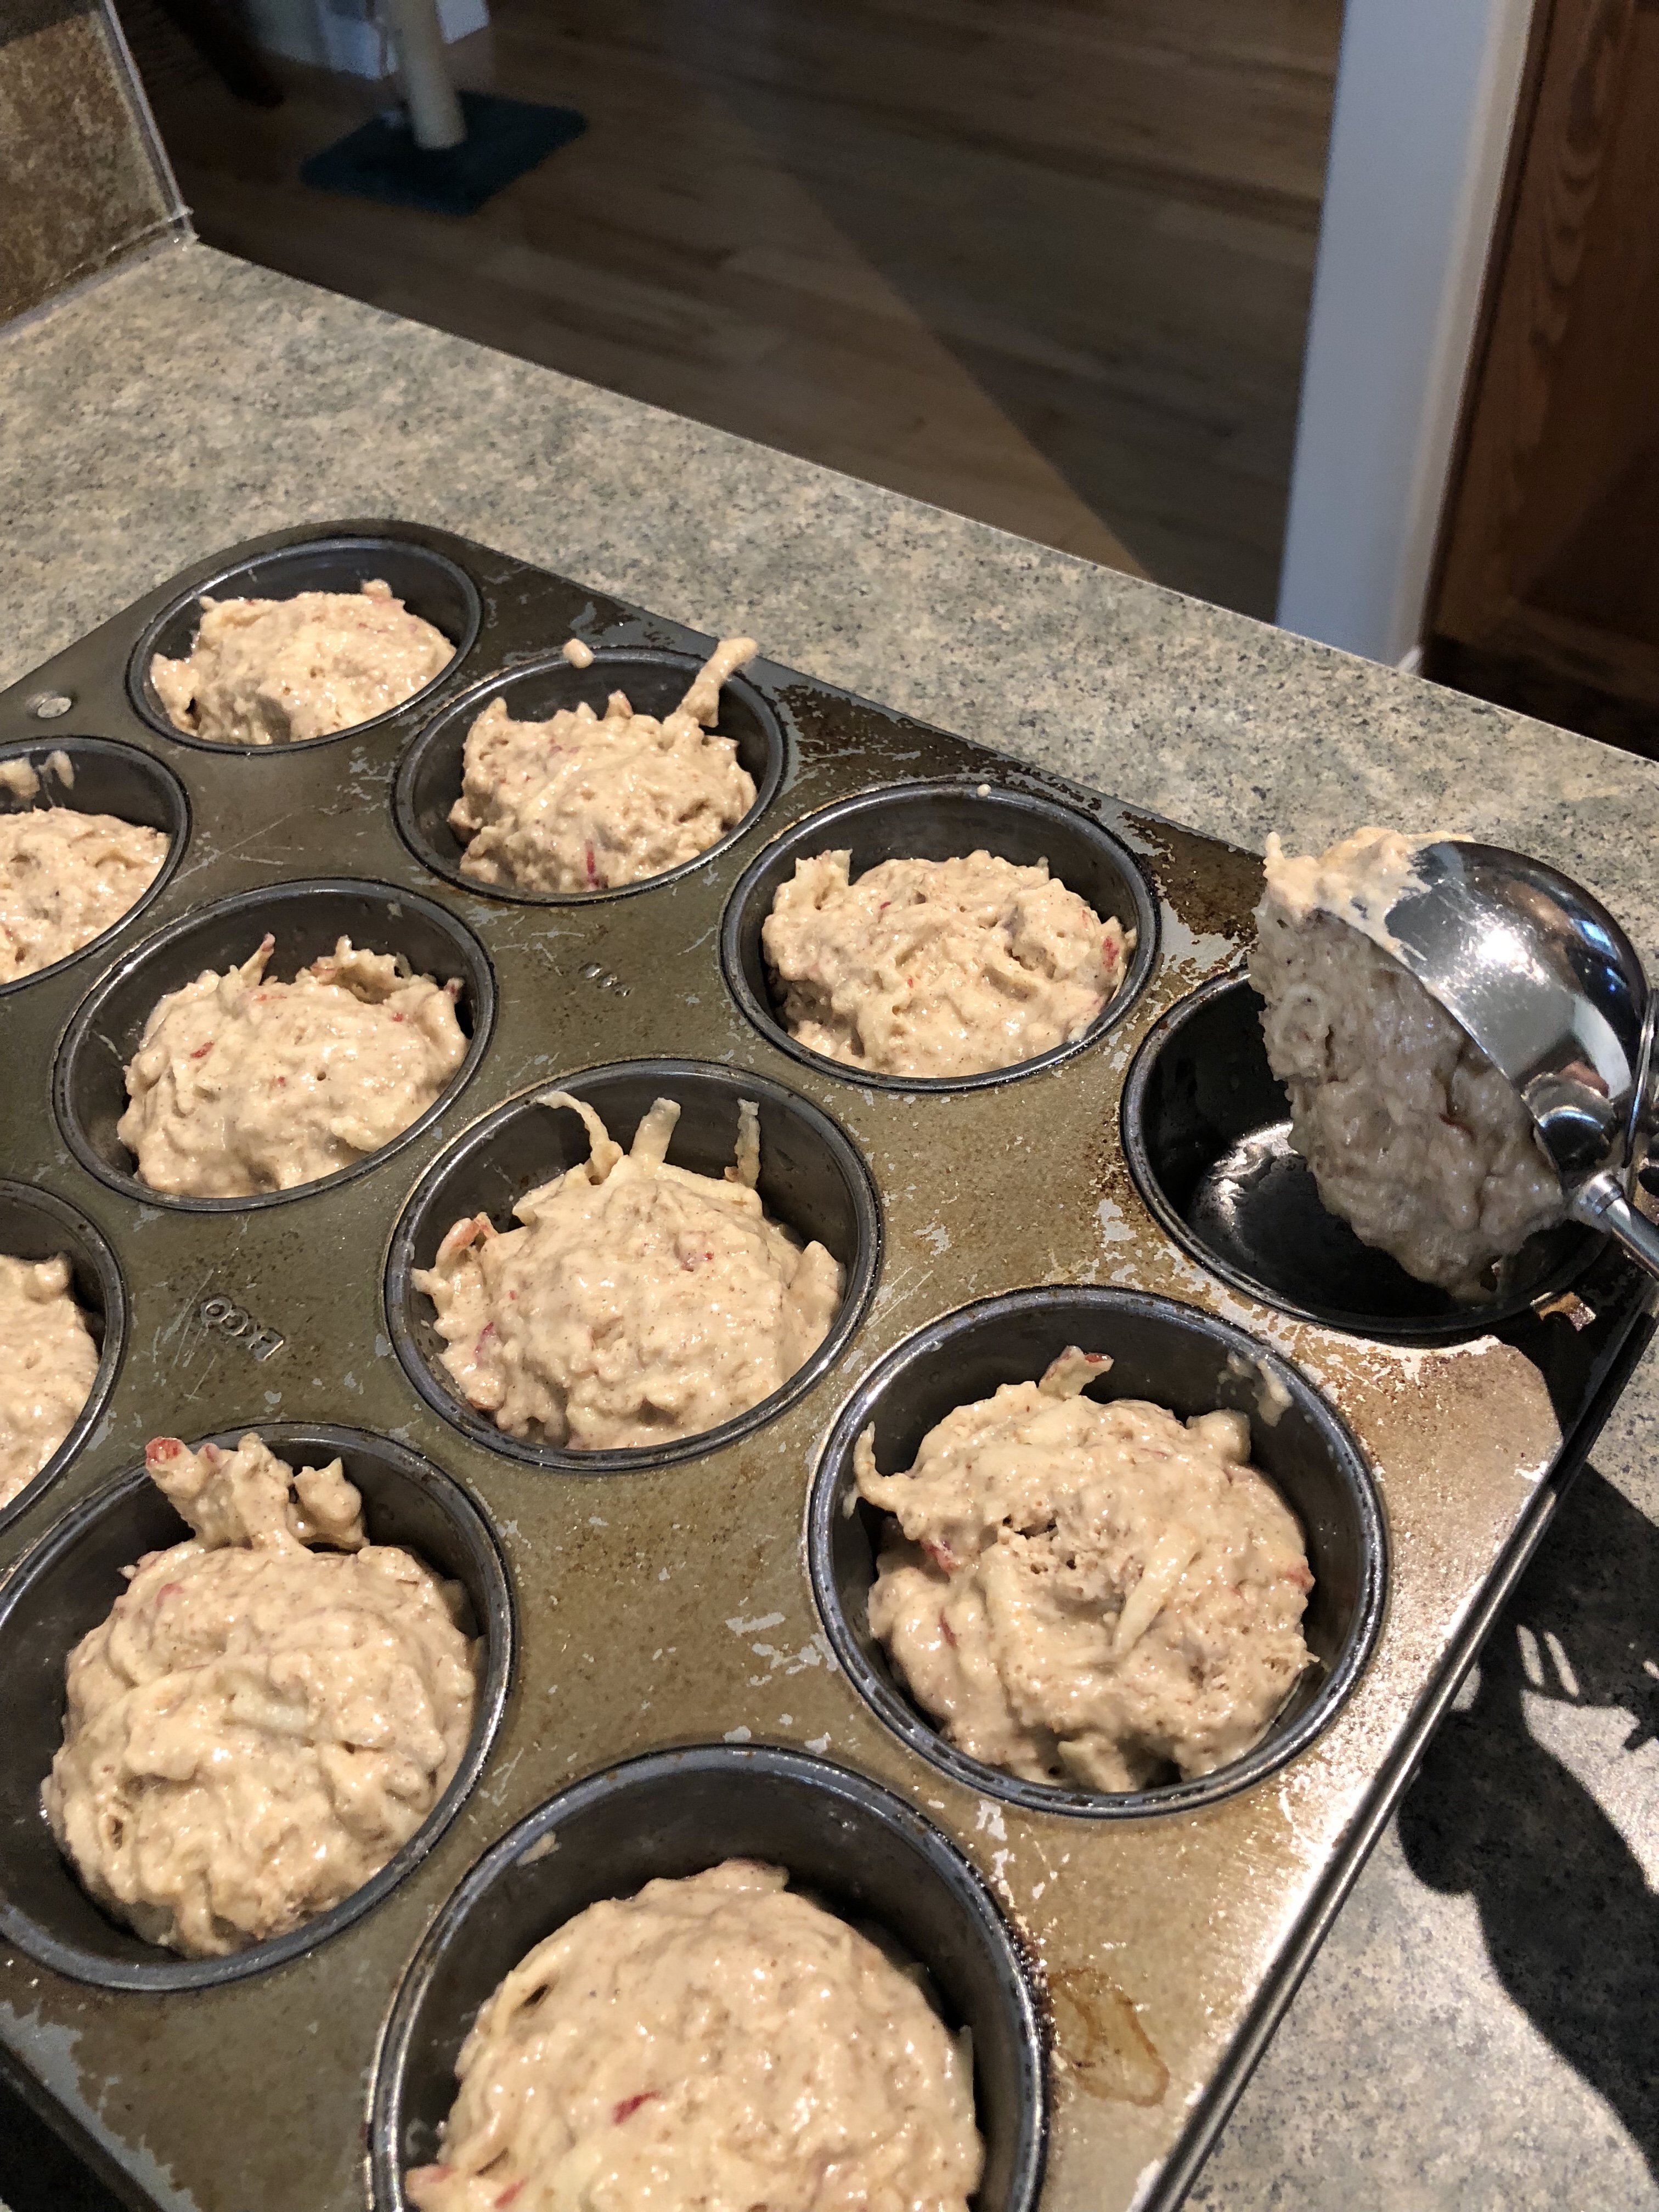
Spray 18 muffin cups with oil, or use paper cups. I use a 12 and a 6. Spoon, or cheat like I do, and use an ice cream scoop with a clicker to fill each cup 3/4 full.
For the strudel topping, in a small bowl mix the 4 ingredients with a fork until crumbly. Put a scant teaspoon of the mixture on the batter into each cup.
Bake for 18 – 20 minutes. Use a toothpick to check if the muffins are baked through.
When done place on a rack to cool. Then carefully remove the muffins from the cups. I usually use a butter knife as a don’t use paper cups.
These are great plain, but even better with a dab of butter! Enjoy 😊
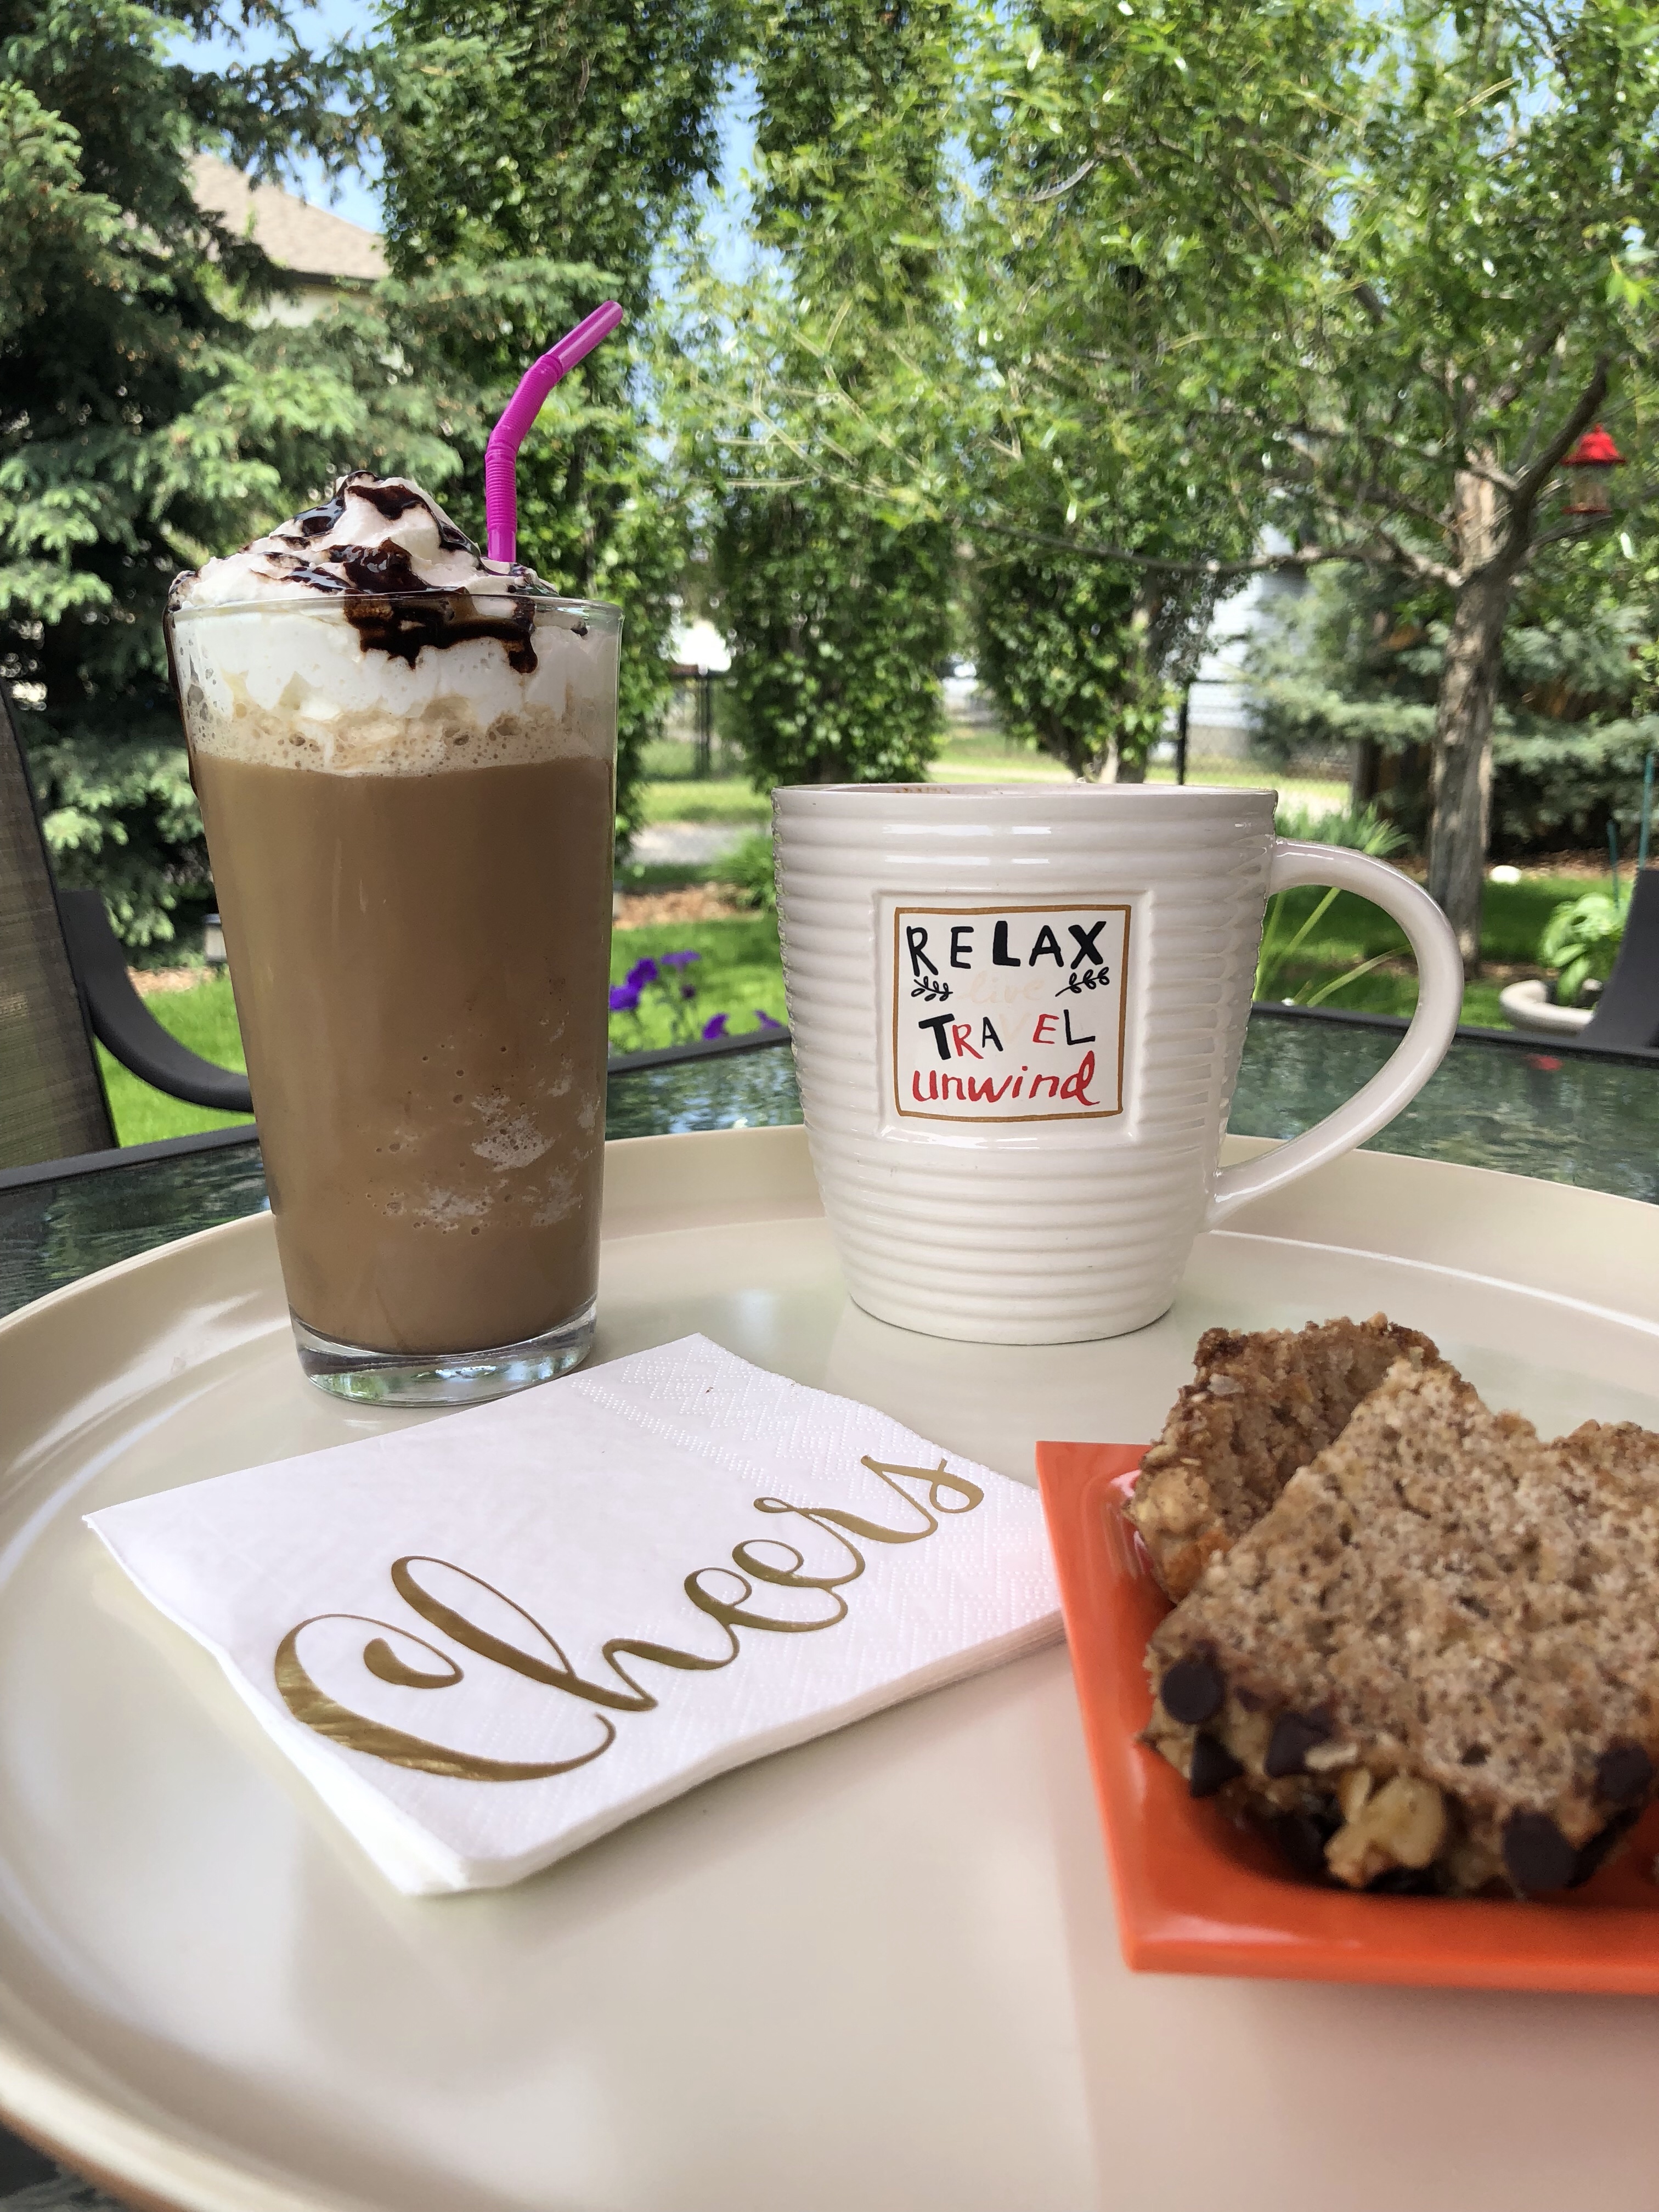
A great beverage to enjoy during our hot summer days, that also happens to go well with both these treats is a Blended Iced Coffee. Super easy to make, cheaper than Starbucks and you don’t need a fancy espresso maker. Just a blender.
What you need:
2 teaspoons instant coffee
2 tablespoons warm water
1 – 2 teaspoons sugar, I use cane or coconut sugar, but plain granulated white works
1 cup milk (cow, almond, coconut – from a carton, not a can)
1 teaspoon vanilla – if you want
1 tablespoon chocolate syrup – known in our household as Bunny Syrup
1 – 1 1/2 cups ice cubes
How to make it:
In a 1 cup measuring cup add the instant coffee, sugar and water. Mix until dissolved and then pour into the blender. Add the cup of milk, vanilla (if using) and chocolate syrup. Lastly add the ice. It should be no higher than the liquid. Put on the lid and turn the blender to the Blend setting. It usually takes about 30 – 45 seconds. Pour into 2 glasses, top with some aerosol real whipped cream, drizzle with chocolate syrup.
This is going to sound like a typical life journey blog today. Because we all have them, pretty much everyday. Some we love, some we regret, every single one we learn from. What we learn depends of course on how we respond, with our feelings and emotions, our reactions. Age and maturity is a big player in it all.
I have always tried to be physically active. Way back in the day I skated, swam, ran track and field, played ringette and volleyball, curled. Most of these activities were dictated by what was available in the community. I loved every moment. I was young, it shaped my childhood. Showed me I liked to be part of a team, loved to compete, winning was great and losing sucked, but was a life lesson. The rink, as it was called, still is called? was the centre of the community where I grew up. Hockey, figure skating, ringette and curling. Hockey tournaments, the annual figure skating carnival and curling bonspiel’s ruled the community calendar.
I left my hometown for the big city. My structured activities ceased as I was new in this big place. I whole new world opened up and I do regret not embracing all the great programs and activities that were available to me. I guess looking back I honestly felt university and university life was all important. I can credit my husband (boyfriend at the time) for eventually getting me back to my love of curling and volleyball via the recreational leagues we joined.
Then I had two great kids, and a job and a busy life. Like we all do. My kids kept me active when they were little with learning to swim, learning to skate, running around after them in general. I bought an aerobic stepper and the videos, because that is what the craze was. Hated. Every. Moment. But the kids liked playing on it. And then 16ish years ago my husband bought a treadmill with some of his bonus money. I looked at the thing with mixed feelings. My husband was diligent in hopping on board. It took me two years to get on the thing. And even then I used it sporadically or spastically, as that is how I probably looked when I was on it. And then one day, in the dead of winter while the kids were at school I put on my runners, got in the groove and stayed there for a long time. I am not a lover of the gym environment so running on the treadmill at home, and then eventually outside on the pathways fit my life. I was never a huge distance runner, the most ground I ever accomplished was probably 10 km, 5 km being the norm. But I loved putting on my earbuds, the music, the rise of my heart beat. Jogging on a beautiful day, on the great paths in our town was the ultimate motivator.
Then my hips and knees started to hurt. I probably should have stopped sooner than I did. I was running at my parent’s cabin on a rough path and hurt my hip bad. It was sore forever and I was so mad at myself for letting it happen. I was popping Advil before bed so the hip pain would go away and I could sleep. I know. Wrong, wrong, wrong. So I stopped running for what felt like forever. I tried to run again. On the treadmill, outside, slow, but my hip was not on board and I actually felt embarrassed and then mad. Why was my hip not cooperating with me? And everyone else my age was still running. Then after a time my ambition and desire just was not there anymore. Fuck age…
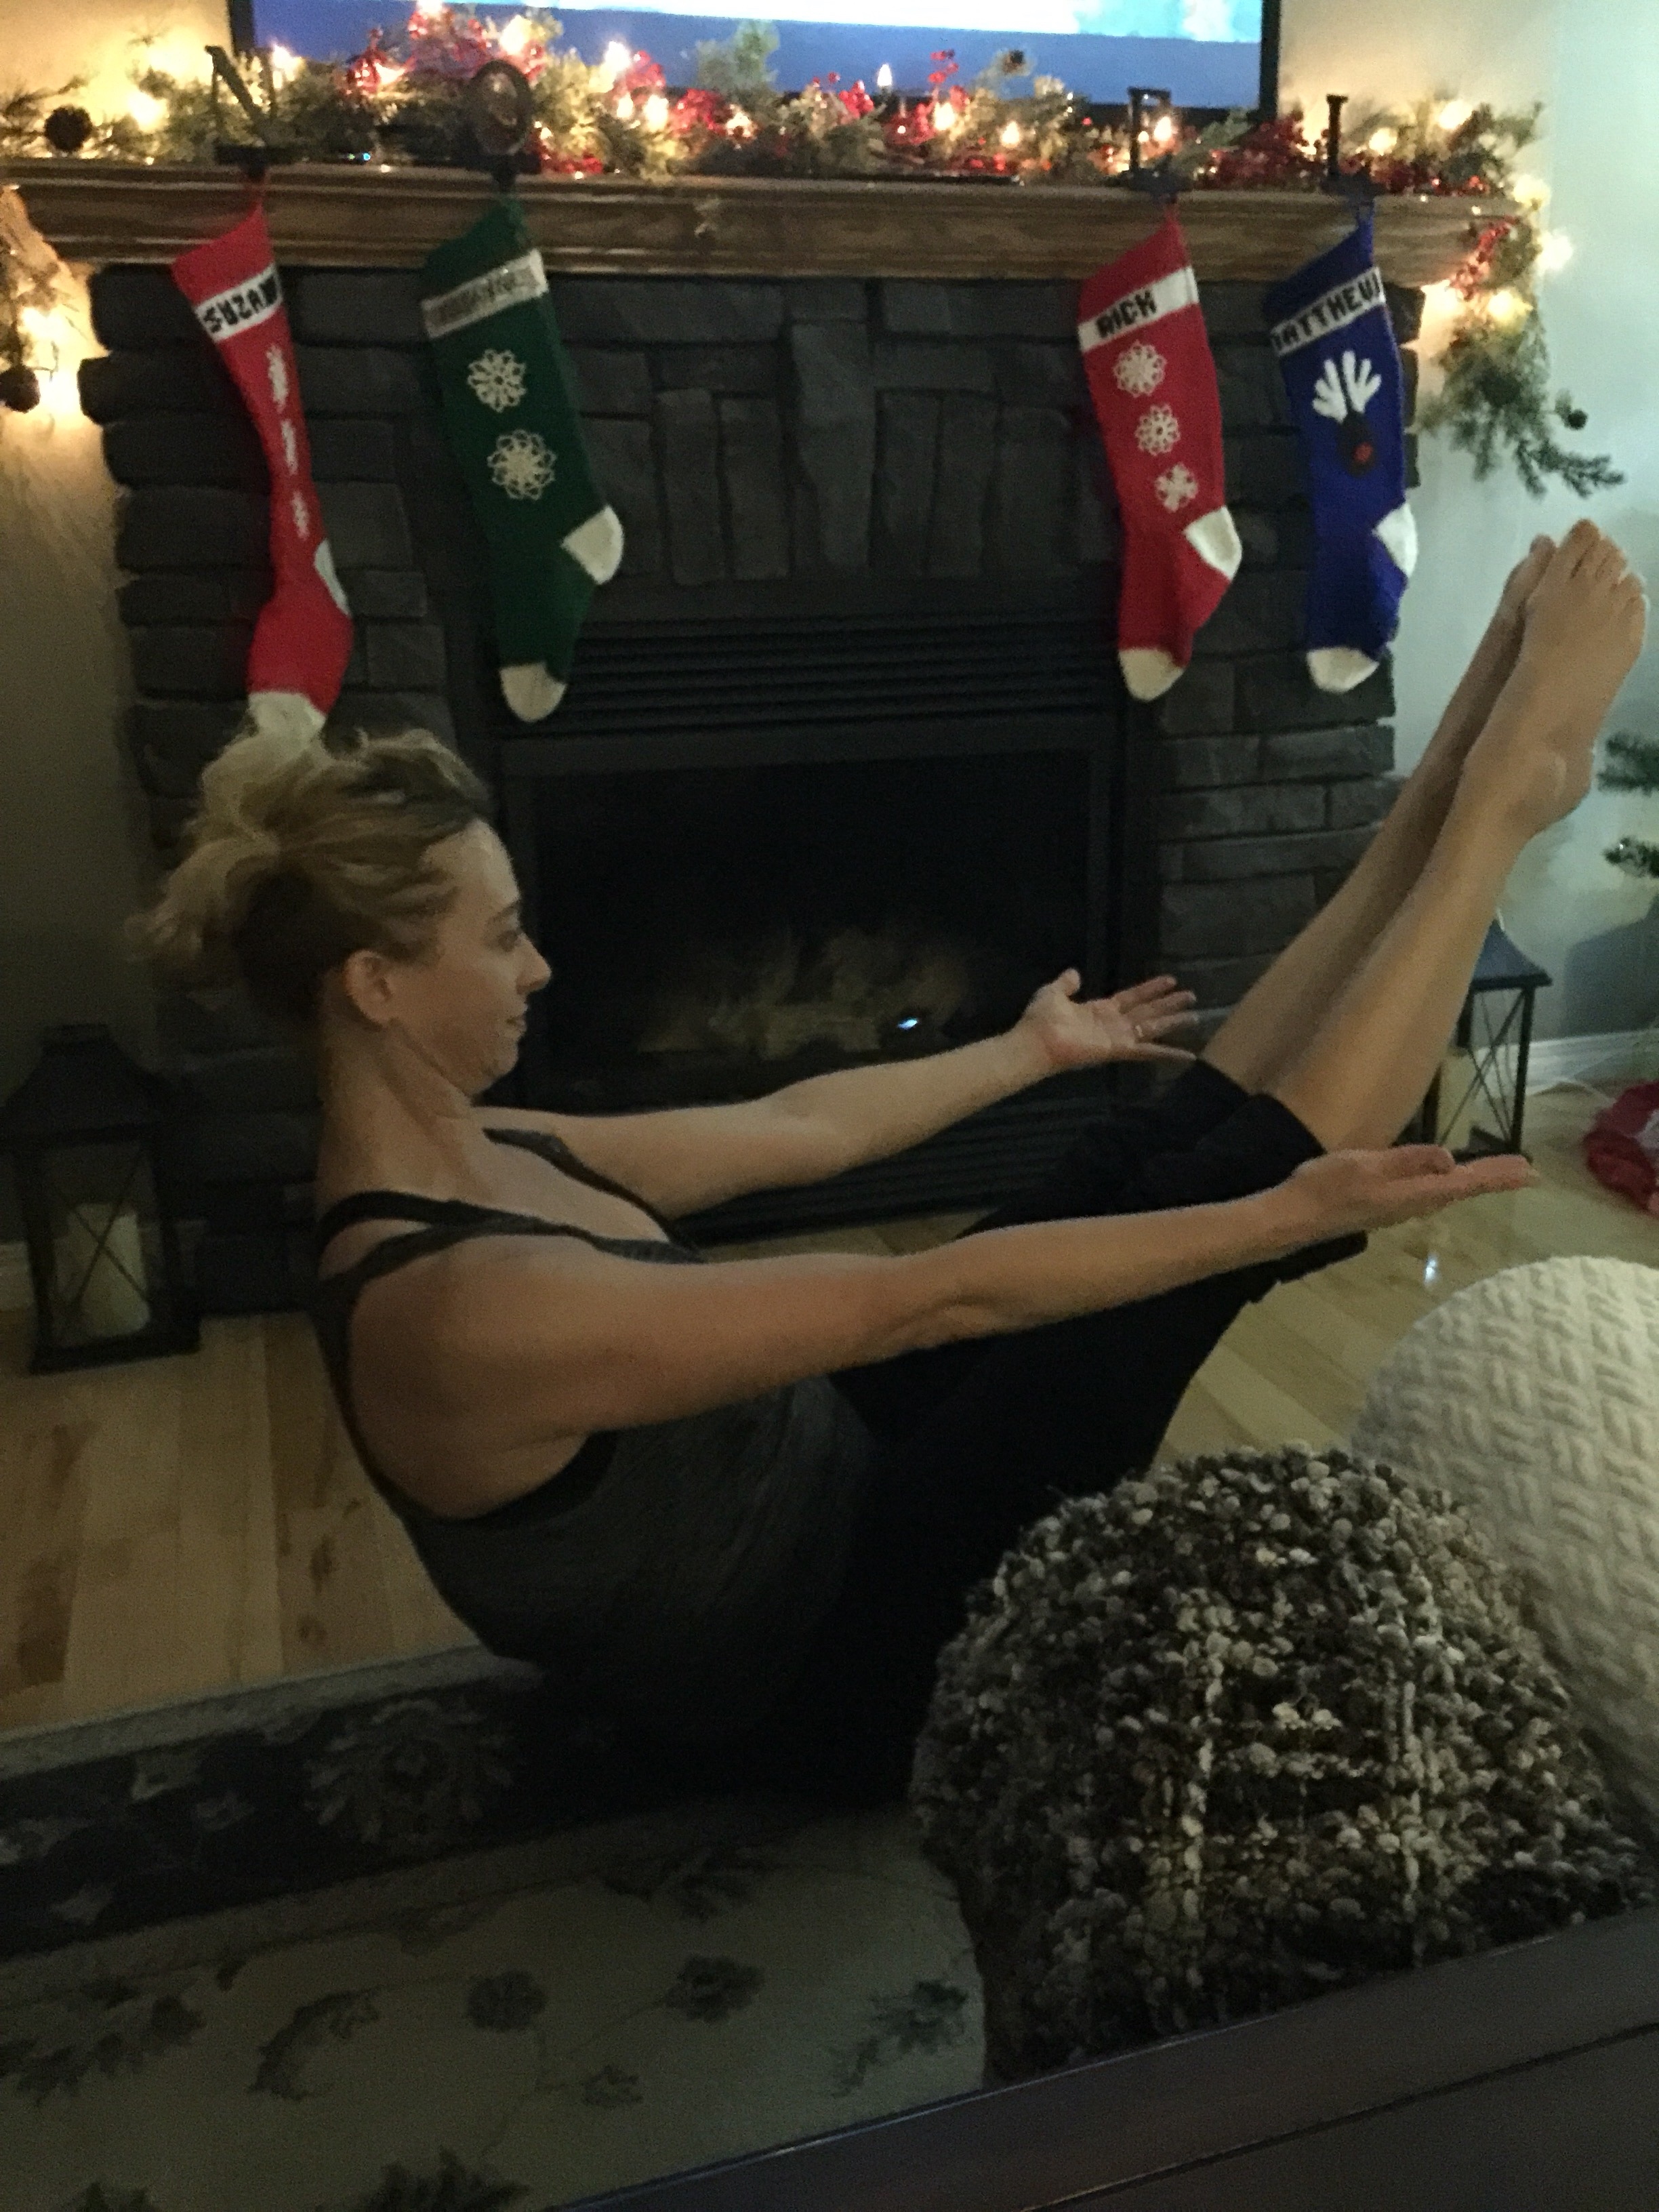
I had taken yoga classes on and off. Never anything consistently. And never in an actual yoga studio. Three years ago I signed up for an hour of Barre class, and then an hour of yoga after at the studio my daughter was dancing at. Loved it! I even went when the weather was terrible. The yogi was wonderful, the class small. My introduction. I started with a restorative class which now in retrospect was the perfect route, plus I was using a yoga app called Down Dog. In restorative yoga the poses or asanas are held longer and alignment is key. Eventually my hips didn’t hurt, or ache, even at night! The holy grail of being pain free!
As I said earlier I am not a lover of gyms. Two of my best friends convinced me to do a power class with them, I could not walk down the stairs for a week. I literally used my ass and crawled my way down. My gym hate continued. The instructor from the restorative classes I took was teaching at a yoga studio in town and encouraged me to attend. My love of yoga and the feels it gave me afterwards convinced me to walk into the studio, purchase a unlimited month membership to try the classes offered. I was hooked.
So that is how on this journey, I have arrived as a lover of down dog and savasana. Huge curve of acceptance, of knowing I will probably never jog or run again willingly. I love to walk, or hike as it is called now. I have fully embraced the rush I feel walking into the yoga studio and then feeling it continue when I leave and take it through each day. Yoga was my answer. I feel no pressure, no reserves. As my favourite yogi says “what brought you to roll out your mat today? this is your class, your intentions, I am only here to guide you”.
Row, Row, Row your Boat… 🧘🏼♀️
Everyone is different, this is only my crazy journey. Some people love the gym atmosphere, some love the thrill of running outside no matter what the weather, some love playing hockey or curling. I am so thankful my kids loved being active through out their childhood. I encouraged them to try many activities. My son found his passion playing volleyball, and into his 20’s is now coaching both court and beach. My daughter has danced since she was 3 and is in her last year of competitive dancing. Yes, I am a dance mom…There is a strong possibility she will be teaching dance next season. I am beyond proud of both of them. Do not cry you idiot…
So go out there and do what makes you happy. Do what helps you forget everything or a little for a mere hour. What raises your heartbeat and gets your endorphins up. For me it is rolling out my yoga mat… getting my flow on.
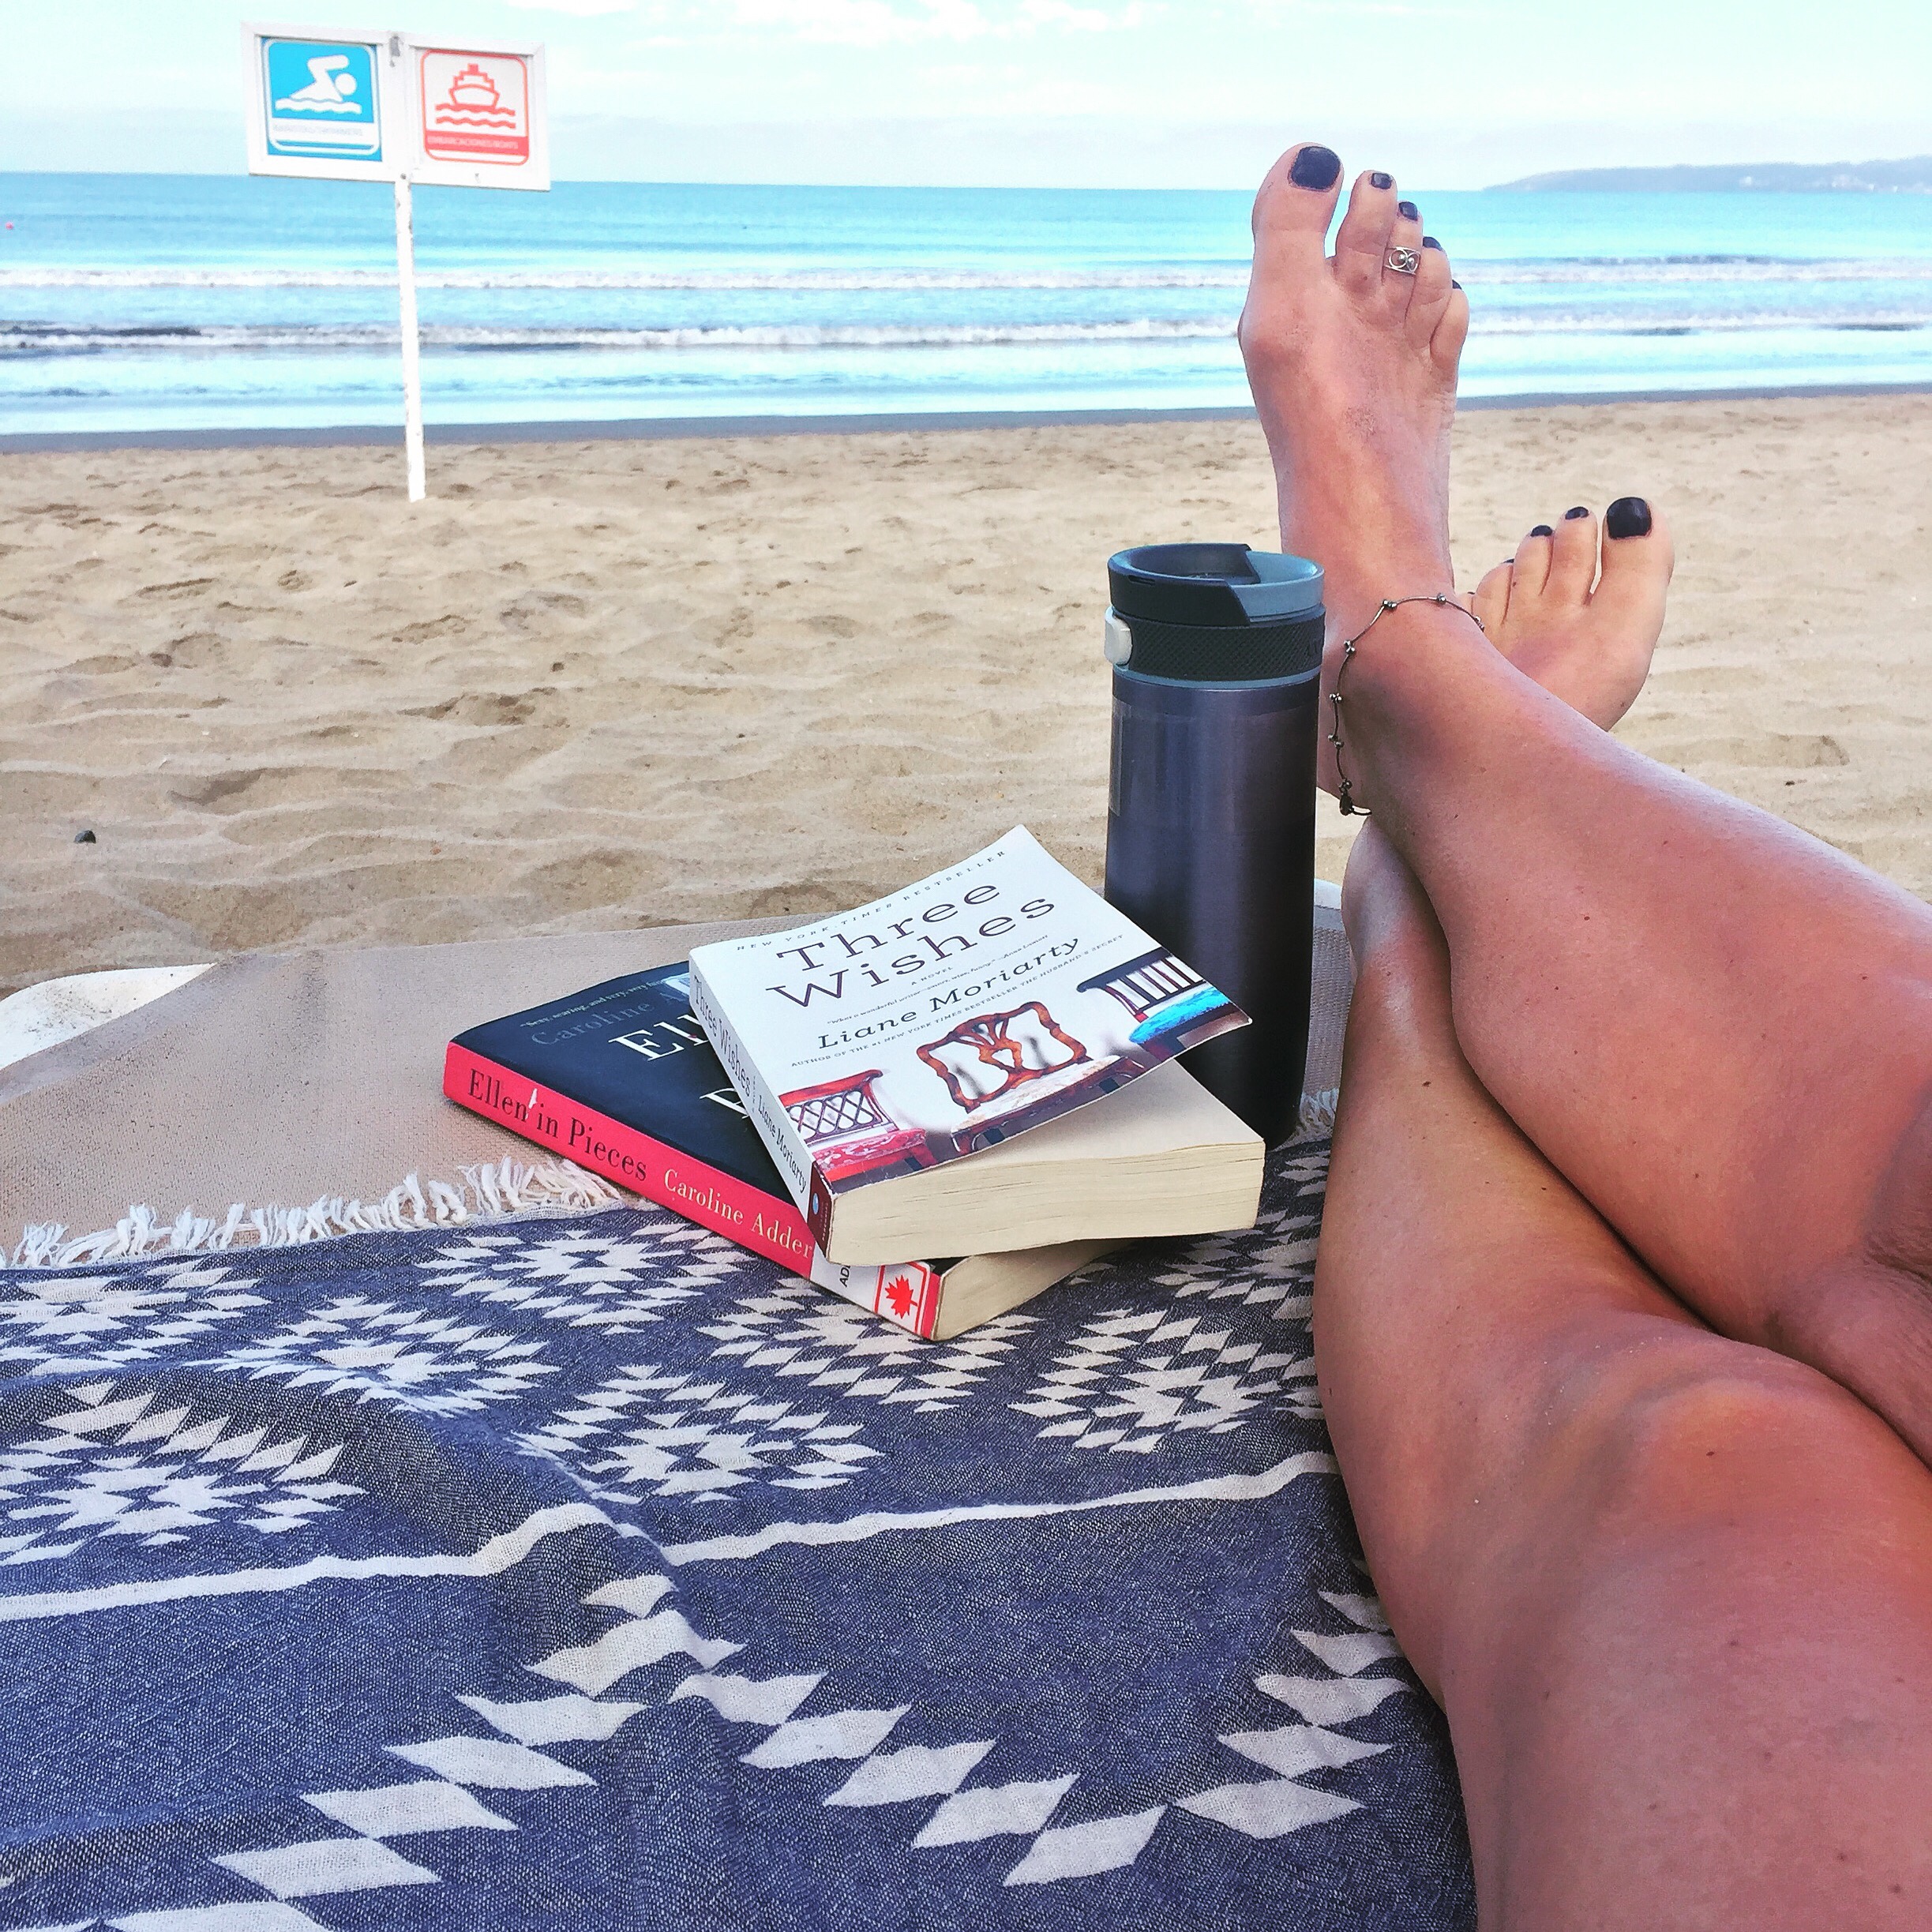
And always a beach 🏝 …but that is another story, another journey. 🙂
Easter. Melting snow. Warmer temperatures. Spring!? Every year when we return from our February holiday I am ready for Spring/Summer to arrive immediately and envelop me with greenery and warmth. Unfortunately where I live Mother Nature does not grant me any such wishes as we usually are just entering the season of heavy wet snow and a blizzard or two or ten. That being said I do enjoy living where I do, the pros outweigh the cons.
At yoga this morning my instructor said with Spring in the air comes new growth, excitement for change – new replacing the old. Absolutely. Plants and trees start to embrace the warmth with new growth. We may decide to do some spring cleaning inside and yard cleaning outside, walking instead of driving as the snow and ice is melting, and emotionally the cold and dreariness of winter melts away and we feel revived. Renewed.
Many people love Fall, including my husband. He loves the changing colours of the trees, memories of harvest on the farm and if we are lucky Indian Summer. I am all about Spring as it signals that Summer is waiting to arrive. I think my love of Summer is not only due to loving the greenery and warmer temperatures but also the memories it evokes. Being at the cabin, riding bikes, swimming, sand, the lake. For me Easter is the gateway to it all…
Plus it means chocolate and hot cross buns, babka and paska. Colouring eggs, church on Sunday and a wonderful meal. Easter supper growing up always meant ham and scalloped potatoes. And usually devilled eggs and angel food cake for dessert with strawberries and real whipped cream. NO edible oil products allowed. Since purchasing a smoker last year my husband has mastered the art of smoking a whole turkey and it is beyond delicious. Thus began our new tradition, plus it allows the oven to be used for cooking other things. I do love potatoes, scalloped, baked, twice baked, fried, made into perogies, hash browned (Mc Donald’s style). This year I’m torn between scalloped and casseroled, old school casserole. Both recipes date back to my grandma’s recipe books and yes, were included in the book I received at my bridal shower 25 years ago. They are classic, taste delicious and should not be tampered with. But after 25 years I have amped them up and people have not complained one bit.
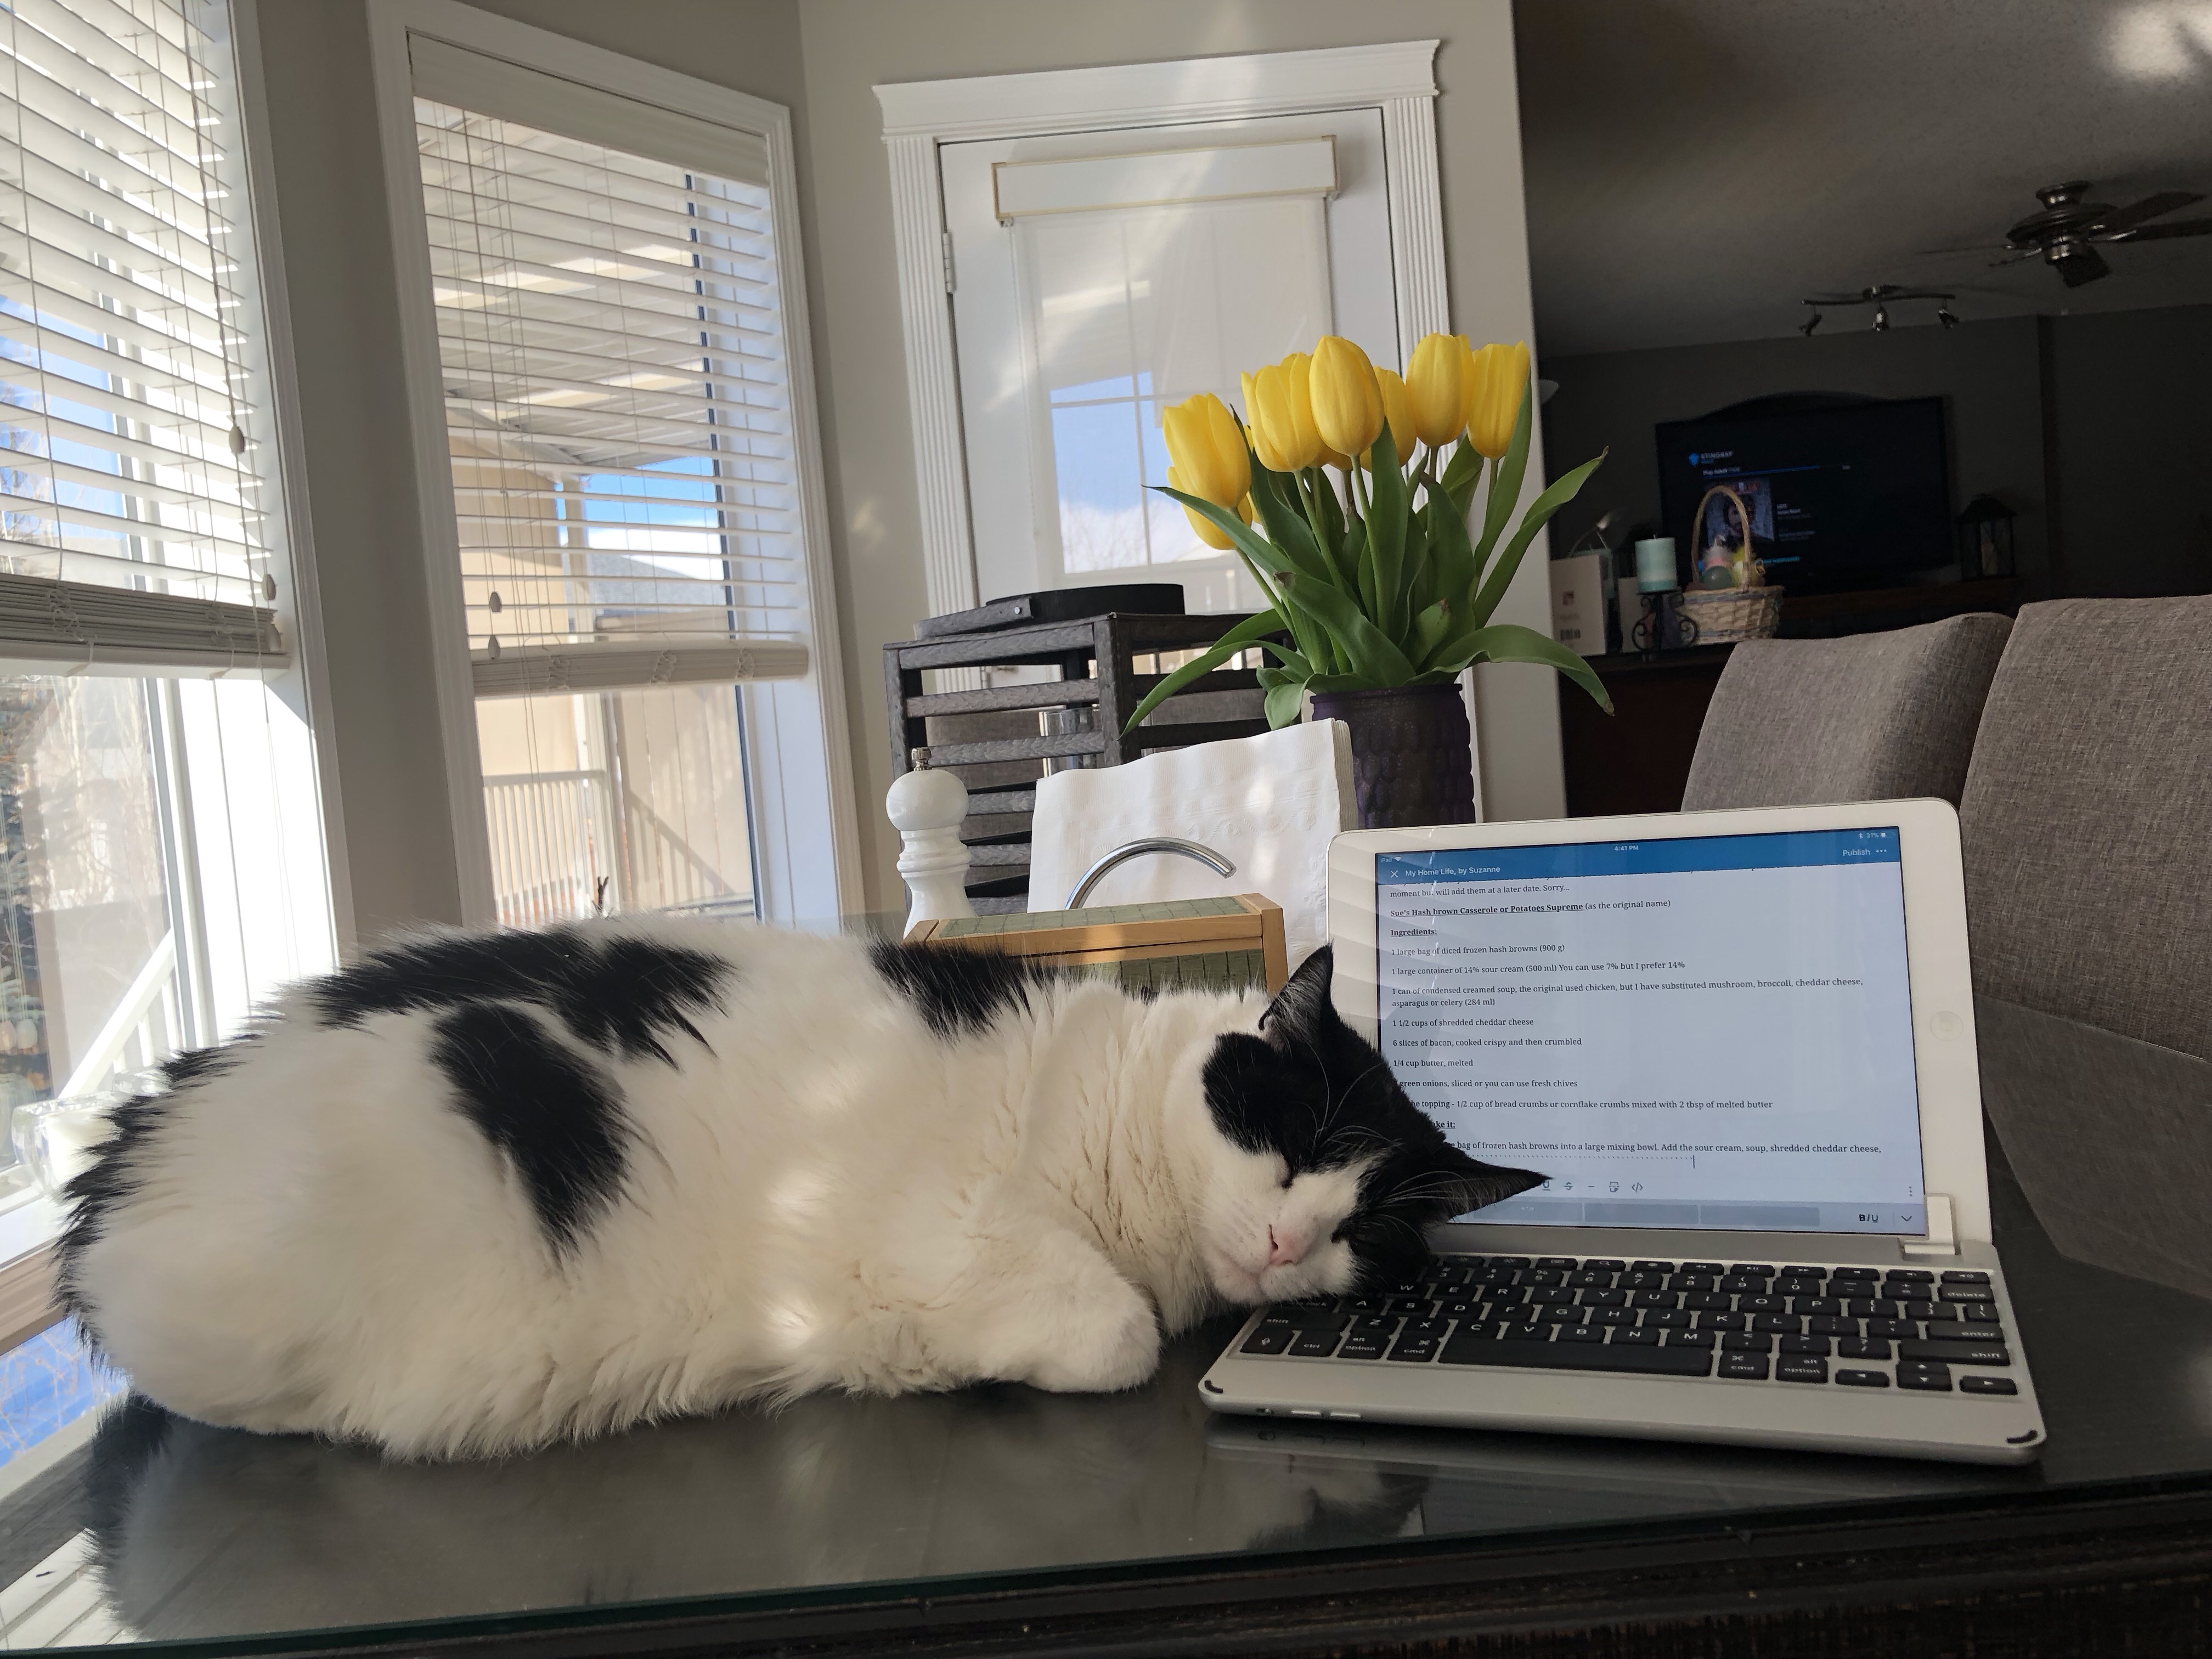
They are super easy to make and I bet everyone will have seconds. Unfortunately I do not have pictures to include at this moment but will add them at a later date. Sorry…
Sue’s Hash brown Casserole or Potatoes Supreme (as I received it at my shower)
Ingredients:
1 large bag of diced frozen hash browns (900 g)
1 large container of 14% sour cream (500 ml) You can use 7% but I prefer 14%
1 can of condensed creamed soup, the original used chicken, but I have substituted mushroom, broccoli, cheddar cheese, asparagus or celery (284 ml)
1 1/2 cups of shredded cheddar cheese
6 slices of bacon, cooked crispy, drained and then crumbled
1/4 cup butter, melted
2-3 green onions, sliced or you can use fresh chives (or neither if you don’t like them)
For the topping – 1/2 cup of bread crumbs or cornflake crumbs mixed with 2 tbsp of melted butter, sprinkle of paprika or chili powder if you want a bit of a kick
How to make it:
Dump the entire bag of frozen hash browns into a large mixing bowl. Add the sour cream, soup, shredded cheddar cheese, crumbled or chopped bacon, melted butter and the sliced green onions or chives. Give everything a good stir so it is mixed together. Grease a 12’x9′ glass pan or a sufficient sized casserole dish with butter, margarine or spray with oil. Scrape everything into the pan or casserole and lightly pat it down so it is somewhat even. Mix the crumbs with the butter and sprinkle in either some paprika or chili powder. Shake the crumb mixture over the hash brown mixture. Bake at 350 for 45 minutes. Let it cool for 10 minutes and then serve. You can prepare the casserole and freeze it for a later date, or put it in the fridge overnight to bake later. I have also put the mixture into two 8’x8 pans, baked one now and froze one for another day. Enjoy the cheesy, hash brown goodness!
Really, Really Delicious Scalloped Potatoes
Ingredients:
2 Tbsp butter
2 Tbsp flour
1/2 tsp table salt or 3 twists of sea salt
2 cups milk, I use 1% or 2%
1 box or container of garlic and herb creamy cheese ( Boursin or cream cheese)
6 cups of sliced potatoes, peeled first
2 Tbsp melted butter, to drizzle
1 Tbsp chopped chives
How to make it:
In a large frying or sauté pan over medium heat, melt the butter and then add the flour. Whisk together for about a minute. If it is very thick add a bit more butter so it is smooth and bubbly. Add the salt and then slowly add the milk while whisking continuously. Keep whisking over medium heat until the mixture thickens and begins to bubble. Be patient, and keep stirring eventually it will boil. Turn the heat down slightly and add the creamy cheese and continue to whisk it together so it it nice and smooth. Add the sliced potatoes, toss them in the sauce so they are completely covered and bring the sauce back to boiling. Take the potatoes off the heat. Grease a large casserole dish (with lid) with butter, margarine or spray well with oil. Dump the potatoes into the dish, pat them level with a spoon, sprinkle with the chives and drizzle with the butter. Bake covered (use tinfoil if you don”t have a lid) at 350 for an hour, then reduce the heat to 325 and bake for an additional 1 1/2 hours.
These scalloped potatoes are great with ham or smoked turkey. Enjoy!
Happy Easter and happy holidays from My Home Life to you!
Another Christmas is over and what a great one is was. Other than the temperature being bitterly cold and the onslaught of snow, the time spent with family and friends was wonderful. Christmas has always been special to me, even as a young girl I would love decorating the tree, helping my mom bake cookies and treats and seeing my grandparents, aunts, uncles and cousins. We have all gotten older and the number of people we celebrate with has changed as everyone has families of their own, the demographics of where we live has expanded and sadly we have lost special people along the way. Nevertheless, I still hold on to the special time between Christmas and New Year’s when I sometimes forget the day of the week, the date and sometimes even the time. Sleeping in, no time schedule for eating, a chocolate for breakfast with coffee (sometimes with a tip of Irish Cream or Kahlua), catching up with Netflix or watching back to back movies… it’s just so relaxing. With the craziness of activities before Christmas, this is the time we exhale a little and put work and deadlines on the back burner for a time.
Plus it is when the World Juniors for Hockey is always on! We actually love watching the juniors more than NHL games. Canada is playing the USA outdoors currently, in a snowstorm, in Buffalo. So we like watching hockey, none of us ever played the game. I played volleyball, my husband played volleyball, my son plays and coaches volleyball. My daughter competitive dances… that is a whole other blog. But like I said we all love watching hockey… Canadian, in the DNA I guess. So as we wait for the shootout to begin as the score is tied, on to other things.
My menu for Christmas Eve and Christmas did not deviate much from other years. For Eve we always attend the evening candle light service at church so I like to keep the meal simple and relaxed. Lasagna, salad, garlic bread and tiramisu for dessert. I will share my lasagna recipe as it’s a mash up of a few of my favourite recipes. Christmas Day is usually busier as I like to do a traditional turkey supper and include some ‘have to have’ heritage dishes, perogies, cabbage rolls (meatless) and cornmeal or nachinka. It has taken me years to ‘perfect’ my cabbage rolls, although they are still a work in progress, and I leave the perogy making to my mom. Dessert deviates year to year, Unbaked Pineapple Cheesecake made the cut this year. Easy and make ahead, it will last until New Year’s in the fridge if necessary.
When you are ready, dust off that lasagna pan, put on your favourite playlist, even pour yourself some wine… and let’s cook!
Lasagna
Easy Bolognese Sauce
What you need:
Good drizzle of olive or canola oil (about 3 tbsp)
1 lb lean ground beef
1/2 lb – 1 lb of sausage meat ( I use mild but spice it up if you like)
1 tbsp minced or crushed garlic
1 tbsp dried oregano
A pinch hot pepper flakes (this is where I add a little heat)
1 cup red wine
1 – 28 oz can crushed tomatoes
1/4 cup tomato paste
1 – 680 ml or 24 oz tomato sauce (or plain pasta sauce)
Salt
Pepper
1 tbsp white sugar
1/4 tsp nutmeg
1/4 cup chopped fresh basil
How to make it:
Heat a large frying or sauté pan to medium high heat with a good drizzle of oil. Add the ground beef and sausage meat, break it up and stir with a spoon or heat proof spatula until there is no pink in the meat remaining. Drain the fat and then add the cooked meat, garlic, oregano and pepper flakes back into the pan. Cook and stir for a few minutes over medium heat and add the wine, de-glazing the pan. When the wine has been completely de-glazed (no more remaining) dump in the crushed tomatoes, tomato sauce, tomato paste, teaspoon salt, 1/2 teaspoon pepper and the sugar. Give the ingredients a good stir and once the sauce begins to bubble and boil turn down the heat to low or medium low so it is simmering. Cover and let it go for 15 minutes, stirring occasionally. After 15 minutes, turn off the burner, add the nutmeg and basil and take the sauce off the heat.
15 Lasagna noodles that have been cooked al dente, according to the package instructions. Rinse with cool water to prevent the noodles from sticking. The recipe will use 12 noodles but I cook extra as a back up if some stick to the bottom or tear.
3 cups mozzarella cheese, shredded, or even better, 2 cups mozzarella and 1 cup emmenthal cheese shredded and mixed
1 cup Parmesan cheese, shredded
Bechamel Sauce
What you need:
1/4 cup butter
1/4 cup all purpose flour
2 cups 1% or 2% milk
1/2 tsp salt
1/2 tsp pepper
Pinch of nutmeg
How to make it:
In a medium saucepan, melt the butter over medium heat. Once the butter has melted shake in the flour and whisk together so the mixture is smooth. If it sticks together add a bit more butter so it is smooth and bubbly. Slowly add the milk whisking constantly. Be patient, don’t turn up the heat, eventually it will start to thicken and then bubble. Whisk right to the bottom of the pan so it does not burn. When it begins to bubble add the salt, pepper and nutmeg, take it off the burner. You did it! Yay!
So that was a lot of work so far! You are on the home stretch. (Thumbs up)
Now let’s put the lasagna together. Get your 9″x12″x 2 1/2″ pan and give it a good spray with cooking oil. Get all the sauces and noodles, cheeses in your assembling space. Start with a thin layer of meat sauce on the bottom of the pan and the lay 3 noodles. Another layer of meat sauce on top of the noodles, then a good drizzle of the bechamel sauce and a healthy sprinkle of cheeses, both mozzarella and Parmesan. Lay another 3 noodles and repeat the same process for the 2nd and 3rd layer. For the 4th or final layer do not put the cheeses on top. Put the left over cheese aside, it will be added in the last 10 minutes of cooking time. At this time you can cover the finished lasagna with a sheet of tin foil and cook it later. It will be fine in the fridge for up to 2 days, or can be frozen, thawed and then cooked. When you are ready to cook it, set the oven temperature to 375 F and bake it covered with tin foil for 45 minutes. The sauces should not leak over the pan but if they do, put a sheet of tin foil under the pan to catch the drippings. After it has baked for the 45 minutes take off the tin foil, add the left over cheese and if you like add a sprinkle of dried basil, or chopped fresh basil. Set the timer for 10 minutes. When the timer is done, take the lasagna out and let it cool for 10 – 15 minutes. Cut into 12 larger or 16 smaller pieces and enjoy! I promise it is worth all the work and everyone will rave about this dish! (2 👍🏻 )
From My Home to Yours, here’s to a great remaining 2 days of 2017 and a happy ringing in of 2018!
Countdown to Christmas has started! We have had a bunch of holiday functions to attend and work has been busy so hence my big gap in posting. My parents arrive tomorrow and both my kids are home so this house will be the fullest it has in a long time. Yay! We got a massive dump of snow in the foothills yesterday and overnight so my husband and our neighbours were able to put the collective snowblower to good use. Still had to do some shovelling and push out vehicles this morning. Considering we were in double digits temperature wise last week, zero snow and I still had my flip flops by the door, today was a reality check that winter arrives tomorrow. It will be a white Christmas!
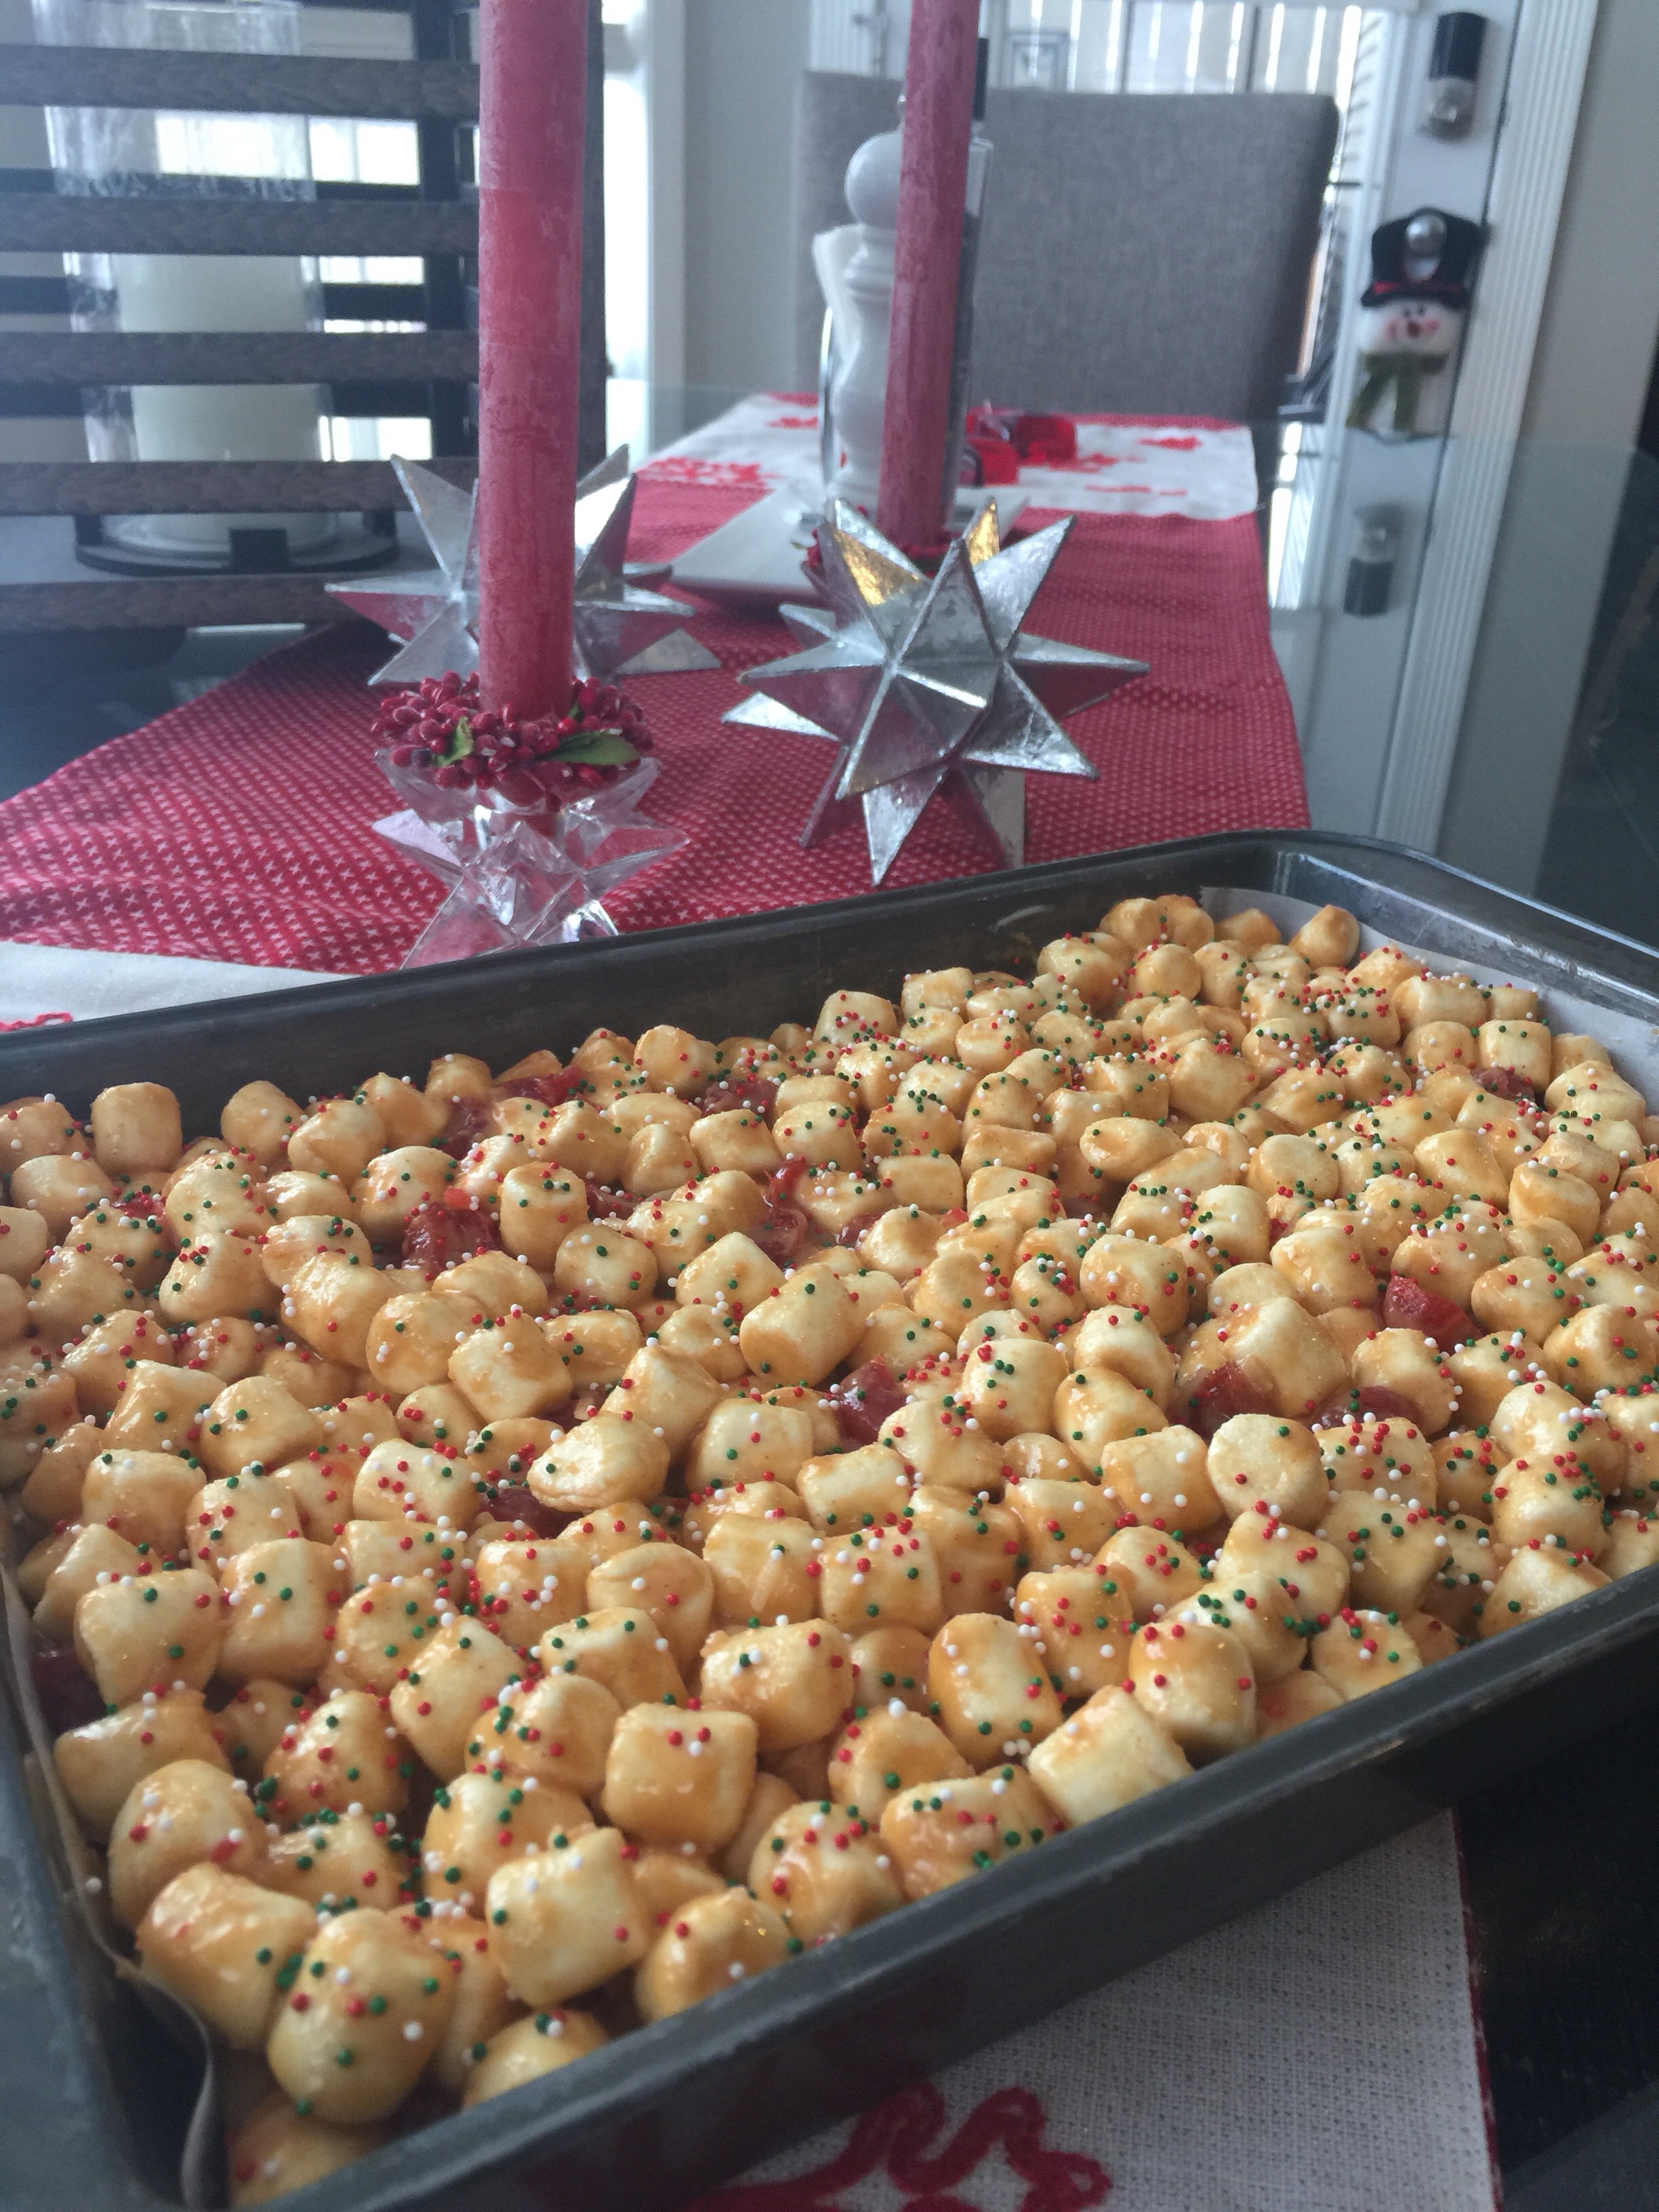
Everyone was either working or out at about so I decided to stay in, clean house and do some baking. I had all the ingredients for Peanut butter Marshmallow Squares so I decided to whip some up. Plus they are my son’s favourite. Hopefully some will make it to Christmas. 😉
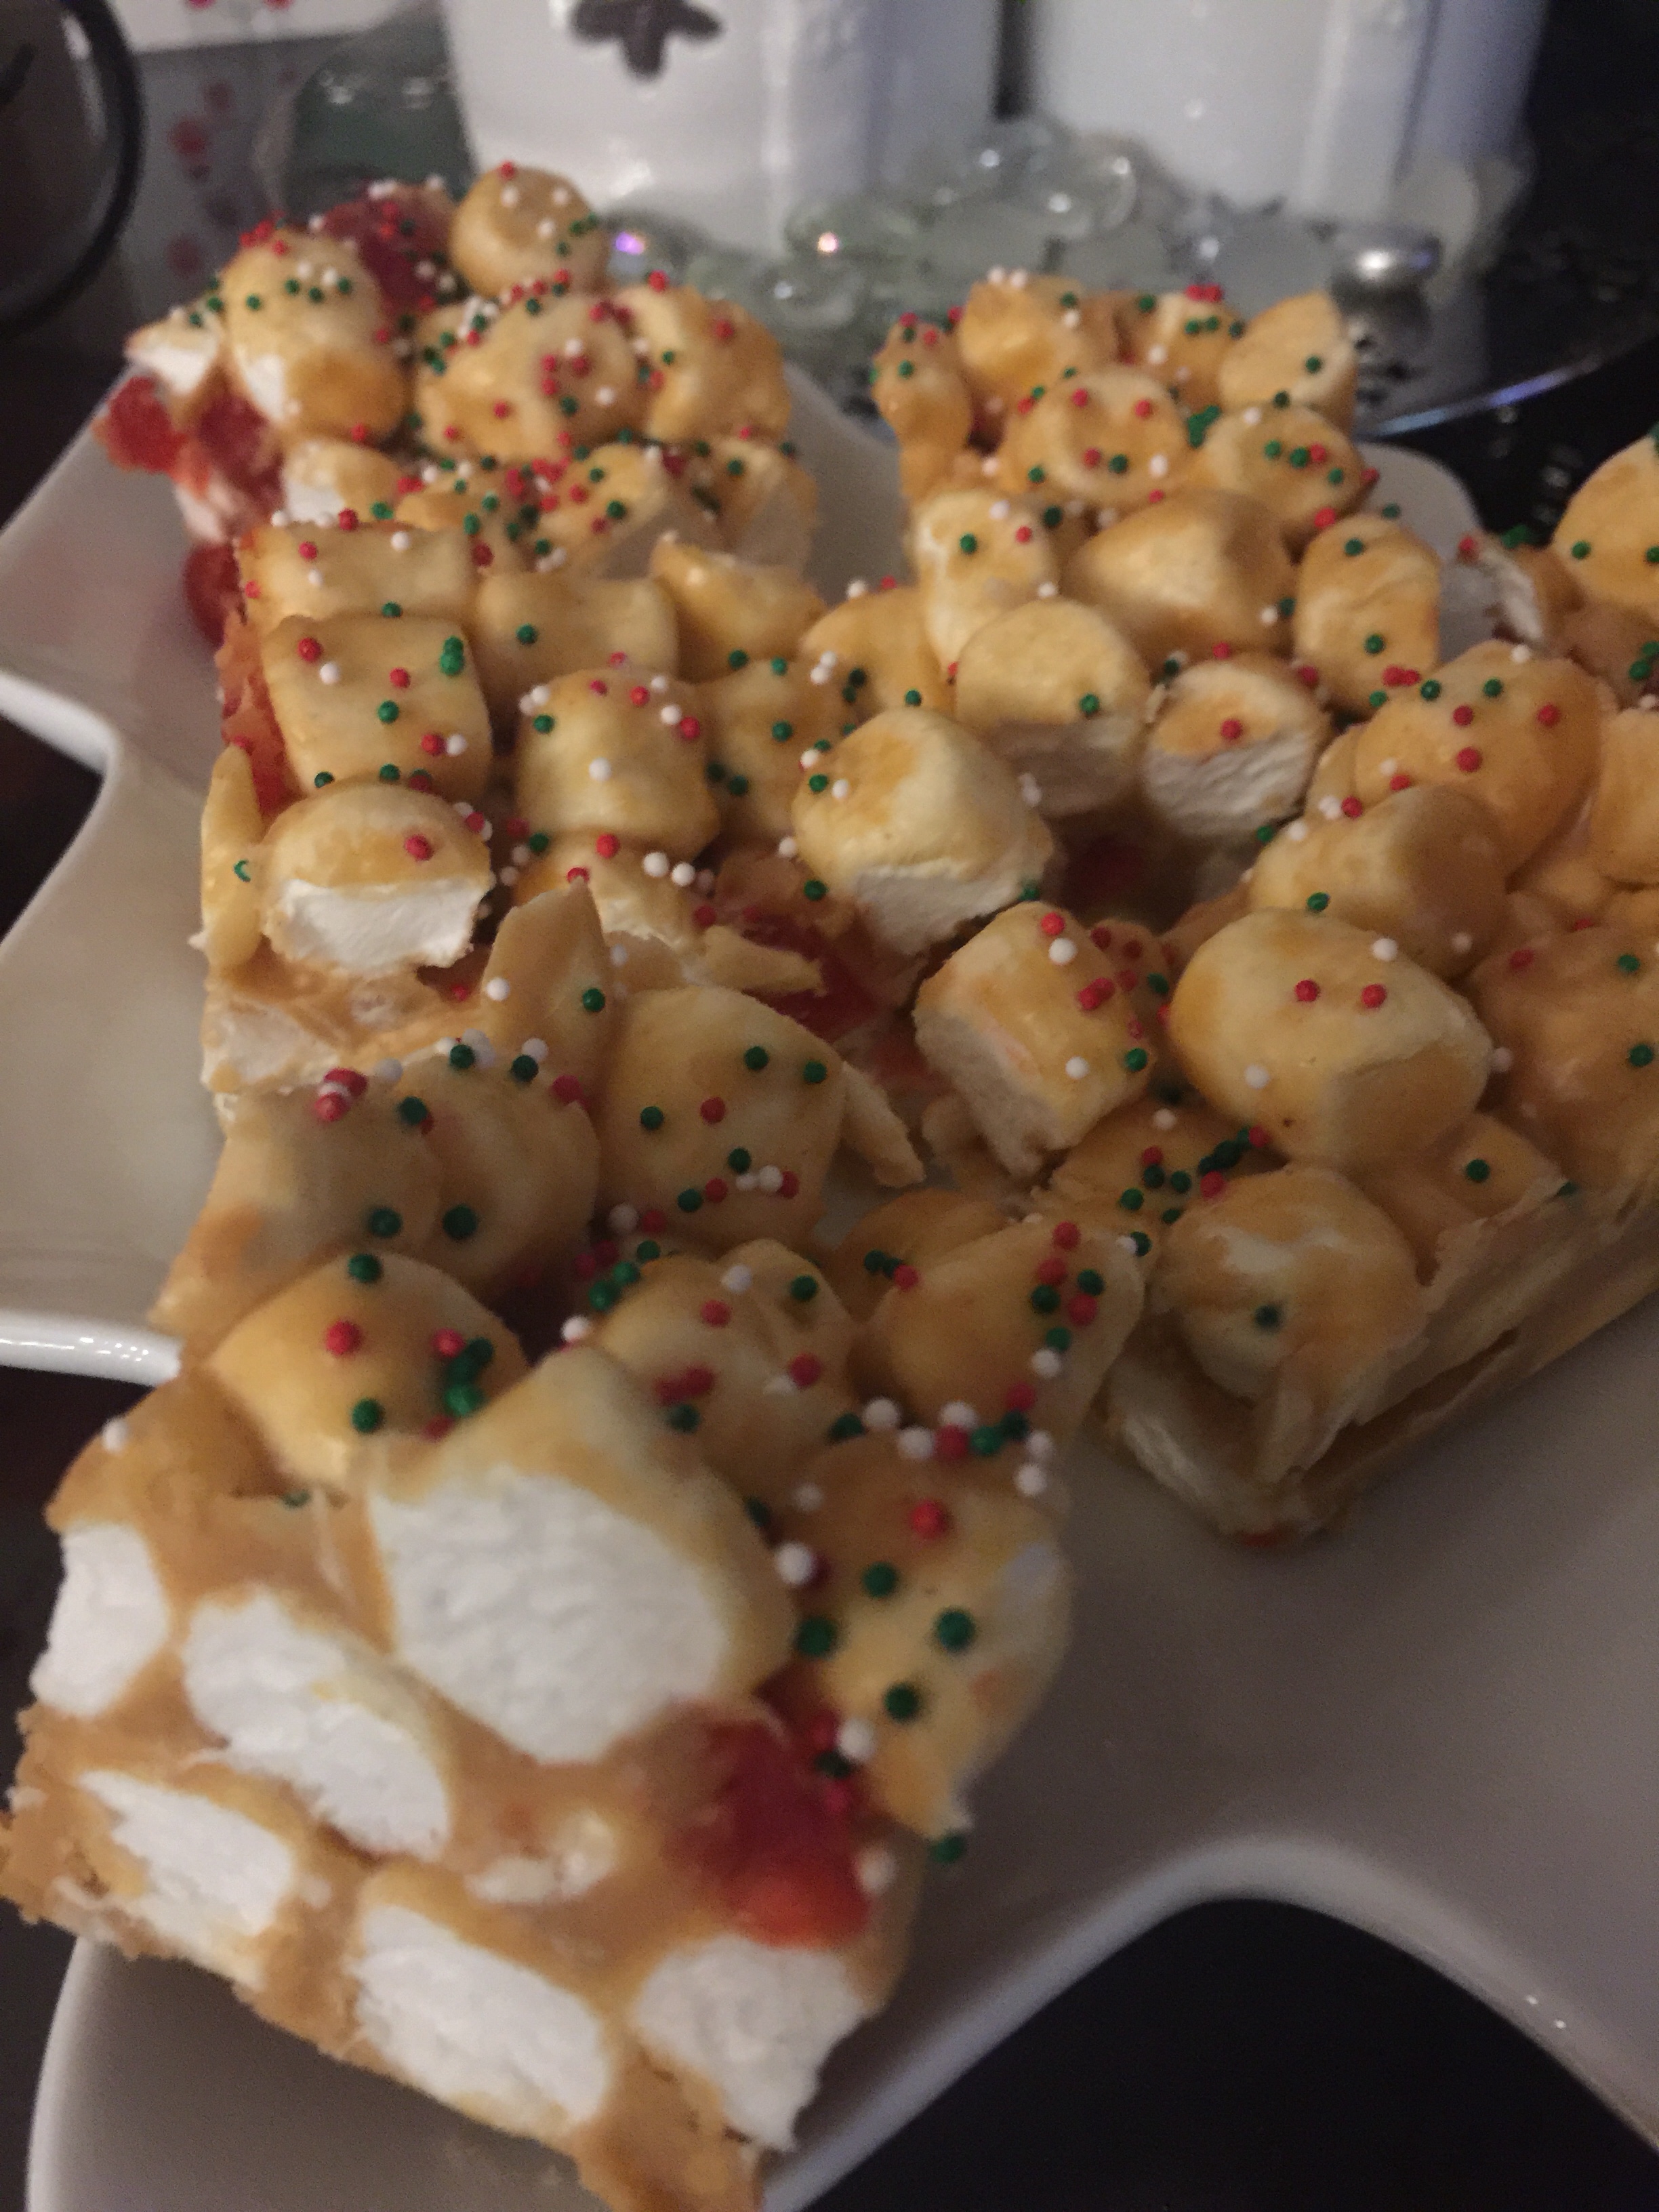
Peanut butter Marshmallow Squares
What you will need:
1/2 cup of butter or block margarine
1 cup smooth peanut butter
1 pkg (300 grams) butterscotch chips
1 teaspoon vanilla
1 pkg (400 grams) white mini marshmallows
1/2 cup coursely chopped maraschino cherries (well drained)
1/2 cup semisweet coconut shreds
How to make them:
In the top of a double boiler melt the butter or margarine, the entire bag of butterscotch chips, peanut butter and the vanilla. As the ingredients begin to melt, stir them together until they are super smooth, zero lumps. Take the pot off the simmering water and set it aside to cool. Be sure the peanut butter mixture has cooled down sufficiently before adding the marshmallows. You should be able to touch the bottom of the pot with your hand, this usually takes about a half an hour. During this time I grease my 13’x9’x2′ pan with either margarine, butter or spray. Cut a piece of parchment or waxed paper to fit the pan, put it in and then grease the paper. No stickage allowed. Plus the paper will make it easy to take out the set marshmallow mixture and cut it into pieces.
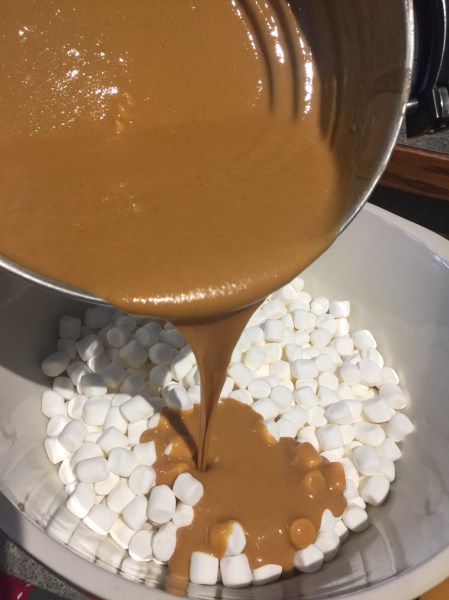
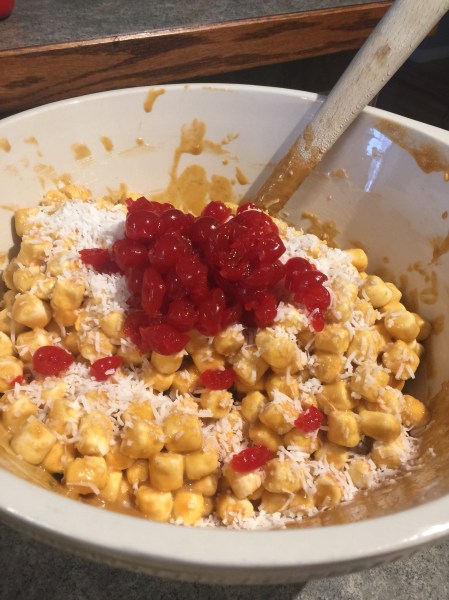
Dump the entire bag of marshmallows into a large bowl and then pour the peanut butter mixture over the top. Give it a good stir to cover all the marshmallows and then add the cherries and coconut and stir it all up again.
Dump the mixture into the greased pan and spread it out evenly. I decided to sprinkle some red and green nonpareils over the top to make them more festive, but you don’t have to. If there are allergies or you just don’t like maraschino cherries or coconut you can skip them as well. Cover with plastic wrap and let them set in the fridge. Once they are set you can lift them out by the paper and cut into squares. They also freeze excellent, so you can take them out as you need them.
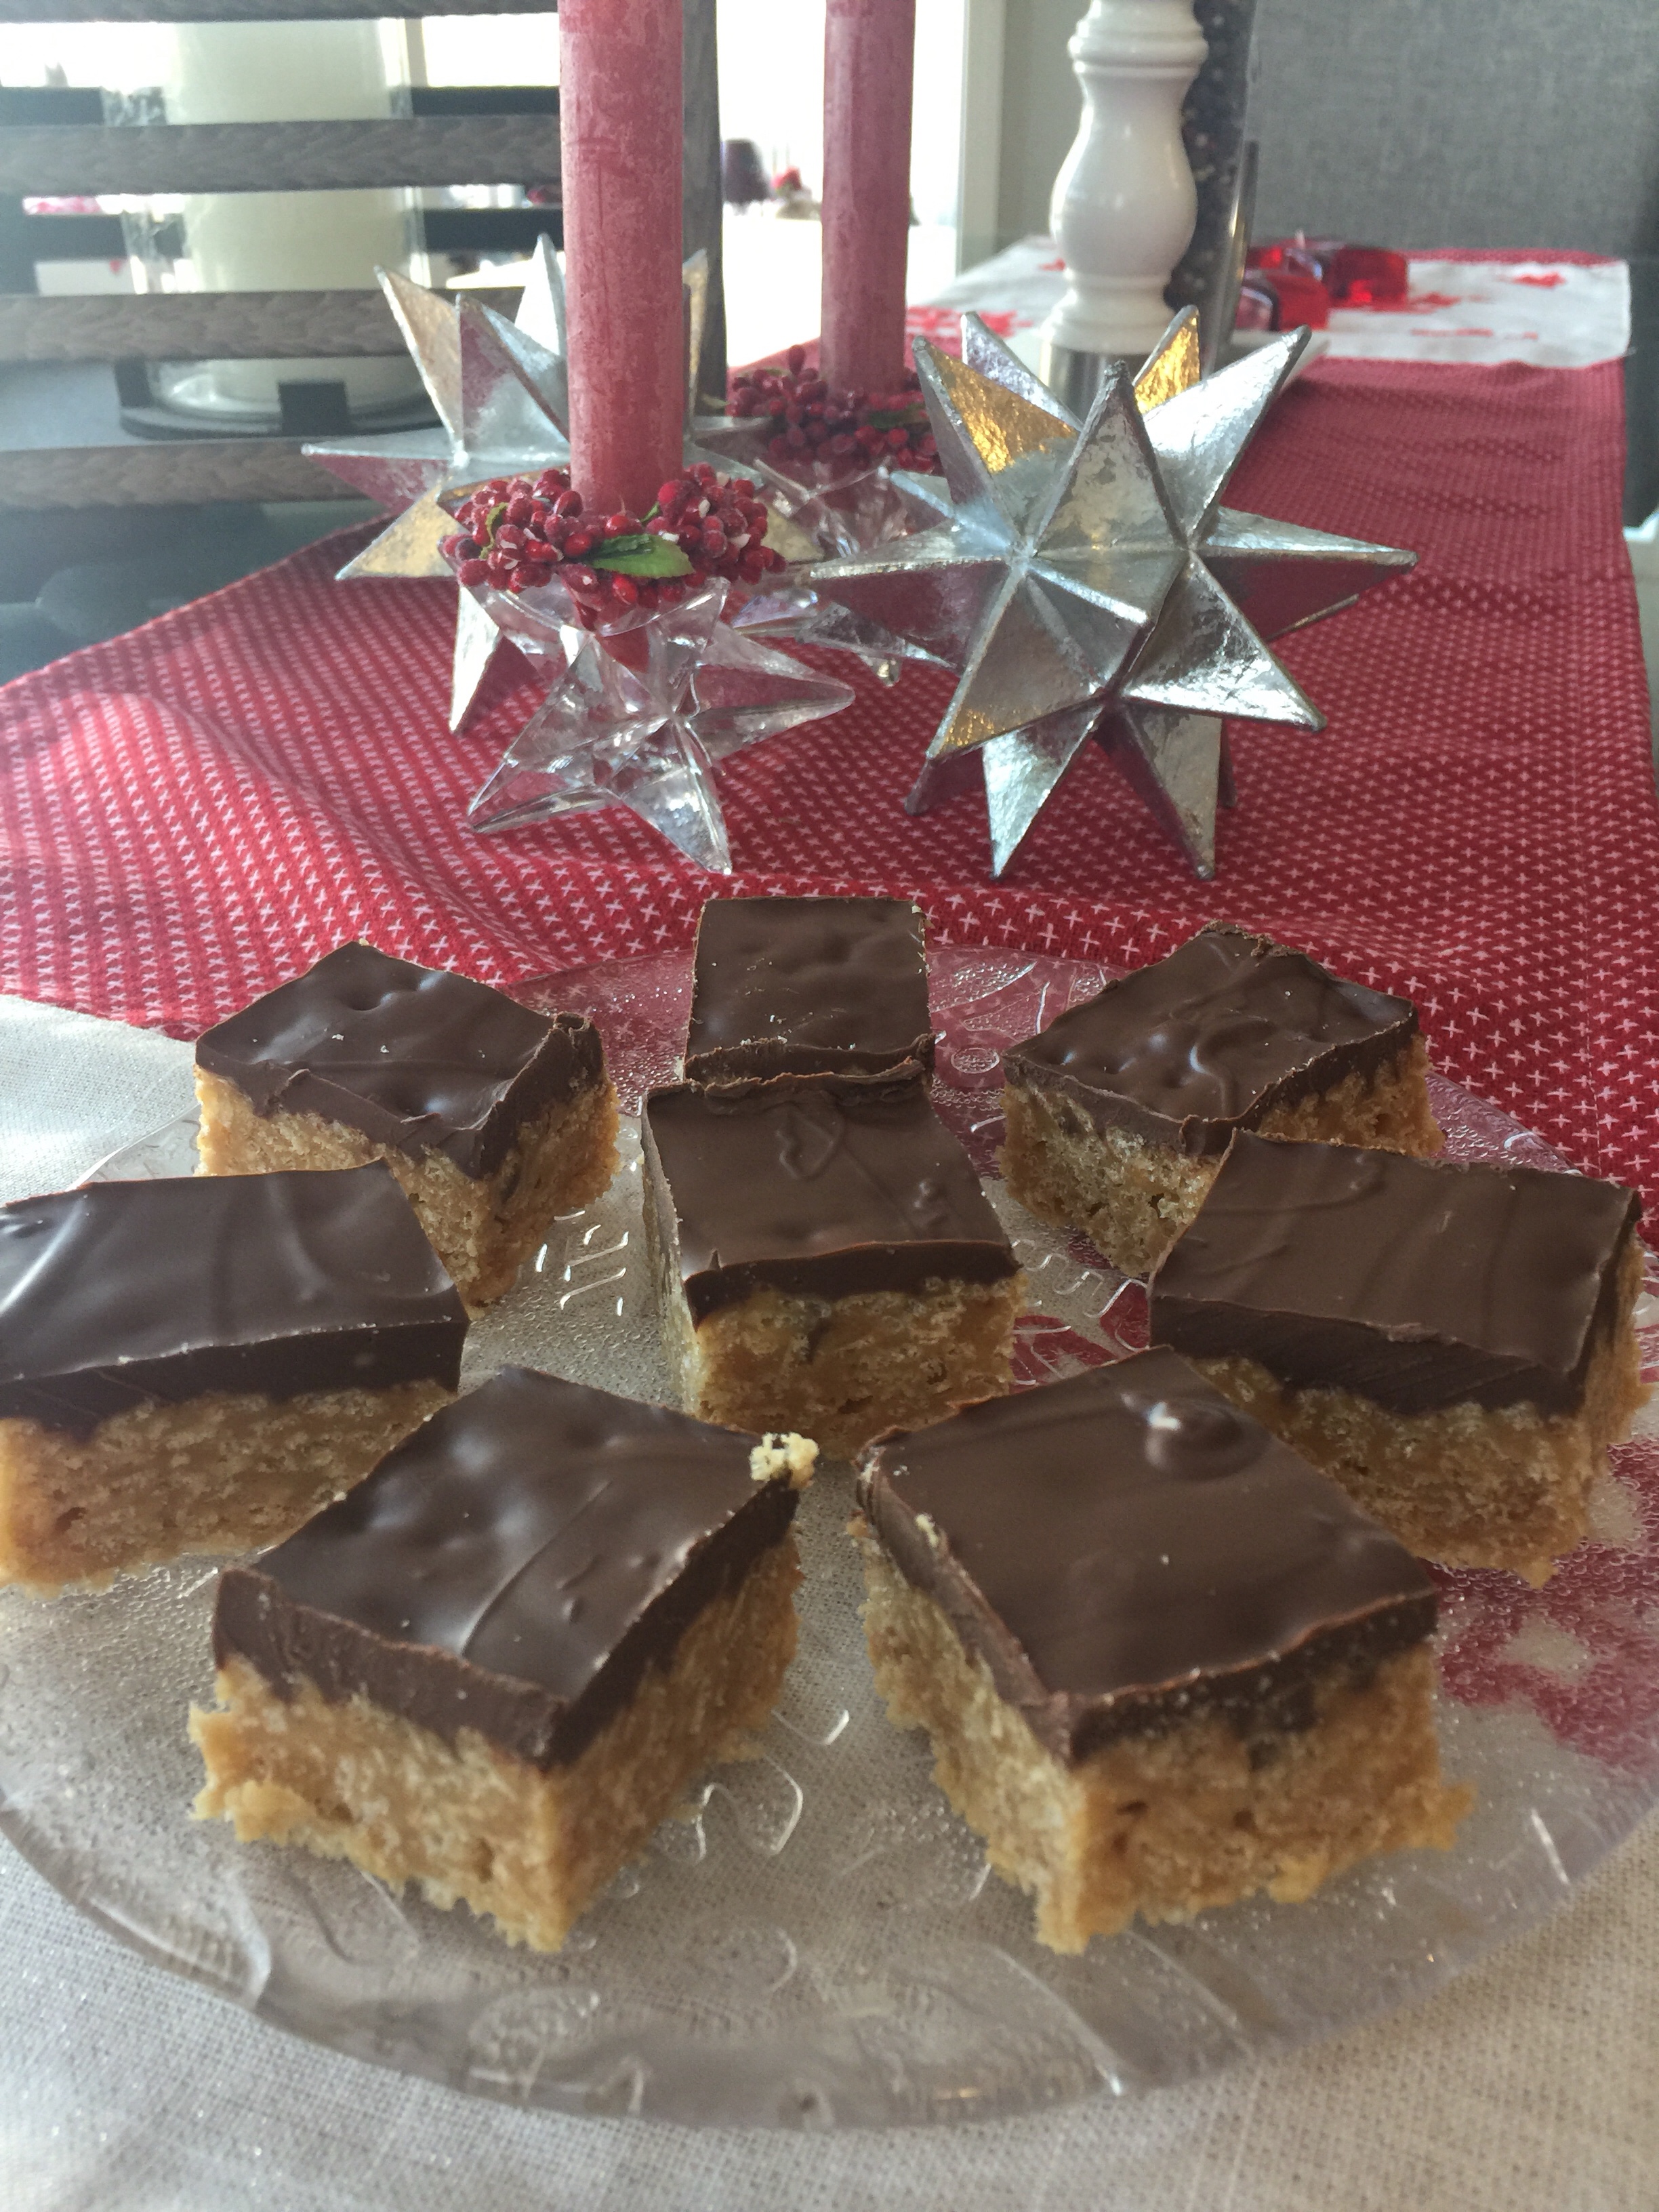
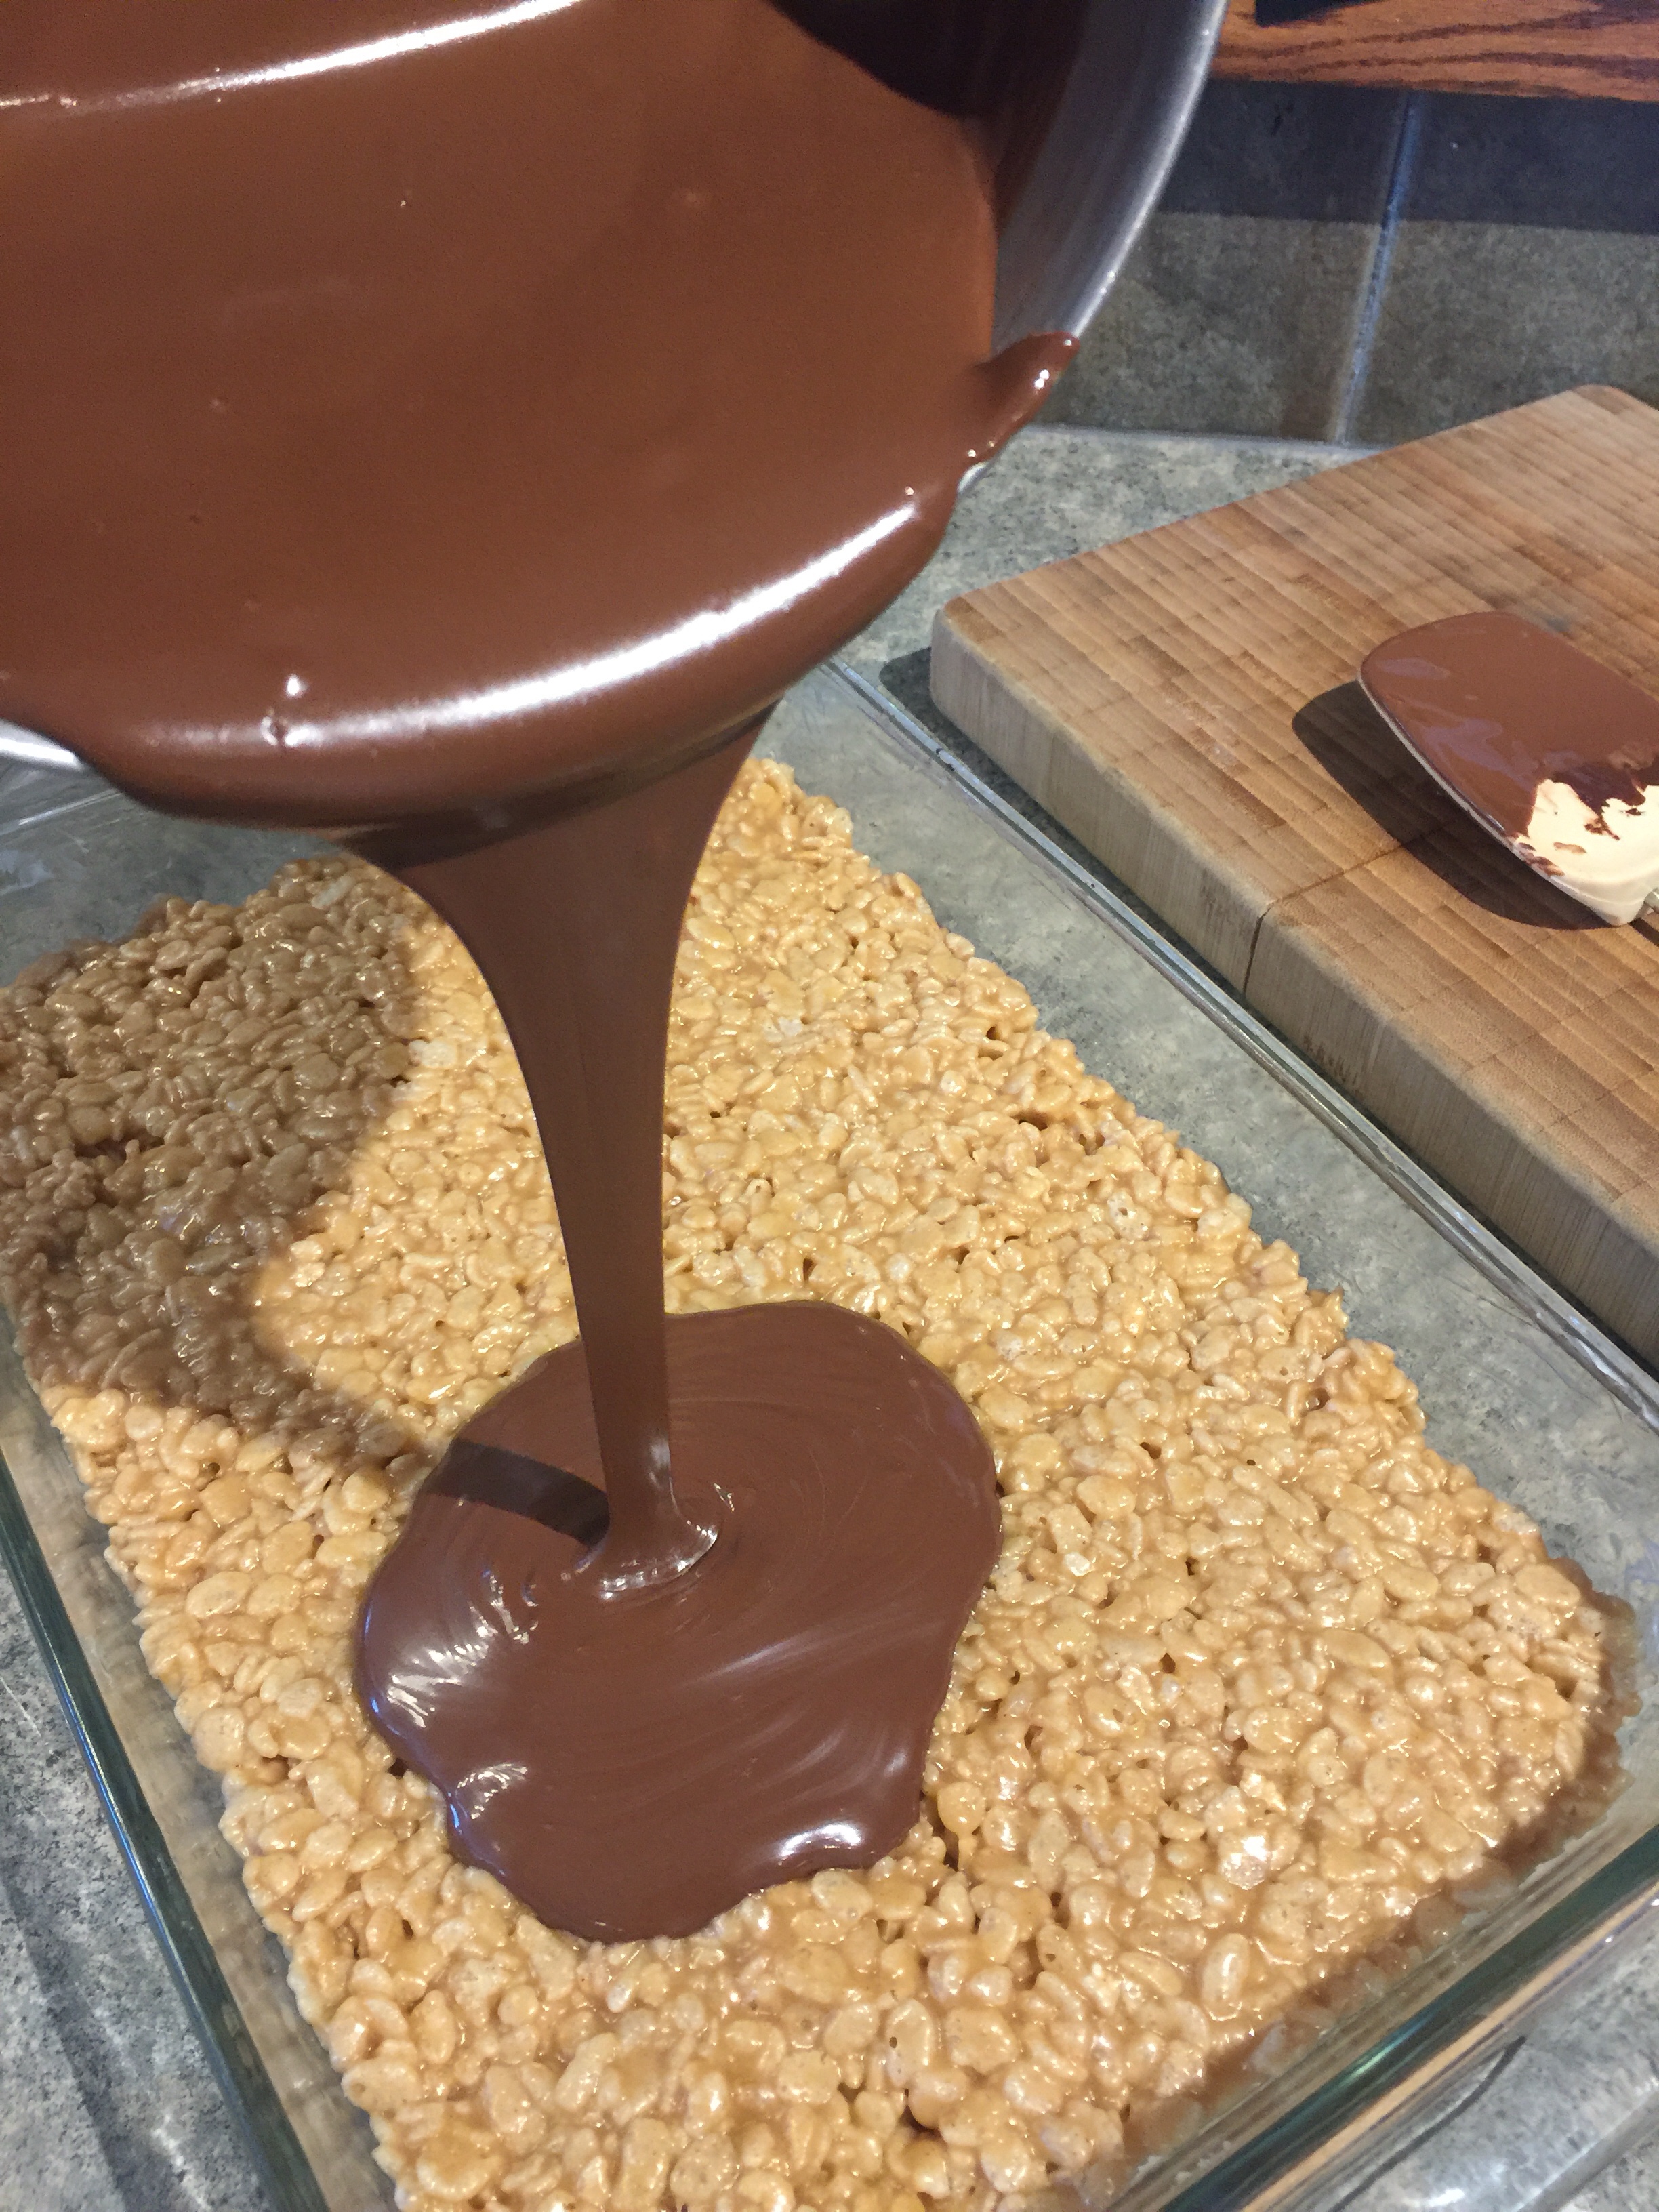
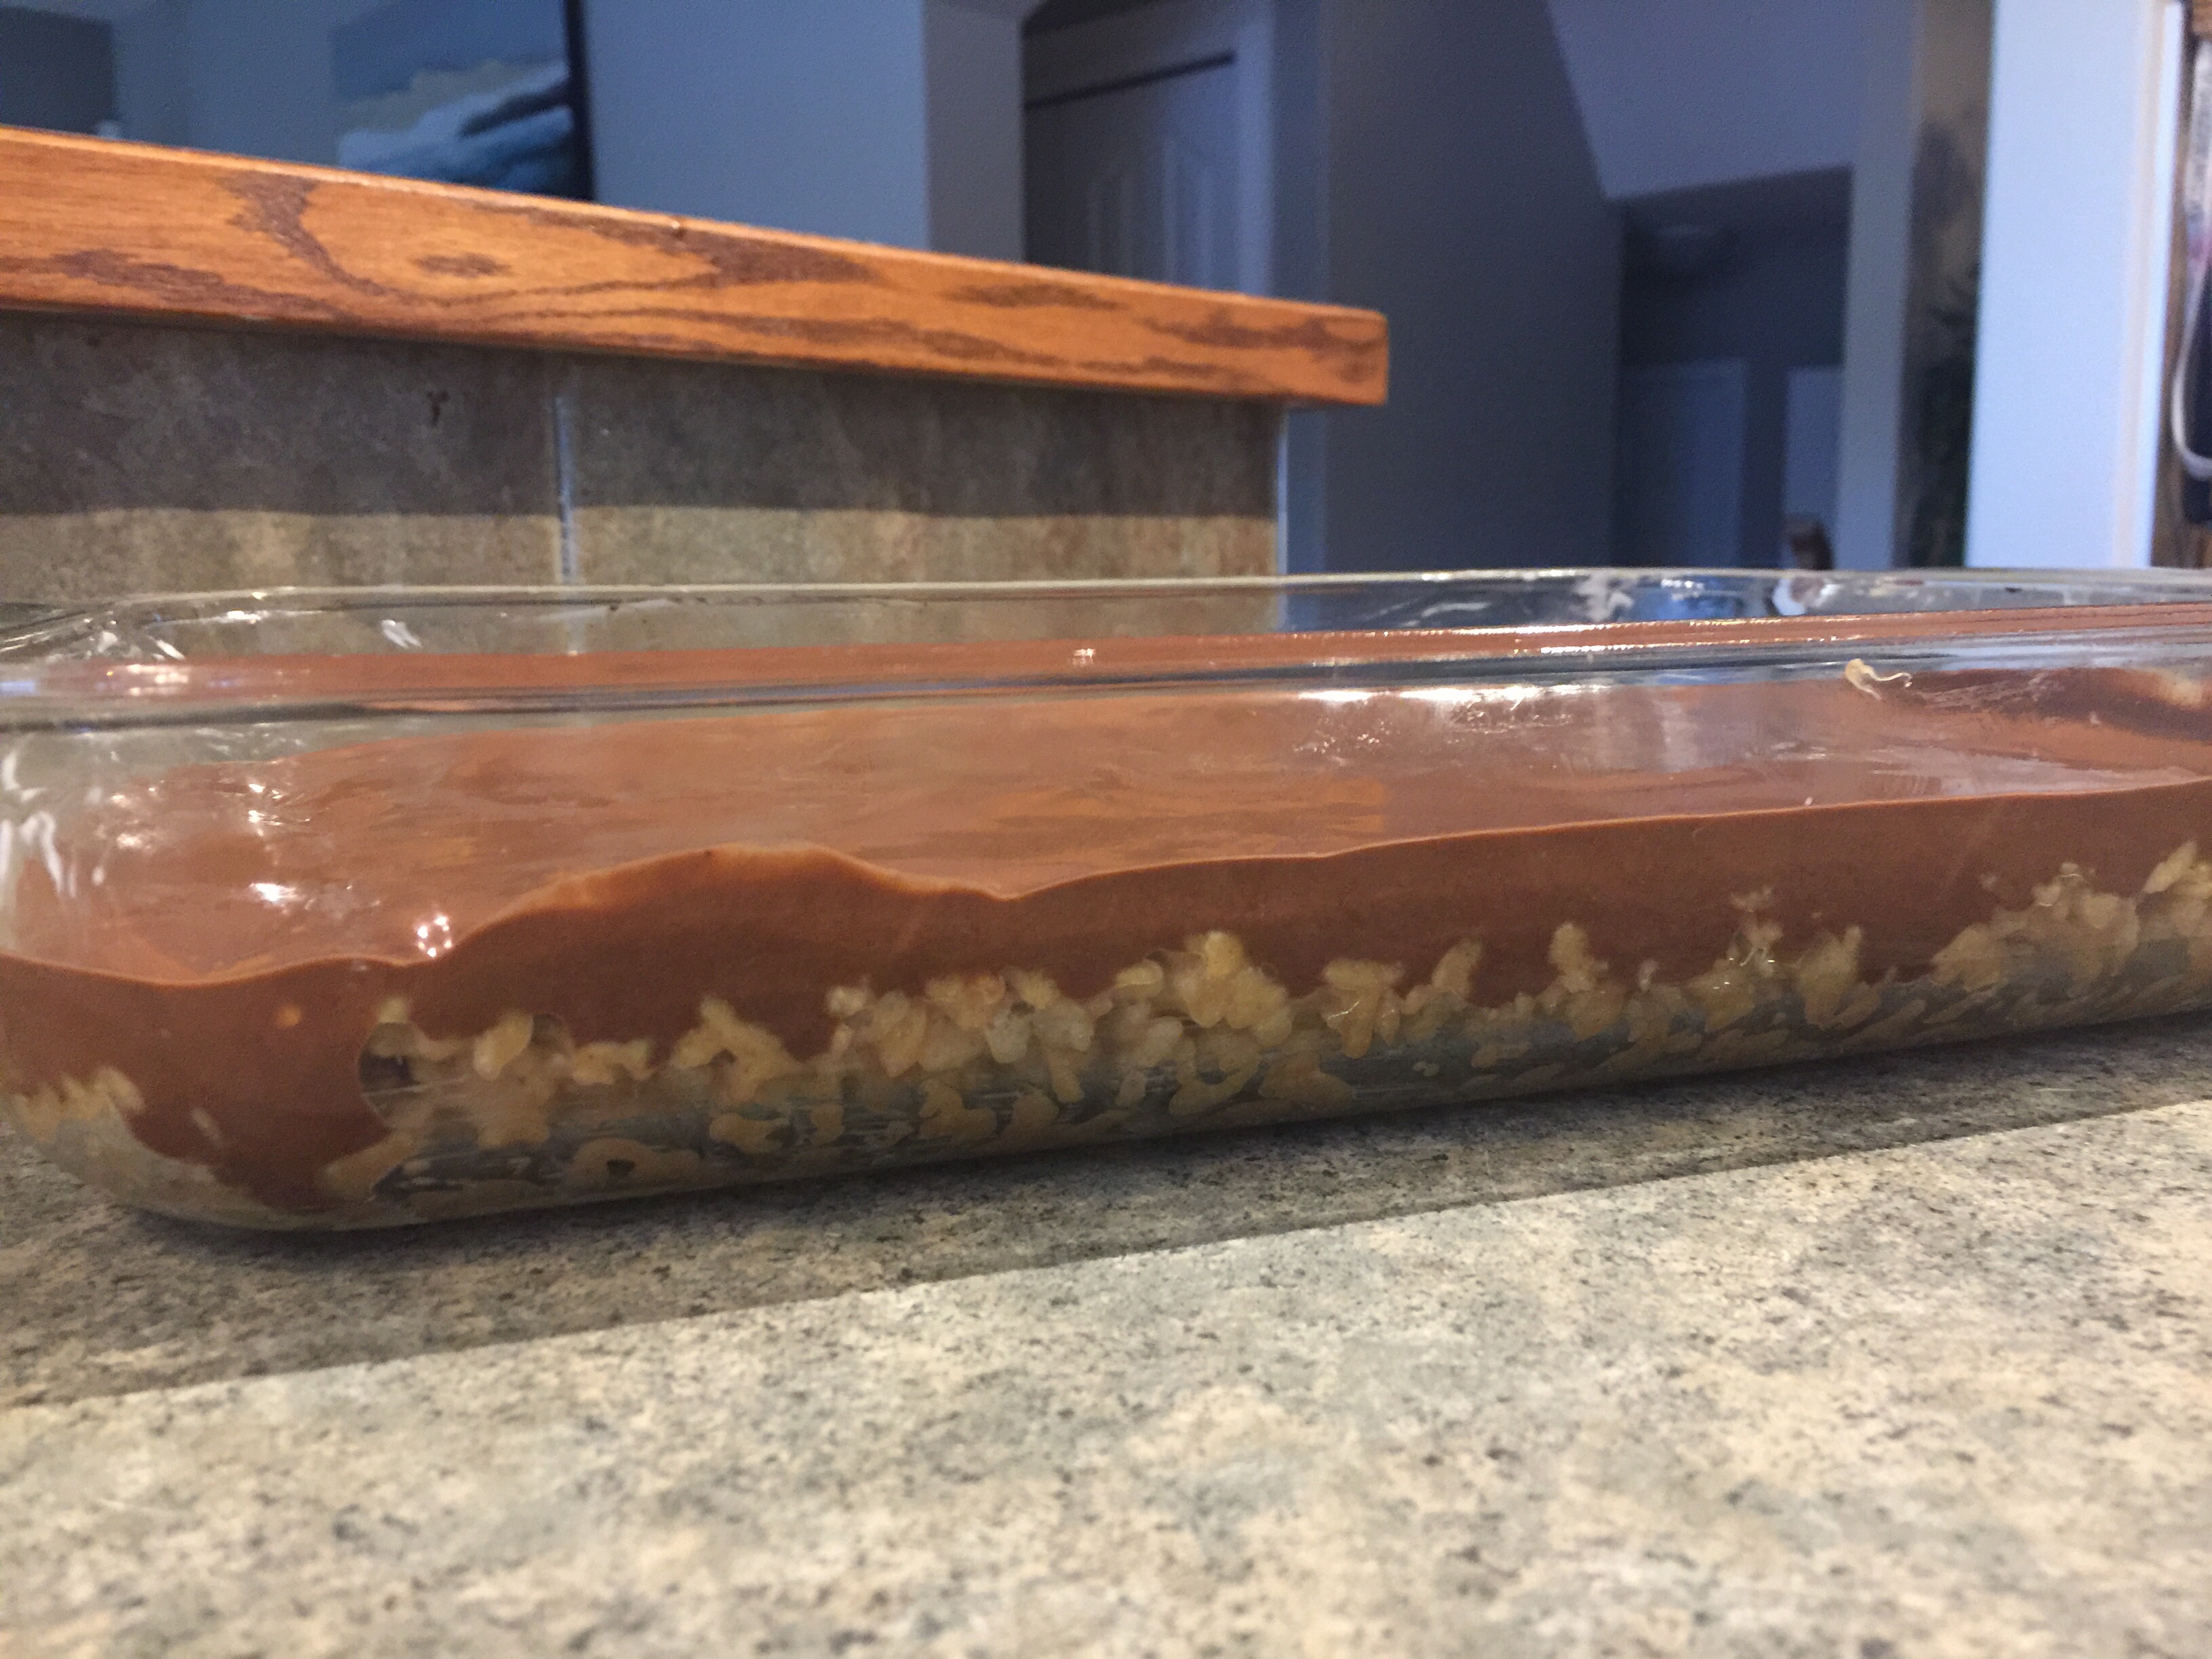
There are so many great holiday sweet treat recipes. Over the years I have tried, modified and created many recipes. But every year when the Christmas season arrives I go back to our family favourites. Luckily no one in our family has a peanut allergy, as Crispy PB Squares top the list. This no bake, easy to make, butterscotch – chocolate topped treat is a winner. My recipe makes a 9″ by 13″ pan so there is more than enough to share with friends, freeze for later or just leave on the counter and watch it disappear.
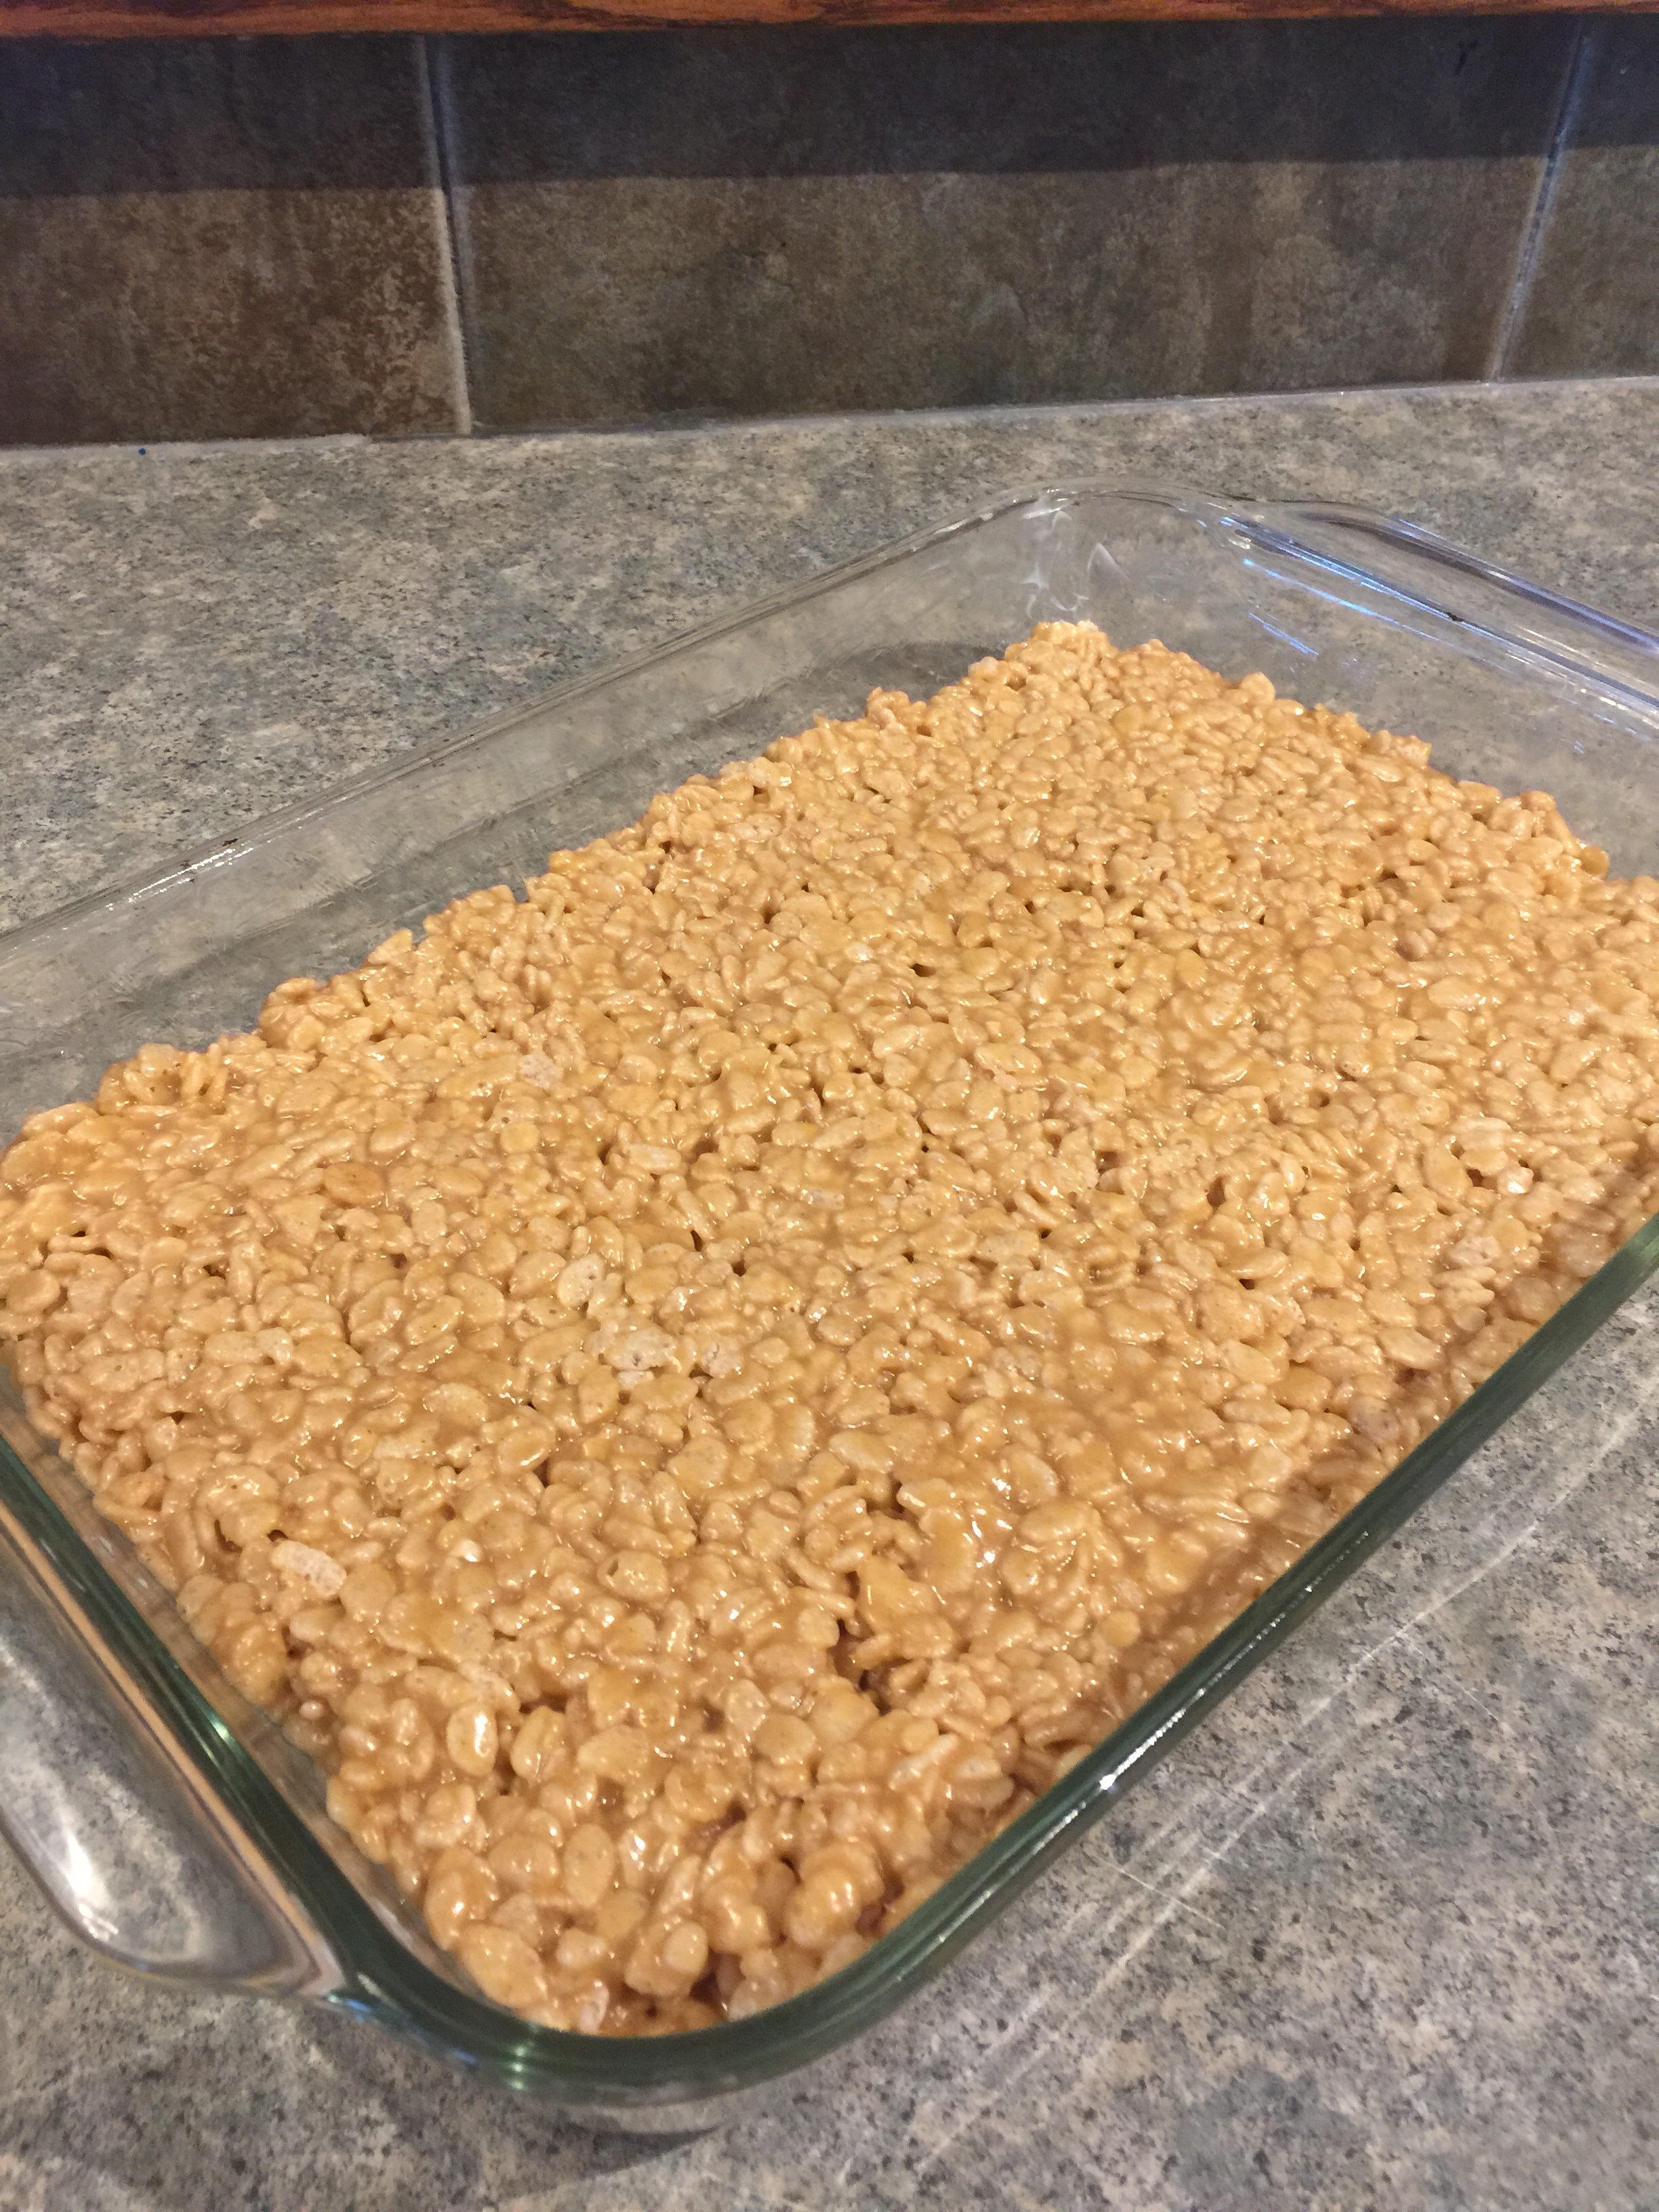
Crispy PB Squares
What you need
1 cup white granulated sugar
1 cup corn syrup
1 cup smooth peanut butter
5 – 6 cups crispy rice cereal
1 pkg (400 g) butterscotch chips
1 pkg (400 g) semi sweet chocolate chips
How to make them
Grease a 13″ x 9″ x 2″ pan with cooking spray, or margarine, or butter. Set it aside and get out a big pot, I use my Dutch oven (6 quart) because it is easier to mix in all the cereal. Turn on your stove burner to medium and add the corn syrup and sugar. Keep your eye on it and stir the mixture until it starts to bubble and boil. Then take it off the heat and add the peanut butter. Stir, stir, stir until the consistency is super smooth and add the crispy rice cereal. I add the first 5 cups and then add the last cup. Why you say? Because sometimes I over fill one of those first 5 cups and then don’t need the all the 6th. It should be real gooey and the cereal completely covered with the peanut butter mixture. Once you are happy that ample gooeyness has been reached, dump that mixture into the greased pan and press it evenly into all the corners.
In the top of a double boiler, or a glass bowl over a simmering pot of water, pour in the butterscotch chips and the chocolate chips. Once they begin to melt, stir the chips so they mix together and turn silky smooth. Once you are happy that the chips have melted completely (check and stir right to the bottom of the pot or bowl), pour the chocolate over the crispy peanut butter mixture in the pan.
With the back of a spoon, evenly smooth the chocolate over the mixture in the pan. Let it cool on the counter. When cool, cut into squares and enjoy. The squares freeze great so you can save some to serve later. If you are going to keep them on the counter be sure to cover the pan with plastic wrap, or keep them in a plastic covered container so they don’t dry out. I hope you love them as much as we do!